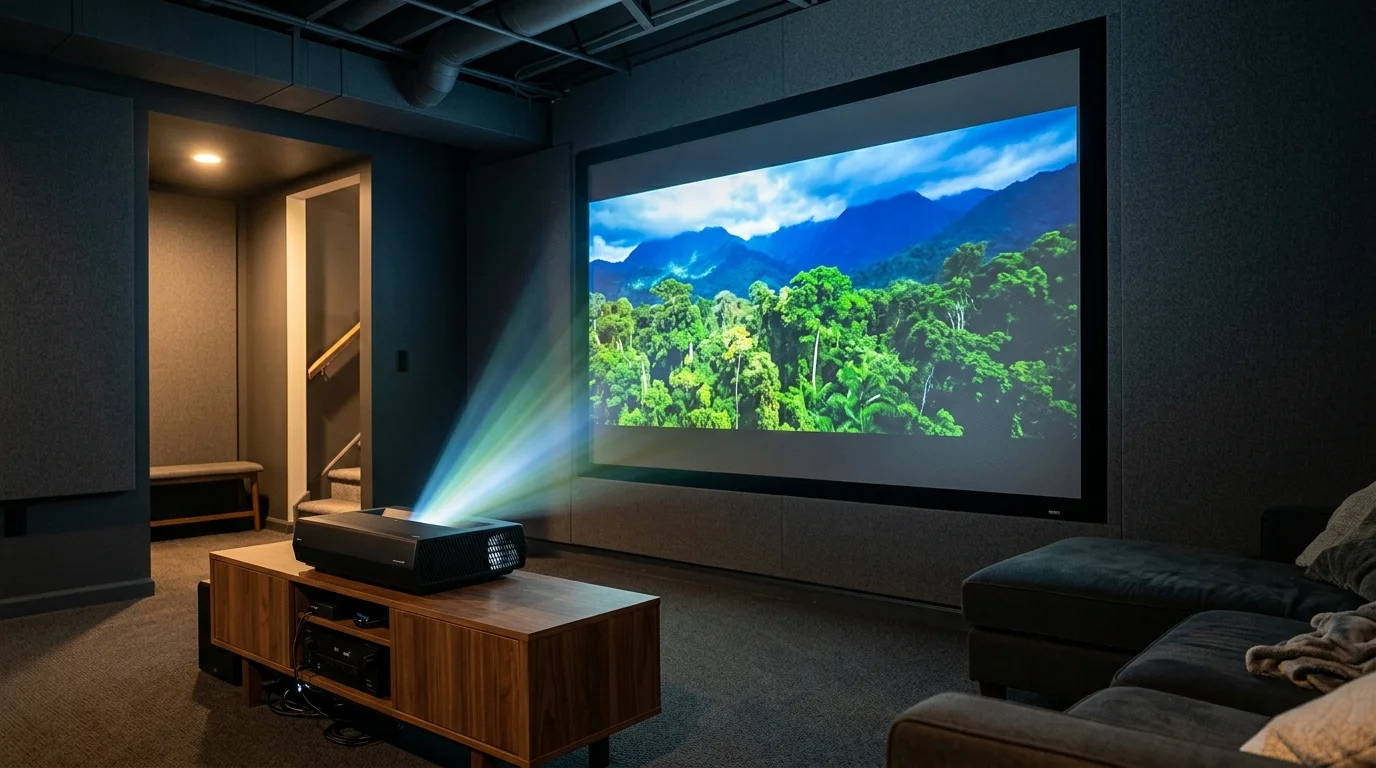
Projecting onto a 120-inch screen in a basement with ambient light requires maximum laser efficiency. Setting your streaming player to output continuous HDR darkens standard content and washes out your image against background illumination.
If you are configuring hardware for a brand-new entertainment space, our beginner’s guide to setting up a streaming device outlines initial network connections and port configurations.
While common guides suggest forcing Dolby Vision constantly, locking your device to 4K SDR with dynamic matching produces twice the perceptual brightness. This single adjustment prevents aggressive tone-mapping from crushing mid-tones in ambient light.
Configuring your color subsampling and dynamic range settings correctly guarantees that your ultra-short-throw laser delivers punchy, vibrant entertainment without expensive room renovations.
The Physics of UST Projectors in Ambient Basement Light
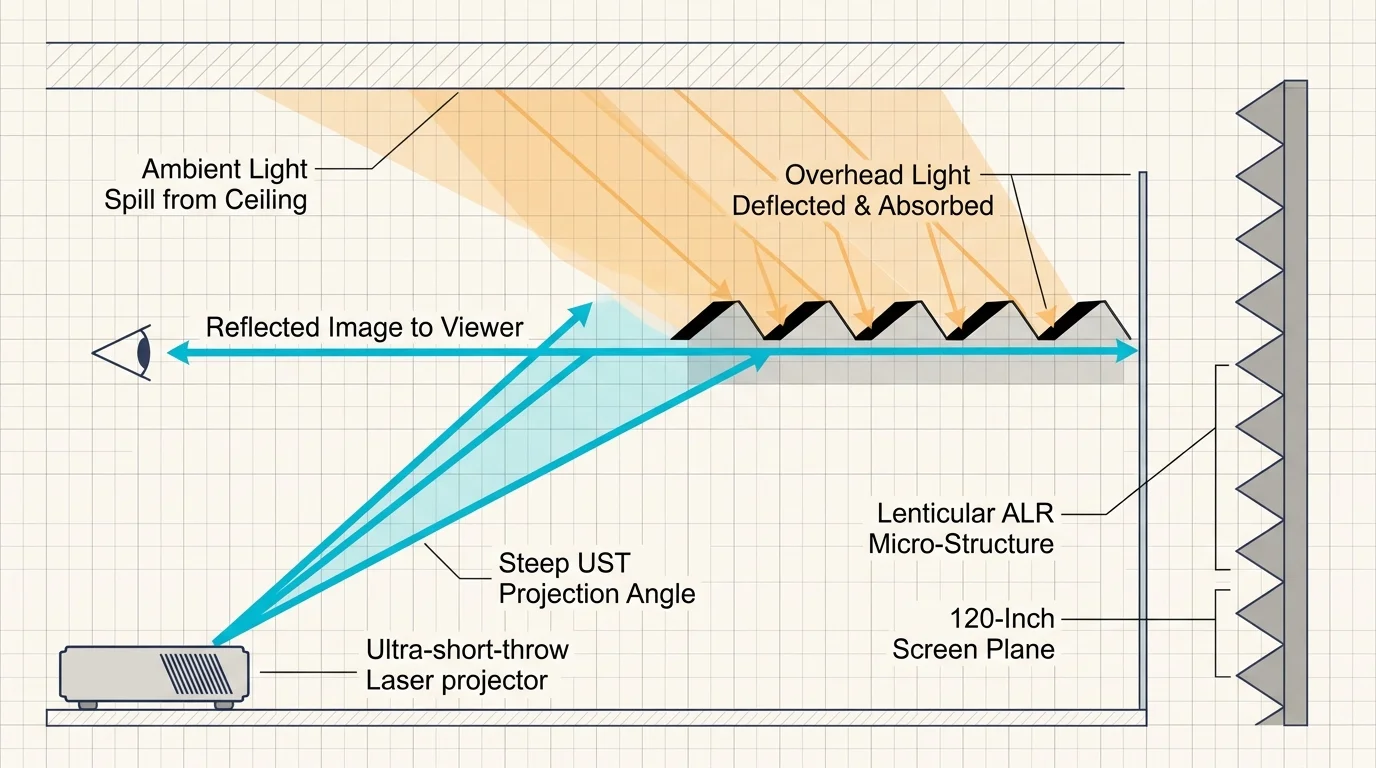
Streaming, which means watching video content over the internet instead of cable or satellite, places unique visual demands on laser projection hardware. Ultra-short-throw (UST) projectors sit inches from your screen, projecting light upward at steep angles.
Ambient light washout issues are not unique to basements; testing the best streaming sticks for outdoor patios reveals similar brightness and contrast challenges when competing with daytime sun.
Basements present real challenges with ambient light spill from stairwells, dim pot lights, and small windows. Even minimal ceiling reflections wash out dark scenes and destroy image contrast.
You can combat ambient illumination by pairing your laser projector with a specialized ambient light rejecting (ALR) screen. These lenticular screens reflect light coming from below toward your eyes while deflecting overhead room light.
A streaming device, which is a small box or stick that adds streaming to any display, dictates the video signal fed to your projector. If that signal mismanages dynamic range, the projector cannot compensate.
Laser projectors lack the localized black-level dimming found on traditional flat-panel televisions. They must distribute light across the entire 120-inch canvas simultaneously.
When you optimize your player settings, you maximize the projector’s available lumens for practical viewing conditions. Correct calibration prevents you from wasting laser output on unneeded digital signal conversions.
Why Forced HDR Destroys Laser Projector Brightness
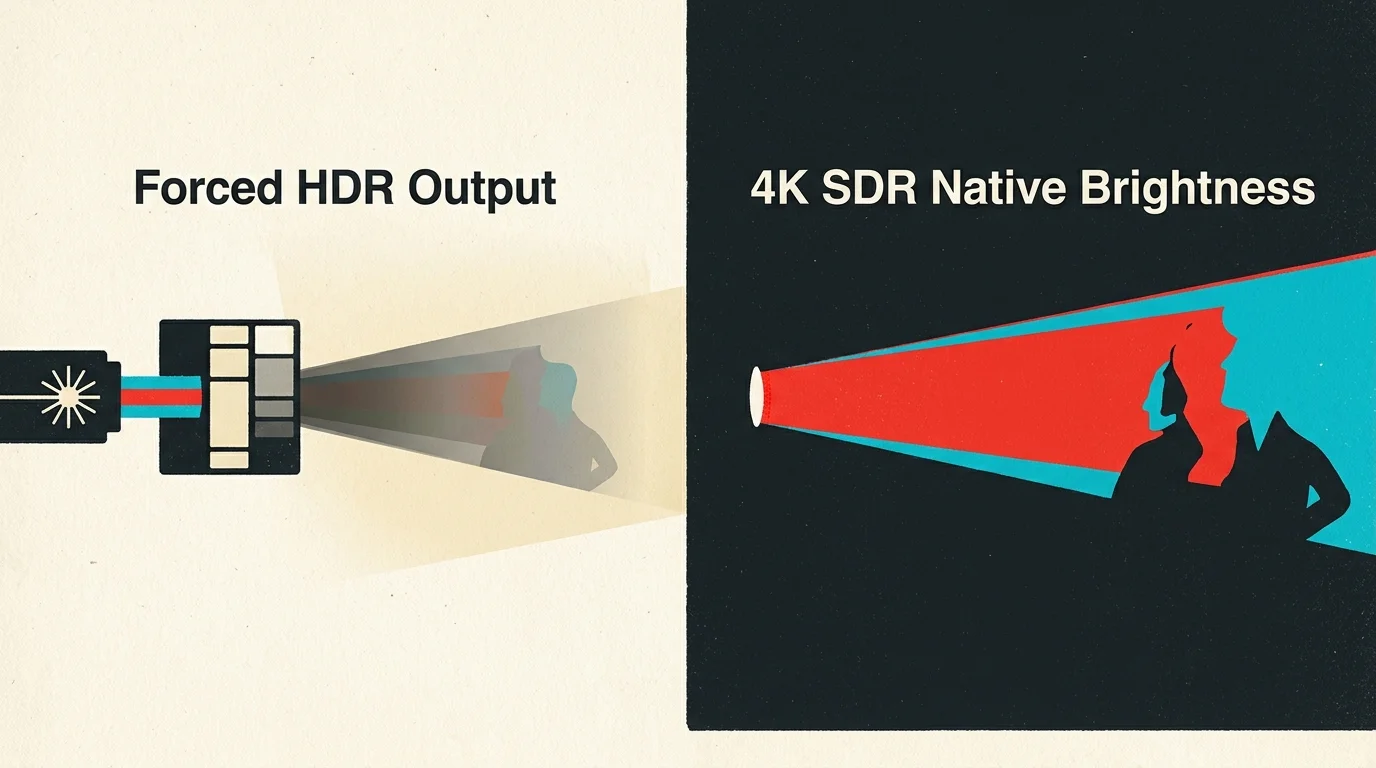
Most modern streaming players default to outputting high dynamic range (HDR) continuously. This forced conversion harms projector performance in lit rooms.
This signal mismatch also explains why legacy 1080p plasma TVs look washed out when modern dongles default to incompatible color spaces.
HDR10 is a high dynamic range format with static metadata that sets peak brightness levels for an entire program. Dolby Vision is an advanced dynamic HDR format that adjusts scene-by-scene brightness and color.
Both HDR formats allocate significant digital headroom for highlights that reach up to 1,000 or 4,000 nits. Flat-panel OLED and mini-LED displays generate these peaks by driving localized LEDs to extreme levels.
Projectors cannot generate localized 1,000-nit highlights across a 120-inch screen. Instead, the projector tone-maps the incoming signal by compressing the entire brightness curve downward.
When your player converts standard content into HDR, it pushes standard mid-tone brightness into lower digital code values. As a result, faces, sports fields, and room interiors look dull and muddy.
“Projectors have a fixed light pool; forcing HDR across standard content drags down your average picture level, making ambient room light look twice as bright.”
By outputting standard dynamic range (SDR) by default, you let the projector use its full laser output for mid-tones. Sports broadcasts and sitcoms appear bright, punchy, and clear against ambient basement light.
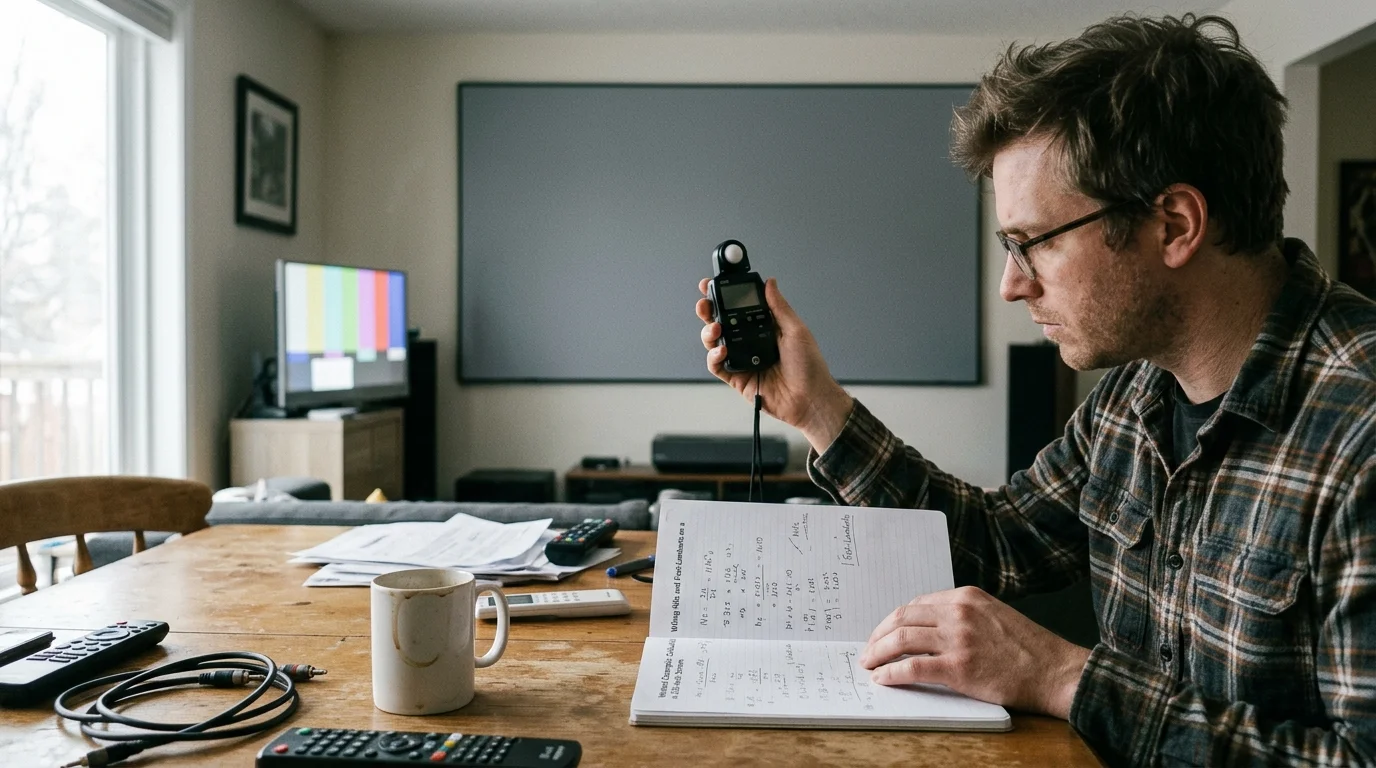
Worked Example: Calculating Nits and Foot-Lamberts on a 120-Inch Screen
Let us look at a real-world scenario involving a 2,400 ANSI lumen laser projector and a 120-inch UST ALR screen. A standard 120-inch 16:9 projection screen measures 104.6 inches wide by 58.8 inches tall, totaling roughly 42.7 square feet.
Ceiling light-rejecting screens for UST projectors typically feature a 0.6 optical gain rating. This lower gain absorbs ceiling reflections but reduces overall image luminance by 40 percent.
To calculate foot-lamberts (fL), multiply your projector lumens by screen gain and divide by screen area. In this setup, 2,400 lumens multiplied by 0.6 gain yields 1,440 usable lumens.
Dividing 1,440 usable lumens by 42.7 square feet produces 33.7 foot-lamberts. Multiplying 33.7 by 3.426 converts this measurement to approximately 115.5 nits of total screen brightness.
In a dark theater room, 14 to 16 foot-lamberts provides adequate brightness for movie viewing. However, a basement with ambient light requires at least 30 foot-lamberts to avoid a washed-out appearance.
If you leave your streaming stick set to “Always HDR,” the device maps standard video mid-tones to roughly 30 percent of maximum output. This drops your mid-tone brightness to approximately 10 foot-lamberts, or 35 nits.
Ambient light easily overpowers a 10-foot-lambert image, washing out colors and muddying dark textures. Locking your baseline output to 4K SDR preserves the entire 33.7 foot-lamberts for regular daytime content.
Apple TV 4K Laser Projector Calibration and Settings
The Apple TV 4K serves as an exceptional source for laser projection due to its precise frame rate and dynamic range controls. According to Wirecutter’s review of media streaming devices, the Apple TV 4K provides unmatched interface responsiveness and clean video processing.
Even with Atmos enabled, it pays to check which streaming apps output true 5.1 and Dolby Atmos audio, as some services silently downmix multichannel soundtracks to standard stereo.
When setting up high-end home theaters, comparing the Apple TV 4K vs Nvidia Shield TV Pro for projectors highlights crucial differences in how each player handles dynamic refresh rates and scaling.
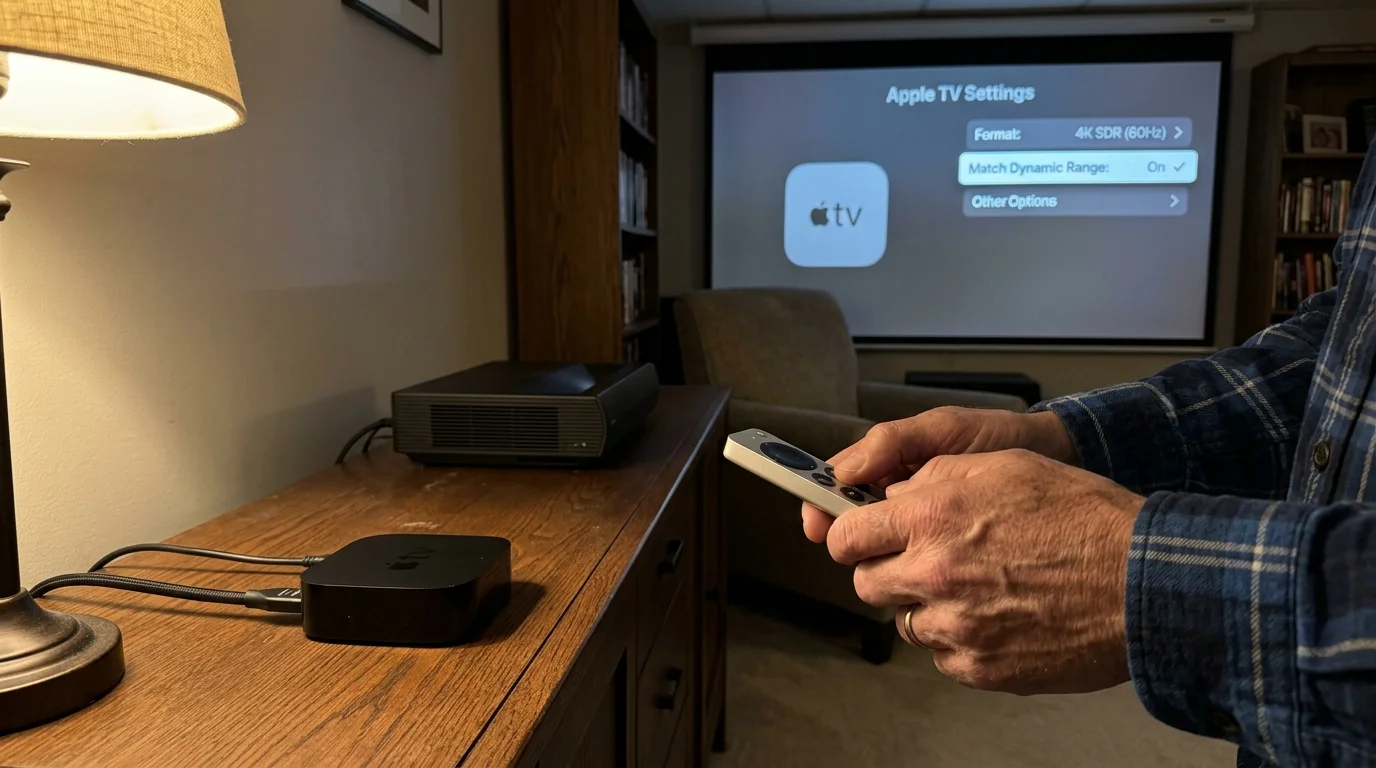
For an accurate apple tv 4k laser projector calibration, navigate to the Video and Audio menu on your device. Set the baseline format to 4K SDR at 60Hz or 59.94Hz.
Never leave the baseline video output set to 4K HDR or 4K Dolby Vision. Doing so forces your user interface and all SDR streaming video into a continuous, dimmed HDR container.
Next, open the Match Content sub-menu. Turn Match Dynamic Range to “On” and Match Frame Rate to “On.”
This setting keeps your projector in high-efficiency SDR mode for sports and casual television. When you play a genuine 4K HDR movie, the Apple TV automatically switches your projector into HDR mode.
Set HDMI Output to YCbCr rather than RGB High or RGB Low. Select Chroma 4:2:2 to ensure smooth color gradations without exceeding your projector’s 18 Gbps HDMI port limits.
Finally, navigate to Audio Output and verify that Dolby Atmos remains enabled. Dolby Atmos is an object-based audio format that maps sound effects into physical 3D space, which your AV receiver or soundbar decodes cleanly.
Roku Ultra Projector HDR Settings and Configuration
The Roku Ultra delivers strong performance for dedicated home theaters. As CNET’s streaming device guide notes, Roku provides a neutral, straightforward interface that does not favor its own media services over competitors.
If you stream local high-bitrate media alongside commercial apps, building a hybrid streaming and Plex media server setup helps preserve full video fidelity and lossless surround audio.
Dialing in your roku ultra projector hdr settings requires adjusting specific hidden video settings. By default, Roku enables an “HDR Always On” toggle that degrades ambient-light projector viewing.
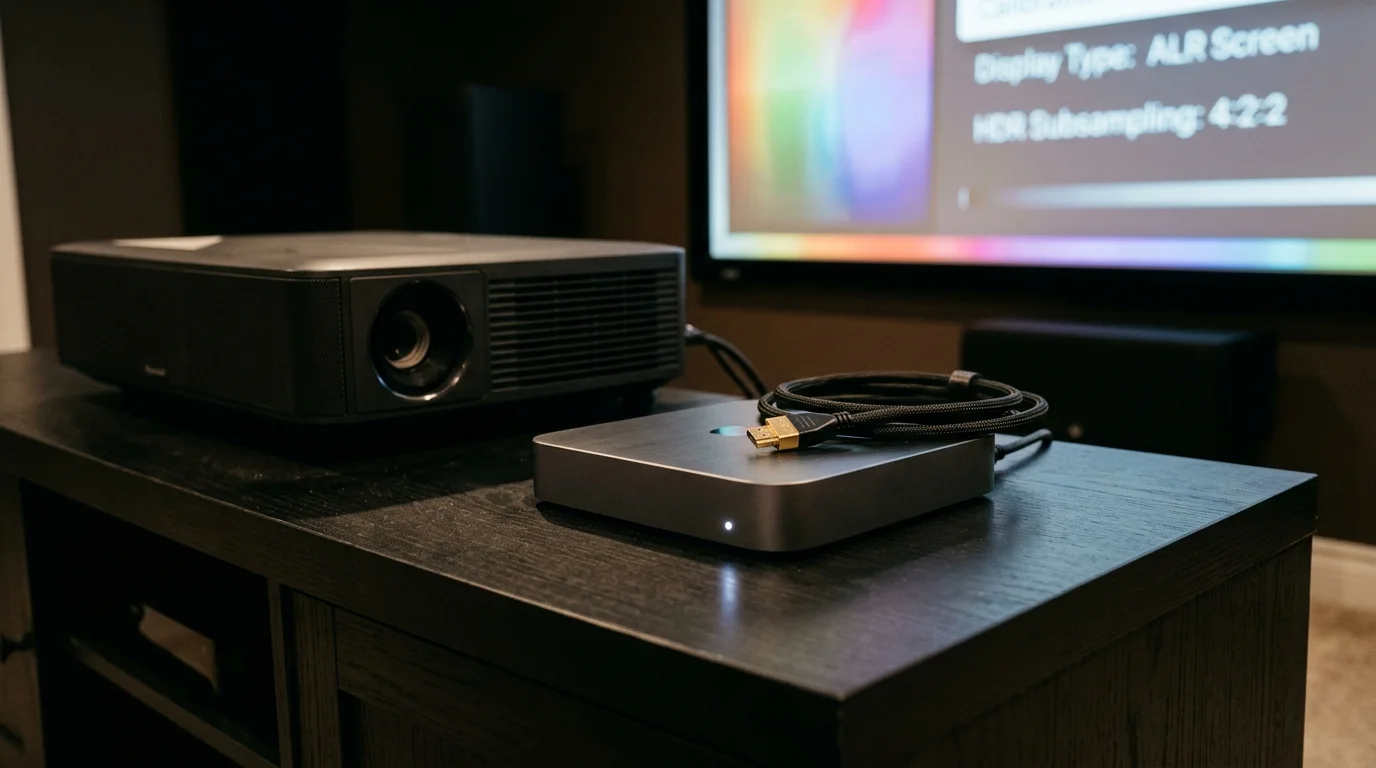
Open the Settings menu, select System, and choose Advanced System Settings. Enter Advanced Display Settings and locate the “HDR Subsampling” option.
Set HDR Subsampling to 4:2:2 or 4:2:0 based on your HDMI cable stability. A 4:2:2 setting provides smoother color gradients across large 120-inch surfaces while staying inside standard HDMI bandwidth limits.
Return to the main Settings menu and select Display Type. Choose “Custom” or “Automatic,” but ensure you disable the “Always HDR” feature.
Disabling this toggle allows standard 1080p and 4K SDR streams to pass directly to your projector untouched. 4K represents a video resolution of 3840×2160 pixels, offering four times the fine detail of legacy 1080p screens.
Check that “Auto-Adjust Display Refresh Rate” is set to “Enabled.” This setting matches your projector’s refresh rate to 24 frames per second for cinema content, eliminating judder in slow camera pans.
Fire TV Stick 4K Max and Chromecast Adjustments
The Amazon Fire TV Stick 4K Max represents the best streaming stick for 4k projector owners on a strict budget. It offers fast Wi-Fi 6 connectivity and robust hardware decoding at a modest price point.
For enthusiasts who want more powerful hardware and upscale processing on an Android foundation, seeing how the Nvidia Shield TV compares as an Android TV streaming device can help you decide between budget sticks and flagship set-top boxes.
Open Settings on your Fire TV, select Display & Sounds, and choose Display. Open the “Dynamic Range Settings” sub-menu immediately.
Switch Dynamic Range Settings from “Always HDR” to “Adaptive.” The Adaptive setting outputs SDR for SDR media and only triggers HDR modes when true HDR metadata appears.
Keep Color Depth set to 10 bits or 12 bits depending on your projector’s native color processing chip. Set Color Format to YCbCr to avoid black-level clipping issues common with RGB signals.
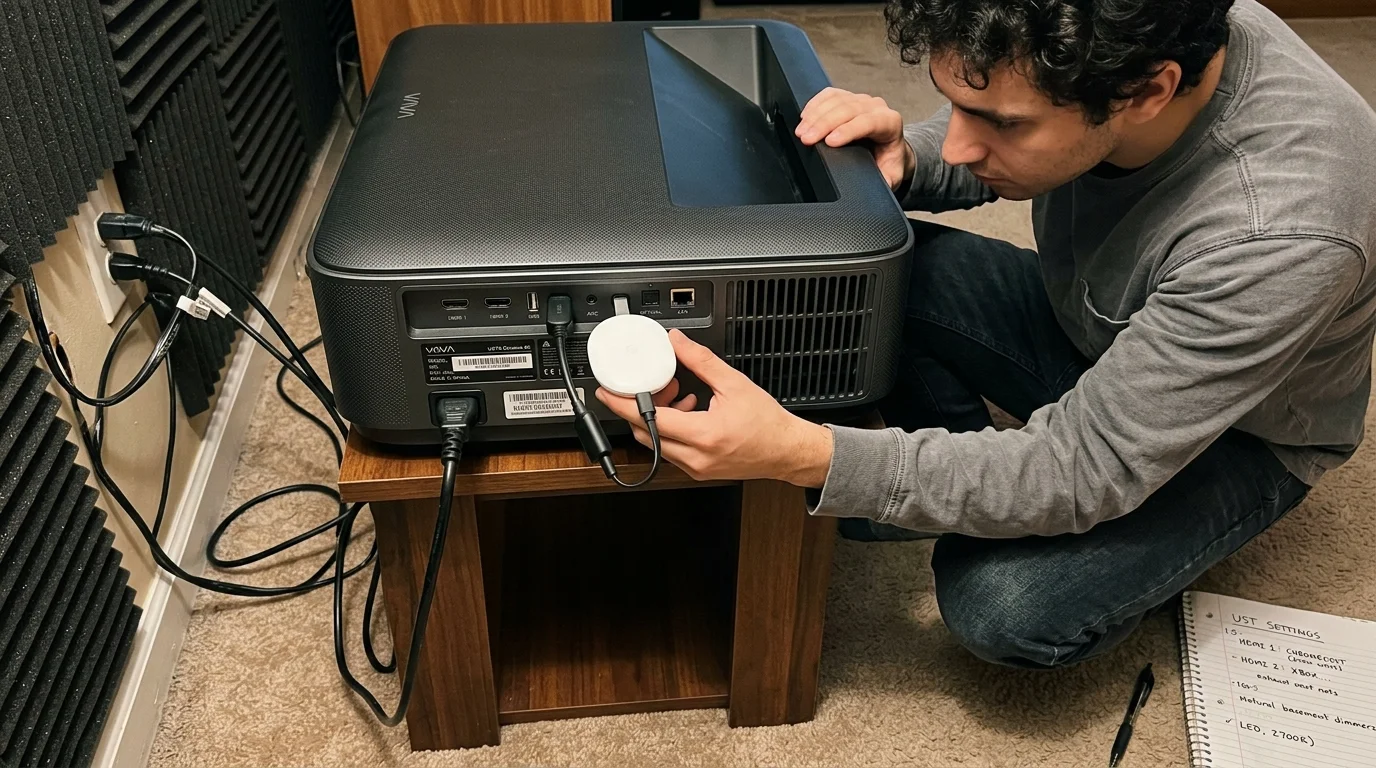
If you use the Chromecast with Google TV 4K, open your System Settings and choose Display & Sound. Select “Match Content Dynamic Range” rather than forcing Dolby Vision or HDR conversion.
Under the Resolution menu, set display refresh rate to 60Hz. Enable “Seamless” or “Non-seamless” frame rate matching to sync film playback accurately with your UST laser engine.
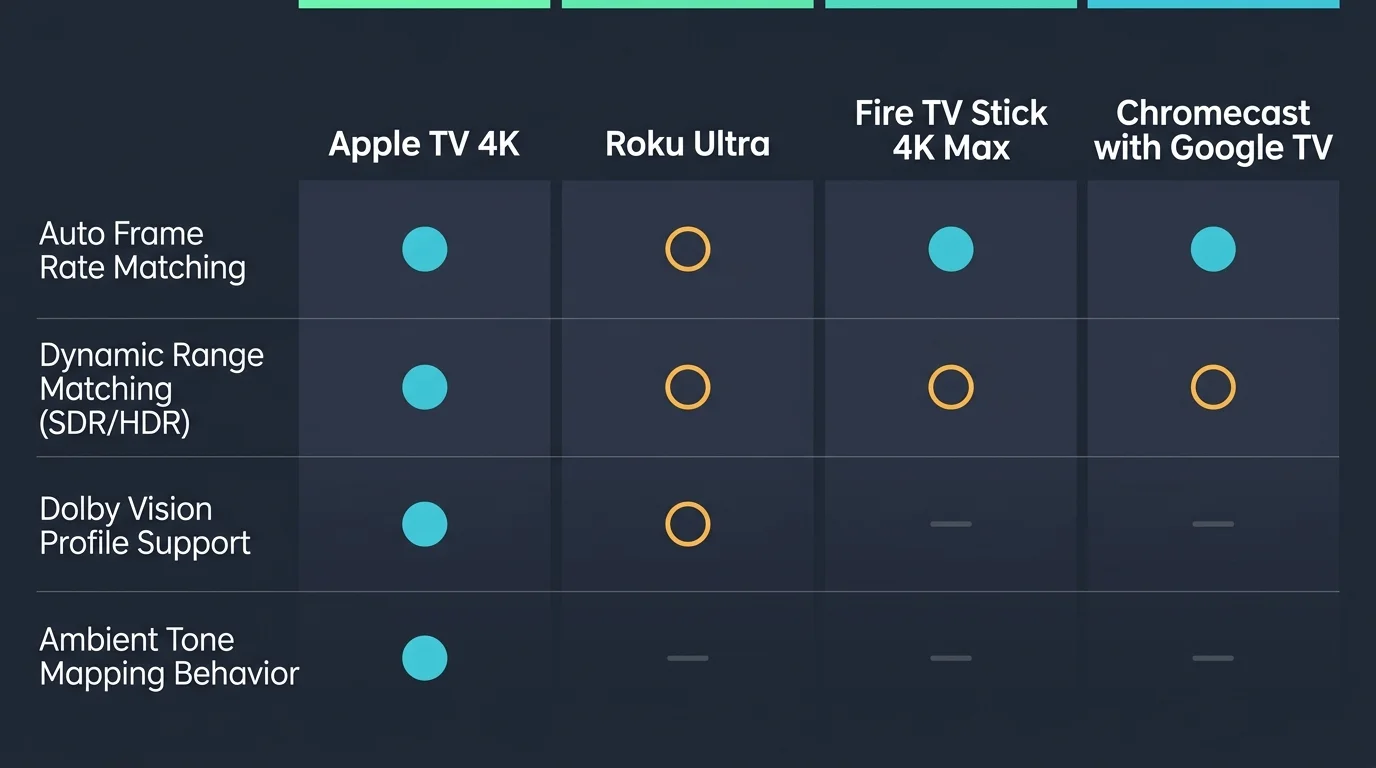
Streaming Device Hardware and Format Comparison
Choosing the right player involves balancing processing power, operating system flexibility, and video output options. In their roundups, TechRadar’s media streamer rankings highlight that premium processors handle dynamic matching transitions without screen blanking delays.
The table below breaks down the key video capabilities and optimal configurations for the top streaming devices paired with ultra-short-throw projectors.
| Device Model | Baseline Output Setting | Dynamic Range Matching | Chroma Subsampling | Best For |
|---|---|---|---|---|
| Apple TV 4K (3rd Gen) | 4K SDR 60Hz | Instantaneous / Clean | YCbCr 4:2:2 | Color accuracy and premium AV setups |
| Roku Ultra (4802R) | 4K SDR 60Hz | Reliable via Advanced Menu | YCbCr 4:2:2 or 4:2:0 | Simple operation and physical Ethernet |
| Amazon Fire TV Stick 4K Max | Adaptive 4K 60Hz | Adaptive (App Dependent) | YCbCr 10-bit | Budget setups and Wi-Fi 6 performance |
| Chromecast with Google TV | Match Content 4K 60Hz | System-level Matching | YCbCr 4:2:0 | Google Assistant and smart home users |
Pay close attention to chroma subsampling settings on long HDMI runs. Chroma 4:2:2 uses less HDMI bandwidth than uncompressed 4:4:4, preventing signal dropouts and black screens.
If your basement run uses an active optical fiber HDMI cable, test 4:2:2 transmission before closing drywall. Solid video handshakes are critical for smooth HDR switching on UST projectors.
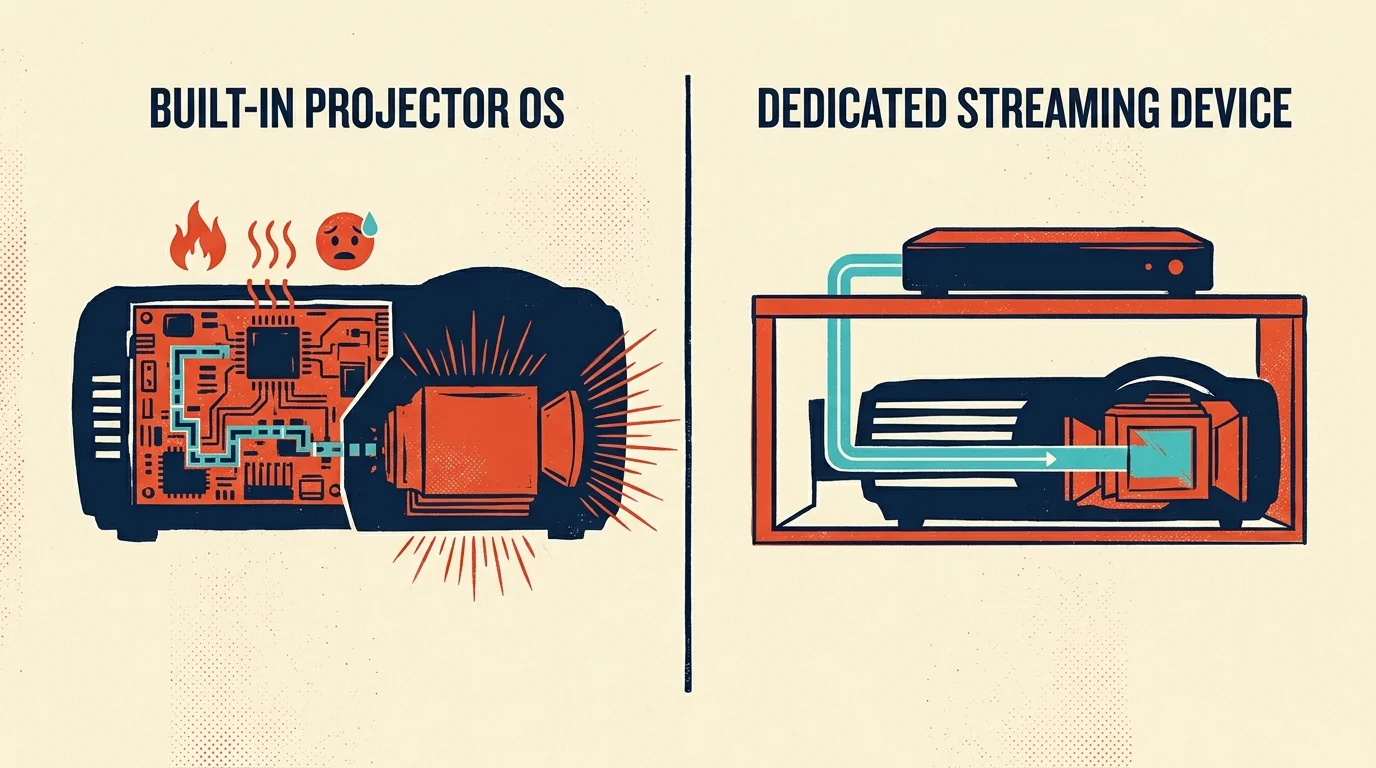
Built-in Smart TV Apps vs Dedicated Streaming Sticks
A smart TV is a television or projector with a built-in internet connection and operating system. Most modern UST projectors include Android TV or Google TV pre-installed.
Built-in smart TV apps seem convenient, but they frequently limit laser brightness. Projector manufacturers often apply universal image processing to onboard apps, locking them into forced HDR profiles.
Internal projector chipsets also suffer from slower processors and limited onboard storage. App updates quickly exhaust available memory, causing navigation stutter and audio sync lag.
A dedicated external streaming player offloads video processing from your projector’s motherboard. External boxes process heavy app interfaces independently, letting your projector focus solely on laser modulation.
Dedicated streamers also offer superior audio passthrough options for home theater receivers. They pass uncompressed Dolby Atmos over eARC reliably, whereas internal projector operating systems often downsample surround tracks to basic stereo.
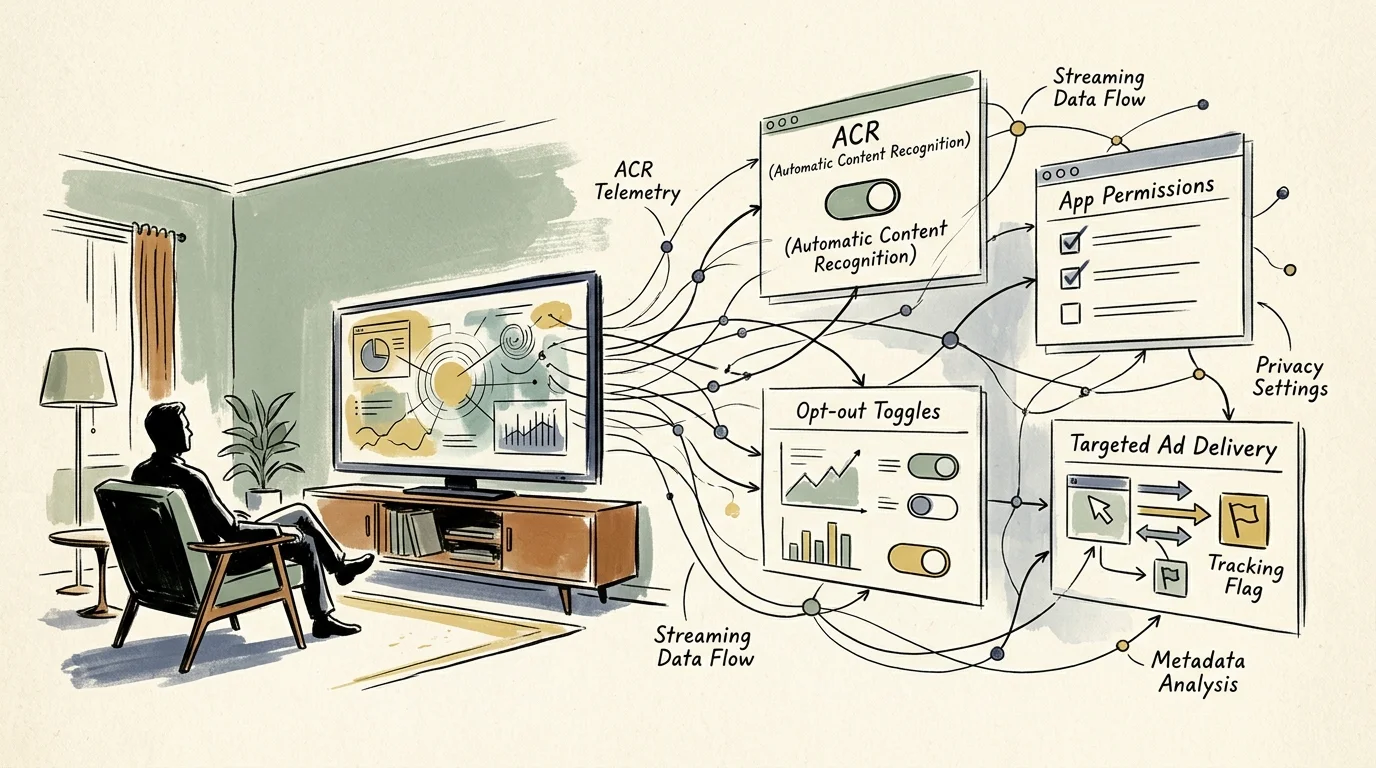
Cord-Cutting App Ecosystem and Privacy Trade-Offs
Cord-cutting means canceling traditional cable or satellite TV in favor of internet streaming services. Moving to a streaming setup allows you to curate content without paying for bloated cable packages.
You can choose between ad-supported plans that show commercials for a lower price and ad-free tiers that remove interruptions entirely. On-demand streaming lets you watch movies and shows whenever you choose, rather than following a network broadcast schedule.
Cloud DVR services, which act as digital video recorders hosted on remote servers, let you record live sports and broadcasts to view later. Services like YouTube TV and Hulu + Live TV deliver live television directly through your streaming box.
Operating systems differ considerably when it comes to user privacy and data collection. Amazon Fire TV and Google TV heavily track viewing habits to serve targeted advertisements across your home screen.
Roku monetizes user data through targeted banner ads and automated content recognition. If you prefer minimal ad tracking, Apple TV provides the cleanest interface with strict privacy controls.
Frequently Asked Questions
Why does SDR look brighter than HDR on my laser projector?
Projectors lack the physical peak brightness of flat-screen TVs. Setting your device to SDR lets the projector output maximum laser power across the entire image, whereas HDR tone-mapping compresses mid-tone brightness to preserve highlight headroom.
Should I enable Match Dynamic Range on my streaming stick?
Yes, you should always enable Match Dynamic Range. This setting displays standard content in bright SDR while automatically switching your projector into HDR mode only when you watch native HDR films.
What chroma subsampling should I choose for a 120-inch projector screen?
Set your chroma subsampling to YCbCr 4:2:2. This provides smooth color transitions without exceeding the 18 Gbps bandwidth limit of standard projector HDMI ports.
Can I use my projector’s built-in apps instead of a streaming stick?
Built-in apps work for basic viewing, but they often lack frame rate matching and force continuous HDR. An external streaming player delivers better processing speed, brighter SDR output, and reliable audio passthrough.
Disclaimer: Device prices and features may change. New models are released regularly, so check for the latest versions before purchasing. The “best” device depends on your specific needs, existing ecosystem (Apple, Google, Amazon), and budget.