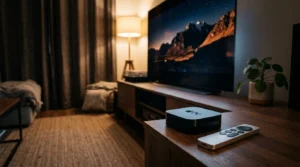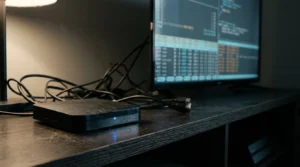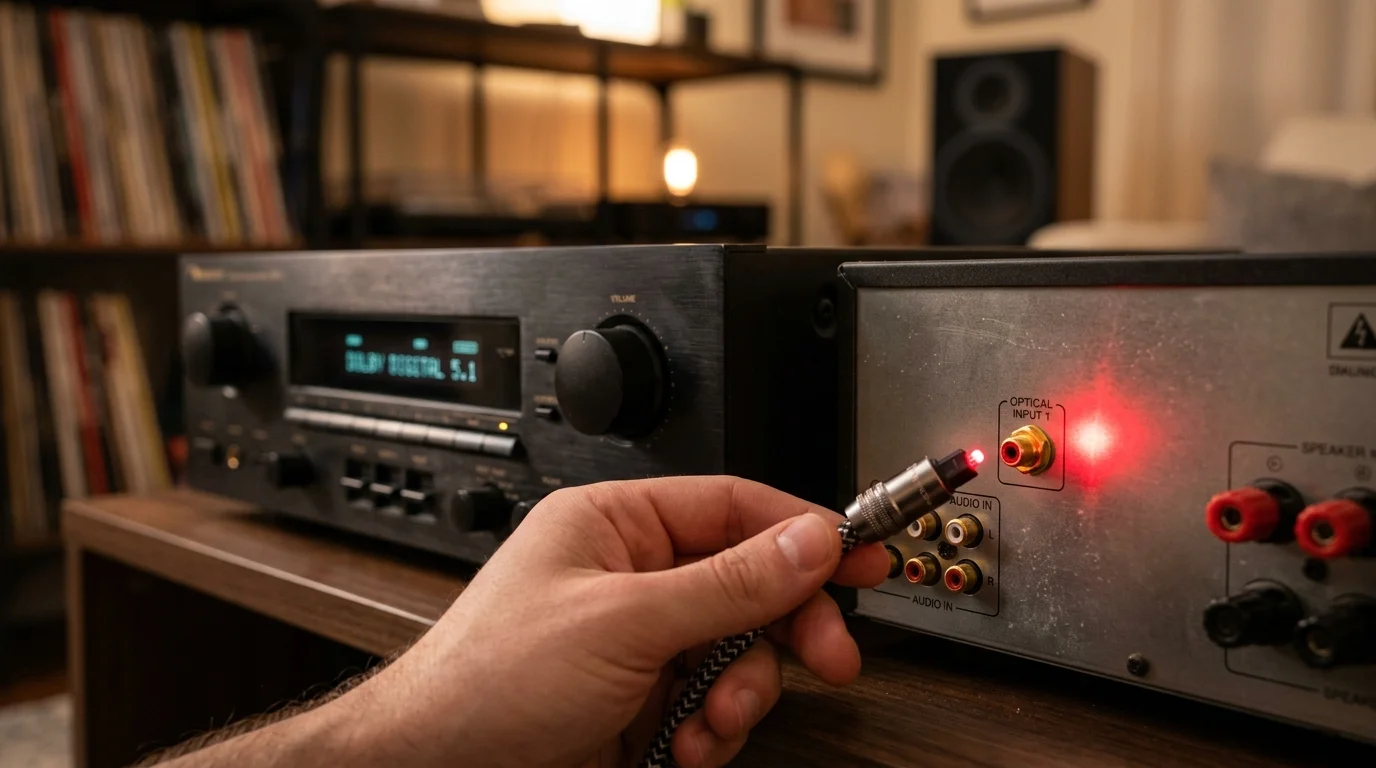
Your classic home theater receiver still drives pristine audio, but modern streaming sticks default to two-channel stereo over optical connections. You can unlock discrete 5.1 surround sound without replacing your vintage amplifier.
Most guides claim an inexpensive optical splitter solves this problem instantly. However, standard extractors cannot decode modern streaming audio unless your hardware actively transcodes the format.
By pairing specific player settings with the right converter, you can send true multi-channel audio to your legacy setup today.
The Technical Roadblock: Why Optical Receivers Reject Streaming Audio
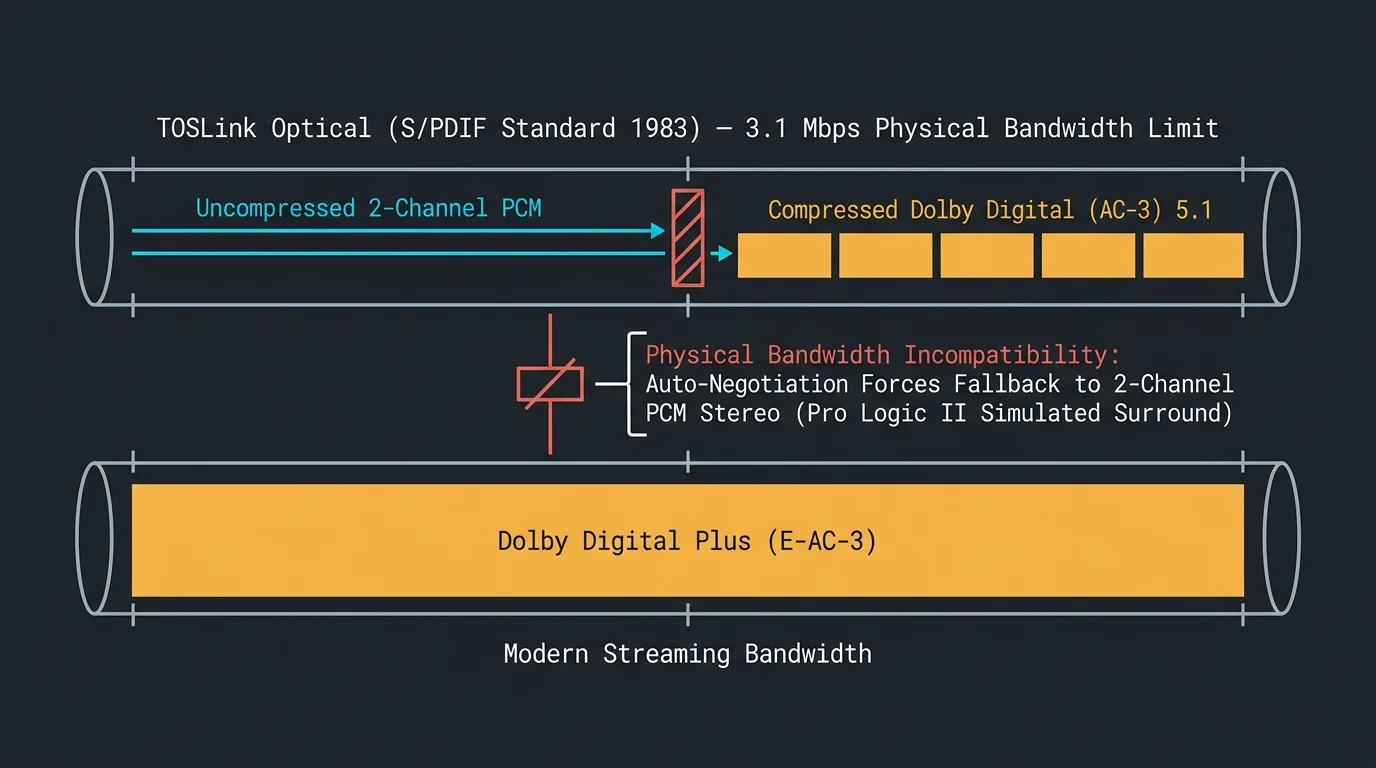
Legacy audio/video receivers rely on TOSLink optical connections, developed under the S/PDIF standard in 1983. This optical format carries strict physical bandwidth limits of roughly 3.1 megabits per second.
Viewers managing personal media alongside commercial apps can explore building a hybrid streaming and Plex server setup to ensure multichannel tracks remain intact across all sources.
If your receiver has early HDMI inputs rather than optical ports, you can often get lossy Dolby Atmos via ARC directly from budget streaming hardware.
Because of this limit, optical cables only support uncompressed two-channel stereo PCM or compressed 5.1 surround sound formats like original Dolby Digital (AC-3) and DTS.
Modern streaming—watching video content over the internet instead of cable or satellite—uses modern compression standards. Cord-cutting viewers canceling traditional cable/satellite TV face unexpected audio hurdles as a result.
Apps like Netflix, Max, and Disney+ stream on-demand content using Dolby Digital Plus (E-AC-3). On-demand platforms let you watch whatever you want, whenever you want, but their streams require modern HDMI bandwidth.
Dolby Digital Plus delivers efficient bitrates and supports extra metadata. Unfortunately, it cannot physically travel across a TOSLink optical cable.
“Optical connections remain electrically noise-free, but their bandwidth limits require legacy AC-3 compression for multichannel sound.” — AV Hardware Engineer
When you plug a streaming stick into an older setup, the devices negotiate an audio format. Finding no HDMI handshake for Dolby Digital Plus, the stick drops the signal to two-channel PCM stereo.
Your receiver then illuminates a “Pro Logic II” banner instead of a discrete 5.1 indicator. This means your receiver simulates surround sound by upmixing a flat stereo track.
To implement an effective optical receiver streaming audio fix, you must convert Dolby Digital Plus into legacy AC-3 bitstream before the signal hits your optical port.
Hardware Comparison: Which Streaming Sticks Transcode Audio
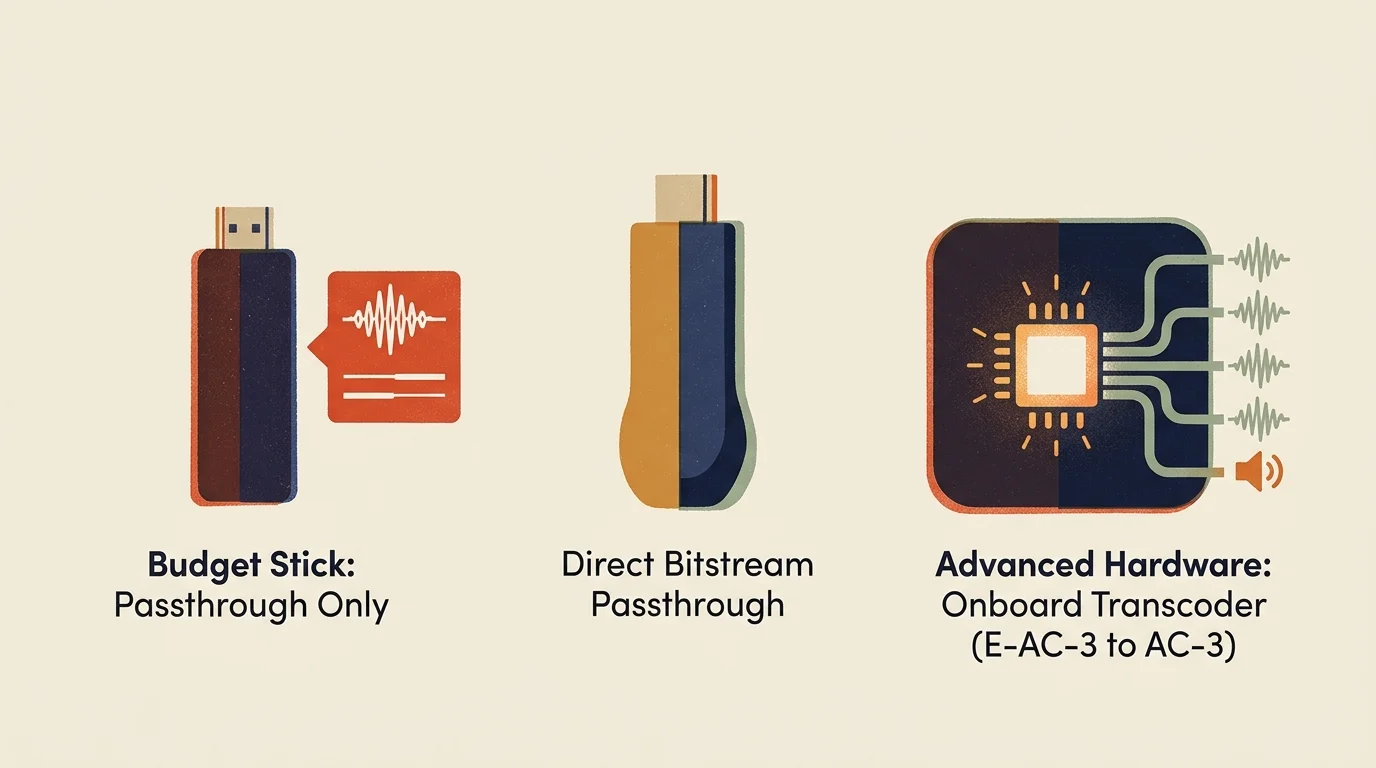
Not every streaming device—a small box or stick that adds streaming to any TV—includes an onboard audio transcoder. Many low-cost units simply pass raw audio down the chain.
If your receiver is wired into a legacy television that lacks modern inputs, reviewing the best streaming devices for older TVs can help you match both video and audio capabilities.
As TechRadar reports, budget streaming hardware often excludes proprietary audio decoders to minimize licensing costs.
If your streaming stick lacks an internal Dolby transcode engine, you will never get discrete 5.1 audio through an optical cable. The table below illustrates which popular devices transcode Dolby Digital Plus to legacy Dolby Digital.
| Streaming Device | Retail Price | Internal DD+ to AC-3 Transcoding | Surround Formats Supported | Extraction Compatibility |
|---|---|---|---|---|
| Roku Ultra (4802R) | $99.99 | Yes (Hardware Dolby DSP) | Dolby Atmos, DD+, DD, DTS Digital Surround | Direct via passive optical extractor |
| Amazon Fire TV Stick 4K Max | $59.99 | Yes (Software transcode) | Dolby Atmos, DD+, DD, PCM 2.0 | Direct via passive optical extractor |
| Apple TV 4K (3rd Gen) | $129.00 | Yes (Uncompressed to AC-3 switch) | Dolby Atmos, LPCM 5.1/7.1, DD 5.1 | Direct via passive optical extractor |
| Chromecast with Google TV (4K) | $49.99 | No (Passthrough only) | Dolby Atmos, DD+, DD (Passthrough) | Requires external transcoding extractor |
| Roku Streaming Stick 4K | $49.99 | No (Passthrough only) | Dolby Atmos, DD+ (Passthrough) | Requires external transcoding extractor |
Both ad-supported plans with commercials and ad-free tiers without commercials stream identical audio bitstreams. Your hardware choices dictate audio quality far more than your subscription tier.
The Roku Ultra remains a gold standard for legacy setups because its processor converts Dolby formats in real time. The Fire TV Stick 4K Max also performs software-level transcoding reliably when manually configured.
Selecting the Right Optical Audio Extractor for Your Streaming Setup
If you use a streaming player without an optical port, you need an HDMI to TOSLink 5.1 streaming converter. However, shoppers often buy the wrong category of hardware.
If you experience dropouts or intermittent muting after hooking up an adapter box, follow our troubleshooting steps on how to fix common streaming audio problems to test your signal path.
These converter principles also apply if you need to connect your streaming device to an optical soundbar that cannot decode Dolby Digital Plus.
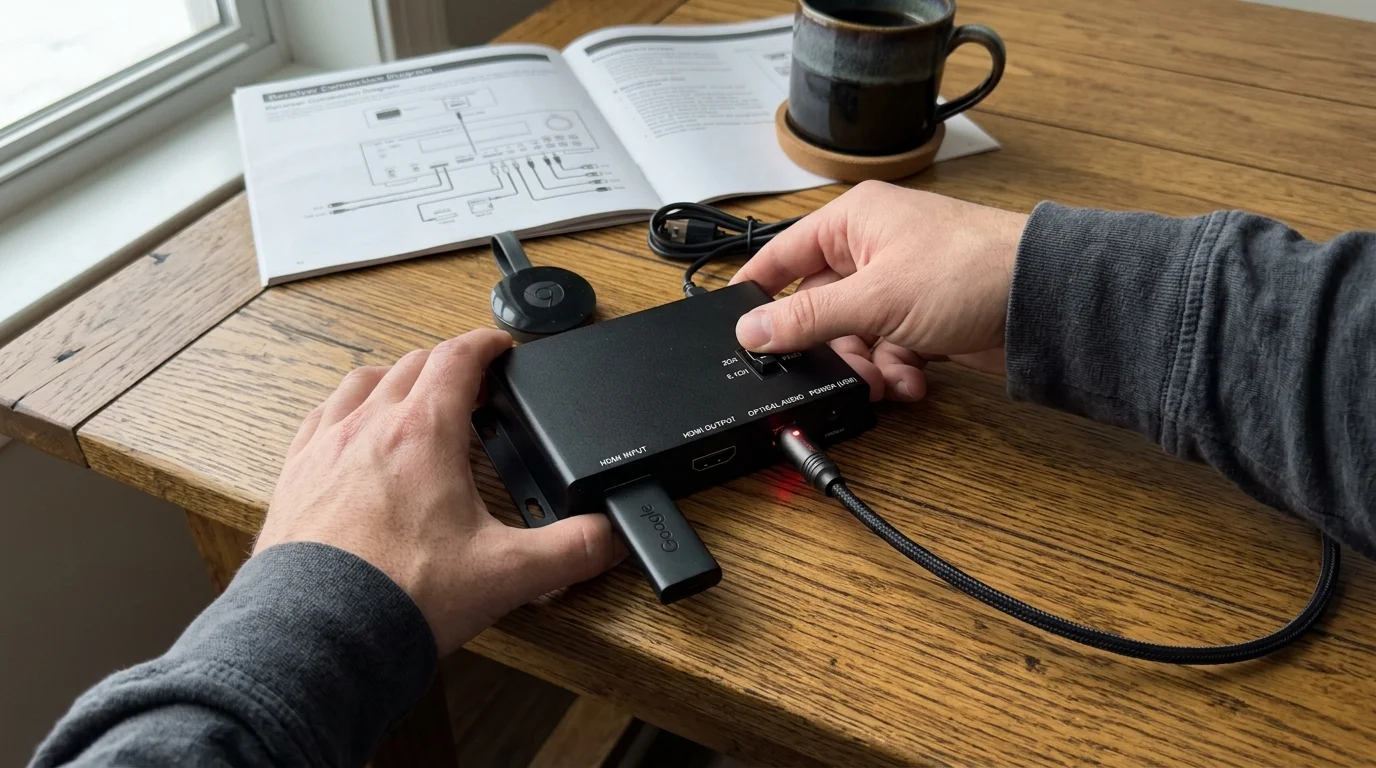
Standard passive extractors cost between $18 and $25. These devices tap the HDMI stream, siphon the digital audio, and route it to an optical TOSLink port.
Passive extractors do not decode or alter the audio signal. If your streaming stick feeds it Dolby Digital Plus, the extractor sends Dolby Digital Plus to your optical jack.
Your older optical receiver cannot decode that signal. It will either mute entirely or blast painful digital static through your speakers.
A passive optical audio extractor streaming stick setup only works if your streaming stick transcodes the audio to legacy Dolby Digital first. Otherwise, you need a specialized converter with onboard decoding.
Active transcoding extractors cost between $55 and $85. These units contain dedicated digital signal processors that ingest E-AC-3 and down-convert it to legacy AC-3 at 640 kbps.
Check the EDID switch on your extractor before mounting it. Most units feature a three-position mechanical switch labeled “2CH,” “5.1CH,” and “TV” or “Pass.”
Never leave this switch on “TV” or “Pass,” or the extractor will mimic your television’s basic stereo capabilities. Set the switch firmly to “5.1CH” to force multi-channel handshakes over HDMI.
Step-by-Step Configuration: Forcing 5.1 Bitstream on Roku, Fire TV, and Apple TV
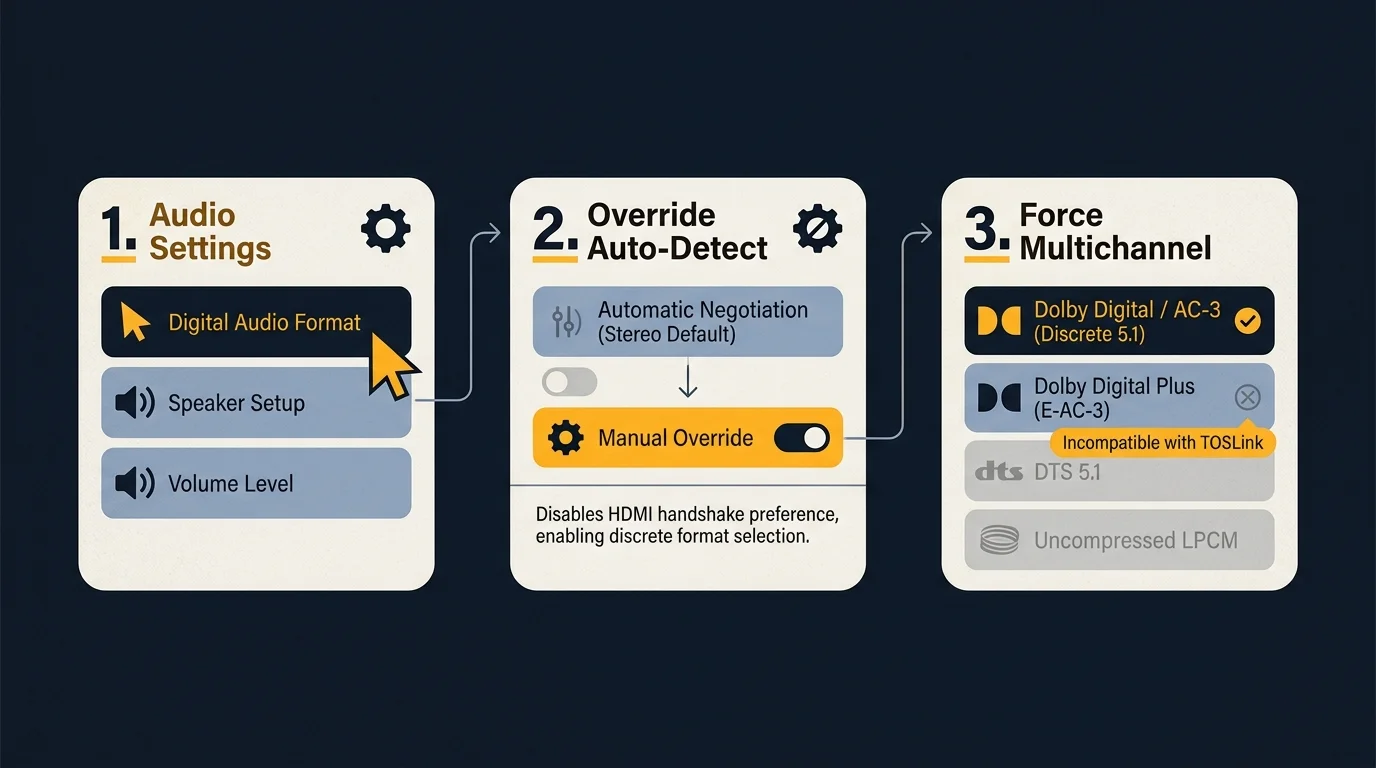
Streaming devices default to “Auto” audio detection, which favors modern HDMI television speakers. You must manually override these settings to guarantee legacy 5.1 transmission.
If you are configuring a brand-new player straight out of the box, our guide on how to set up your first streaming device covers the initial network and account activation steps.
According to Wirecutter’s streaming device guide, setting manual audio modes avoids negotiation errors between legacy audio gear and modern 4K displays.
Configuring an Amazon Fire TV Stick 4K Max
Power on your equipment and navigate to the home screen. Open the main “Settings” menu shaped like a gear on the far right.
Select “Display & Sounds,” scroll down, and select “Audio.” Open the “Surround Sound” submenu.
Change the setting from “Best Available” to “Dolby Digital.” Do not choose “Dolby Digital Plus,” or your optical receiver will drop the signal.
Return to the main screen. Your Fire TV will now transcode all streaming soundtracks into legacy AC-3 bitstream before sending them through HDMI.
Configuring a Roku Ultra
Turn on your Roku and press the Home button on your remote. Scroll down the left sidebar and select “Settings.”
To get premium onboard Dolby decoding at a lower cost, shopping for refurbished streaming devices can save you money without giving up advanced audio hardware.
Select “Audio,” then click on “Digital output format.” Switch the setting from “Auto” to “Custom.”
Set “Dolby” to “Dolby Digital.” Set “DTS” to “None” or “DTS” if your legacy receiver features a DTS decoder badge.
This setting instructs the internal processor to convert high-bitrate streaming feeds into legacy 5.1 audio instantly.
Configuring an Apple TV 4K
Open the “Settings” app on your Apple TV home screen. Select “Video and Audio” from the menu options.
Scroll down to the “Audio” category and select “Audio Format.” Click “Change Format” and confirm your choice on the warning prompt.
Set the “New Format” option to “Dolby Digital 5.1.” Apple TV will decode audio internally and output clean, legacy multi-channel bitstream.
Worked Example: Total Cost and Signal Flow for a Legacy Denon Receiver
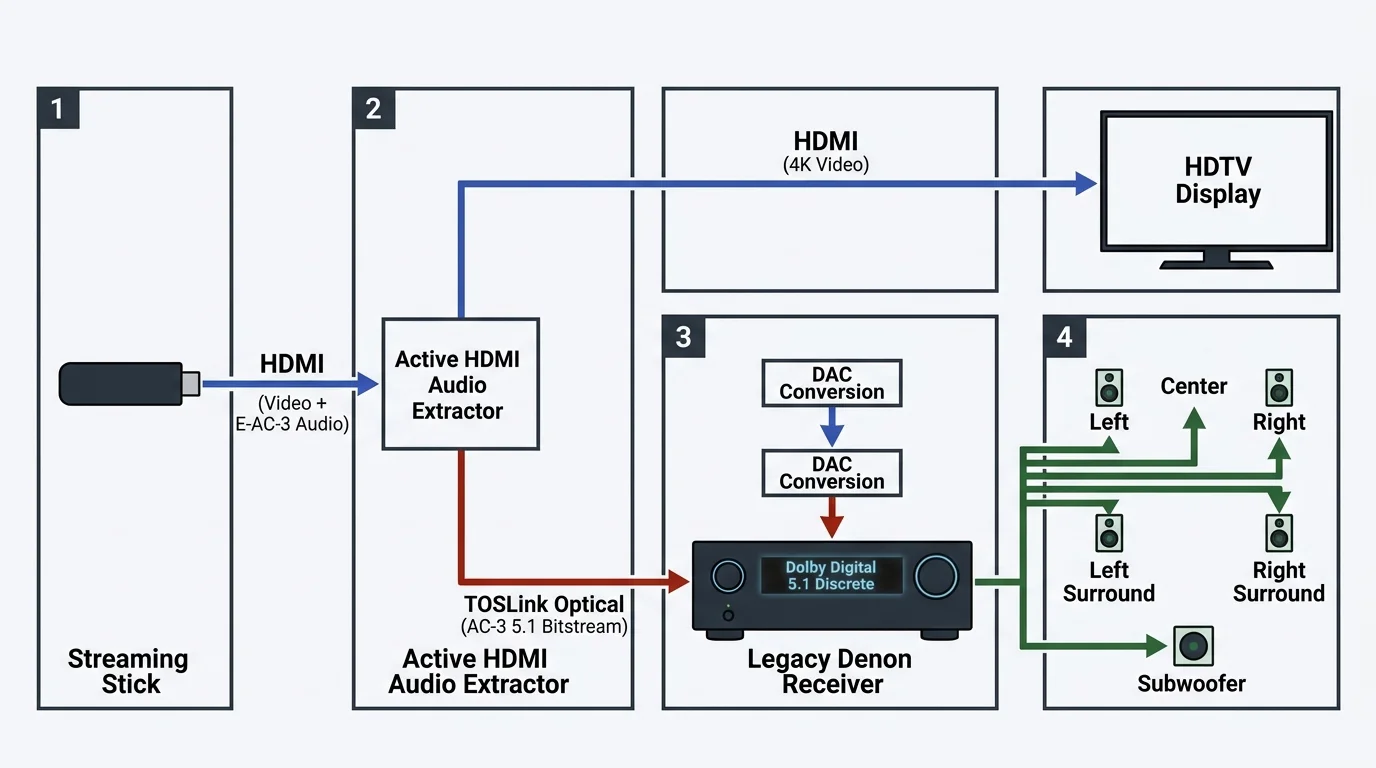
Consider a practical home theater scenario featuring an older flagship receiver. Our test system uses a 2002 Denon AVR-3802 receiver, a 2021 LG 4K television, and an Amazon Fire TV Stick 4K Max.
If you are pairing this classic audio system with a vintage display rather than a 4K TV, learn why your legacy 1080p plasma looks washed out to correct HDMI black levels.
The Denon AVR-3802 produces 110 watts per channel across seven channels with pristine Burr-Brown DACs. However, it lacks HDMI ports entirely, offering only optical and coaxial digital audio inputs.
Instead of discarding this high-performance $1,199 amplifier for a modern entry-level receiver, we bridge the hardware gap using the exact components listed below.
- Amazon Fire TV Stick 4K Max: $59.99
- J-Tech Digital 4K 60Hz HDMI Audio Extractor (JTD-0104): $24.99
- Monoprice 6-foot TOSLink Optical Cable: $6.49
- High-Speed 18Gbps HDMI Cable (1.5 feet): $4.99
- Total Project Investment: $96.46
Plug the Fire TV Stick 4K Max directly into the “HDMI IN” port of the J-Tech extractor. Connect the included 5-volt USB power cable to a wall outlet adapter.
Connect the 1.5-foot HDMI cable from the extractor’s “HDMI OUT” port to an available HDMI input on your 4K television. This cable carries uninterrupted 4K HDR video to the screen.
Connect the optical cable from the extractor’s “TOSLink OUT” port to the “Optical 1 (TV/DBS)” port on the back of the Denon receiver.
Flip the mechanical switch on the J-Tech extractor to the “5.1CH” setting. Power on all hardware components.
On the Fire TV Stick, set Surround Sound to “Dolby Digital.” On the Denon receiver, assign the “Optical 1” input to your preferred input mode and set the decode mode to “Auto.”
Launch Netflix and play a movie featuring a 5.1 audio mix. The red “Dolby Digital” indicator on the Denon receiver’s front display will illuminate immediately.
Discrete audio will flow through your front, center, surround, and subwoofer channels with crisp channel separation. You have achieved true surround sound while saving over $400 compared to buying a new receiver.
Smart TV Optical Pass-Through vs Dedicated Audio Extractors
A smart TV—a television with a built-in internet connection and apps—often features its own optical audio output port on the rear connection panel.
You might wonder why you need an external audio extractor if your television already includes an optical port. In their hardware evaluations, Tom’s Guide’s streaming player analysis shows that TV audio processing varies wildly between manufacturers.
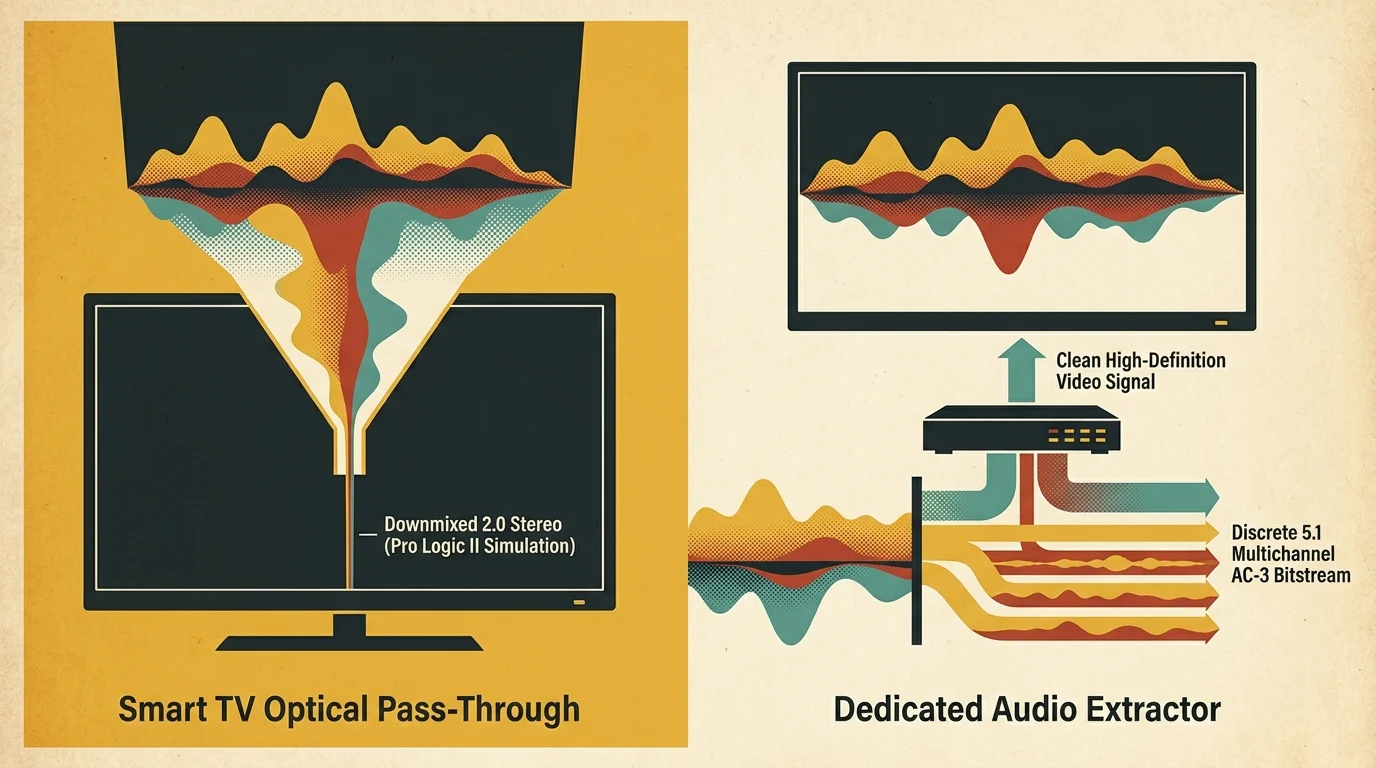
Many smart TVs downmix external audio sources to two-channel PCM stereo before outputting the signal over optical. They do this to prevent sync issues and hardware incompatibilities.
Even if your TV accepts a multi-channel stream over HDMI, its internal processor may strip the surround channels entirely. Your receiver only receives a 2.0 stereo stream.
Some newer televisions from Samsung and LG do offer internal transcoding. You can navigate your television’s audio menu and set Digital Audio Output to “Dolby Digital.”
However, this internal TV conversion often introduces audio latency ranging between 120 and 250 milliseconds. This delay causes distracting lip-sync errors during dialogue.
A dedicated HDMI audio extractor avoids your television’s processing bottlenecks entirely. It extracts the raw digital bitstream right at the stick, ensuring zero conversion lag.
Dedicated extractors also protect your setup from privacy concerns. Smart TVs frequently use Automated Content Recognition (ACR) to track your viewing habits across inputs, whereas basic hardware extractors contain no network interfaces.
Common Troubleshooting Pitfalls: Fixing Center Channel Silence and Latency
Achieving stable 5.1 bitstream over optical requires every link in your connection chain to cooperate. If you encounter audio glitches, run through these proven diagnostic steps.
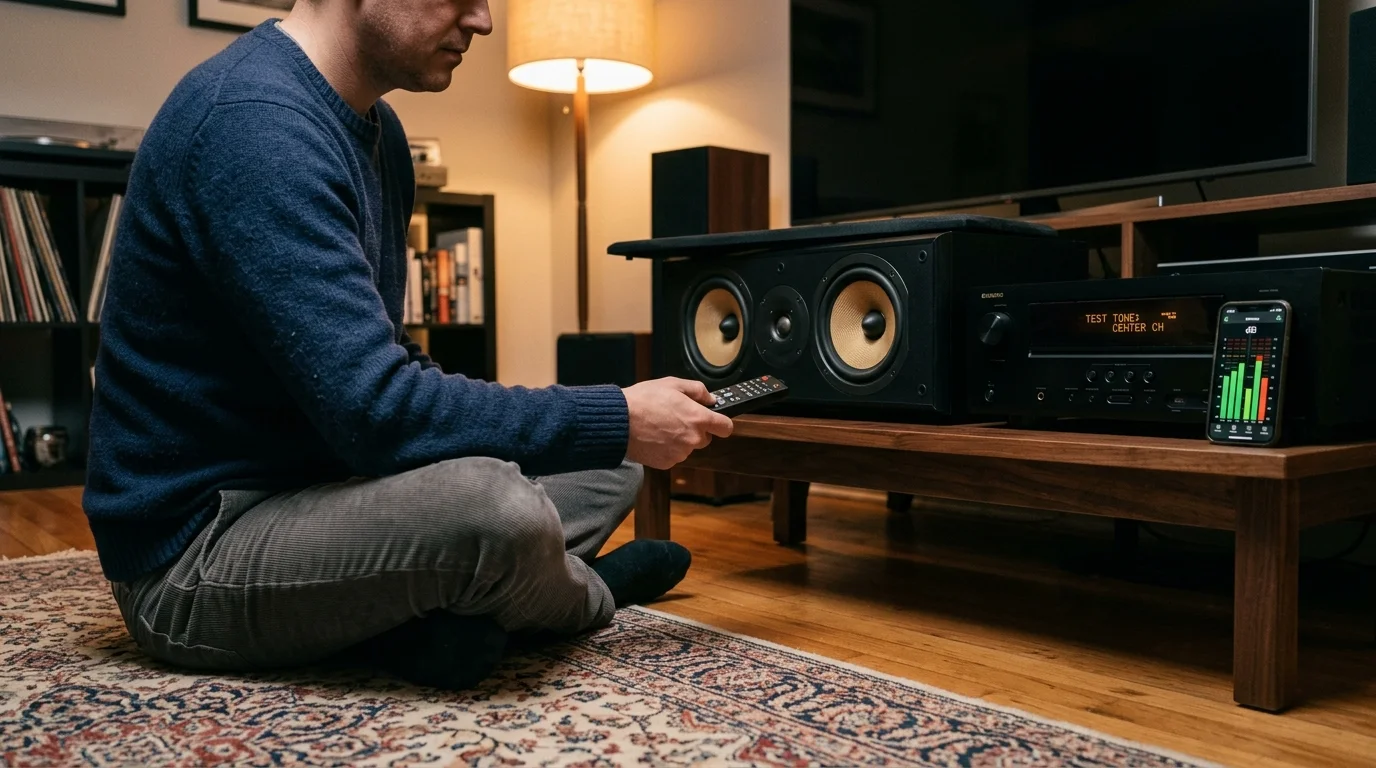
If dialogue sounds faint or missing, check your receiver’s display panel. If it reads “Stereo” or “Pro Logic II,” your streaming stick is sending a two-channel mix.
“If your receiver screen reads Pro Logic rather than Dolby Digital 5.1, your setup is creating simulated surround from a two-channel feed.” — Audio Calibration Technician
Dialogue belongs in the discrete center channel speaker. When a system downmixes audio to stereo, speech can get buried beneath background sound effects.
Check the streaming stick’s audio menu and ensure you disabled “Auto” detection. Manually force “Dolby Digital” to restore discrete center channel output.
If you hear complete silence or crackling static, your receiver is receiving raw Dolby Digital Plus or uncompressed multichannel PCM. Optical connections cannot decode these streams.
Verify that your extractor’s physical switch is set to “5.1CH” rather than “Pass.” Then restart your streaming stick to refresh the HDMI EDID handshake.
If actors’ voices do not match their lip movements, you are experiencing audio latency. Video processing on modern 4K televisions often takes longer than pure audio conversion.
Open your streaming player’s display settings and look for “Audio Lip Sync” or “AV Sync.” Adjust the delay slider in 10-millisecond increments until voices align naturally with the picture.
Finally, inspect your TOSLink cable if the audio drops out periodically. Optical cables use fragile glass or plastic fibers that fail if bent around sharp corners behind home theater furniture.
Frequently Asked Questions
Can an optical TOSLink cable carry Dolby Atmos audio?
No, optical TOSLink cables lack the bandwidth required for Dolby Atmos. Dolby Atmos requires Dolby Digital Plus or Dolby TrueHD, which can only travel across modern HDMI connections.
Why does my optical receiver only display Dolby Pro Logic II?
Your receiver displays Pro Logic II when it receives a standard two-channel stereo feed. This occurs when your streaming stick fails to transcode Dolby Digital Plus into legacy Dolby Digital bitstream.
Do streaming apps like Netflix let you select legacy Dolby Digital directly?
No, streaming services encode their modern multi-channel audio exclusively in Dolby Digital Plus. Your playback hardware must actively convert the stream into legacy Dolby Digital AC-3.
Will an optical connection compromise audio quality compared to HDMI?
For standard 5.1 surround sound, optical Dolby Digital at 640 kbps delivers superb dynamic range and clarity. You only miss out on uncompressed lossless audio and overhead Atmos channels.
Disclaimer: Device prices and features may change. New models are released regularly, so check for the latest versions before purchasing. The “best” device depends on your specific needs, existing ecosystem (Apple, Google, Amazon), and budget.