Your streaming experience involves more than just a crystal-clear picture. High-quality sound elevates everything you watch, from gripping dramas to action-packed blockbusters. Many viewers, however, settle for mediocre audio, missing out on dialogue clarity, immersive effects, and powerful soundtracks. You can significantly enhance your streaming audio without breaking the bank or becoming an audio engineer. This guide empowers you with practical, actionable steps to transform your TV sound. We cover everything from tweaking your current TV settings to understanding external audio solutions, ensuring you get the best possible sound from your streaming content.
Understanding Your Audio Foundation: Where Does Your Sound Come From?
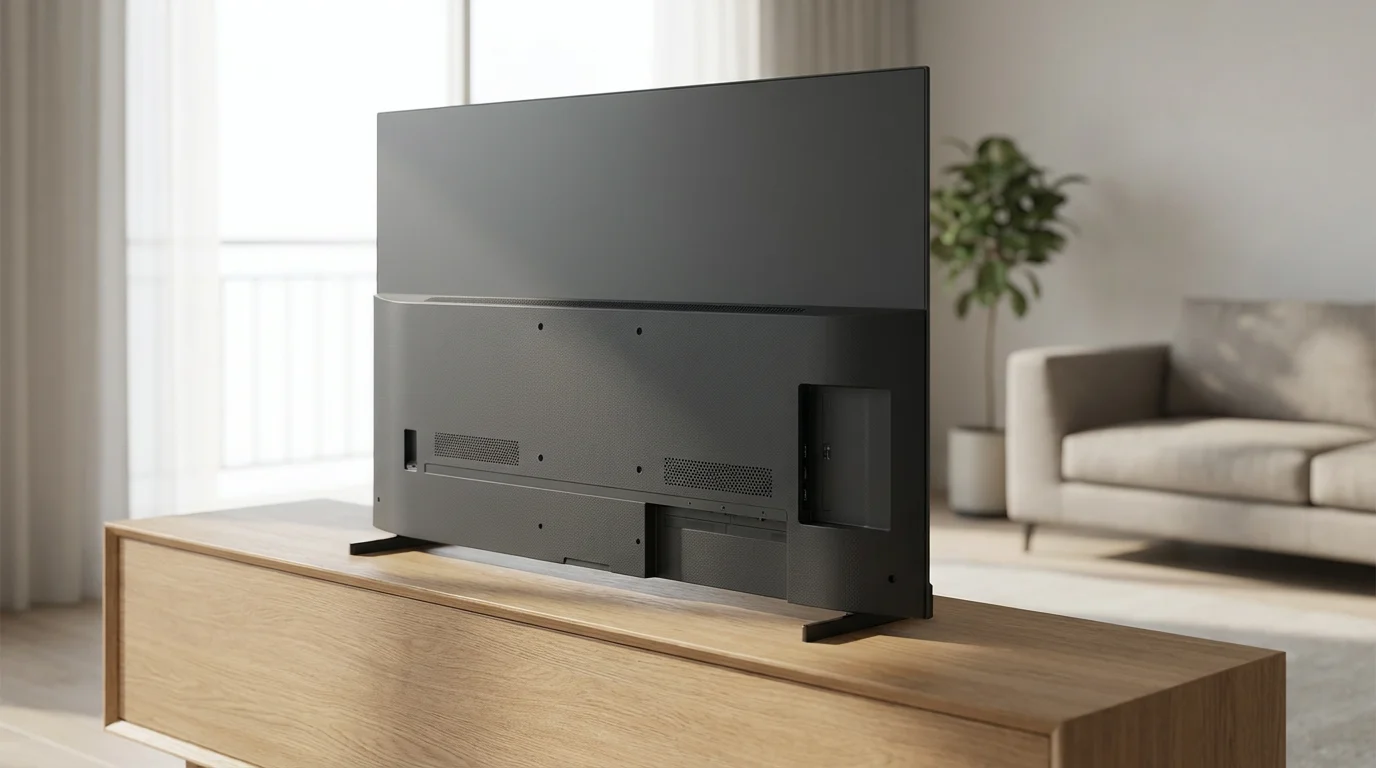
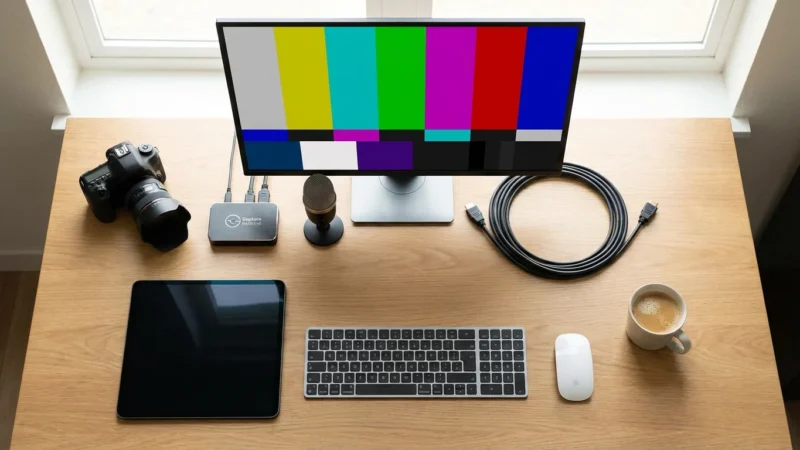
Before you adjust settings or purchase new equipment, understand the basics of your current setup. Your TV’s built-in speakers often represent the weakest link in your audio chain. These speakers, typically small and rear-facing, struggle to produce rich bass, clear dialogue, or expansive soundscapes. When you are watching video content over the internet, a process commonly known as streaming, your audio signal travels from the streaming service’s servers, through your internet connection, to your streaming device or smart TV, and finally to your speakers.
As you navigate the transition from cable, learning how to manage multiple streaming subscriptions will help you stay organized while you optimize your setup.
A smart TV, a television with built-in internet connection and apps, or a streaming device, a small box or stick like a Roku or Fire TV that adds streaming to any TV, both process this audio. The quality of that audio begins with the source itself. Streaming services use various audio codecs and bitrates to deliver sound. Higher bitrates generally mean more detailed and dynamic audio, but also require more bandwidth. Your goal is to ensure this high-quality signal remains intact as it travels to your ears.
Many people embracing cord-cutting, which means canceling traditional cable or satellite TV in favor of streaming services, find their audio experience diminished compared to their previous setup. This often happens because cable boxes sometimes performed better audio processing, or users had dedicated audio systems connected to their old setups that they haven’t optimized for streaming.
“The journey of sound starts with the source. If your streaming service provides a high-quality audio track, but your equipment cannot process it correctly, or your settings are misconfigured, you lose fidelity. Focus on a strong signal path.” — Streaming Audio Expert
Optimizing Your TV’s Built-In Audio Settings
Even without external equipment, you can make significant improvements to your TV’s sound. Most modern smart TVs offer a range of audio settings designed to enhance your listening experience. Accessing these settings typically involves navigating to your TV’s main menu, then finding the “Sound” or “Audio” section.
Here are key settings to investigate and adjust:
- Sound Modes: Your TV likely has preset sound modes like Standard, Movie, Music, Sports, or Clear Voice.
- Movie/Cinema: Often enhances bass and surround effects, good for blockbusters.
- Standard: A balanced option, but can sound flat.
- Clear Voice/Dialogue Enhancement: Prioritizes vocal frequencies, making dialogue stand out. This is particularly useful for shows where conversations get lost in background music or effects. Many users find this setting dramatically improves their experience, especially when watching late at night.
- Sports: Boosts crowd noise and announcers.
Experiment with these modes to find what sounds best for the content you are watching. Avoid “Vivid” or “Dynamic” modes if clarity is your goal, as they often over-process the sound, leading to distortion.
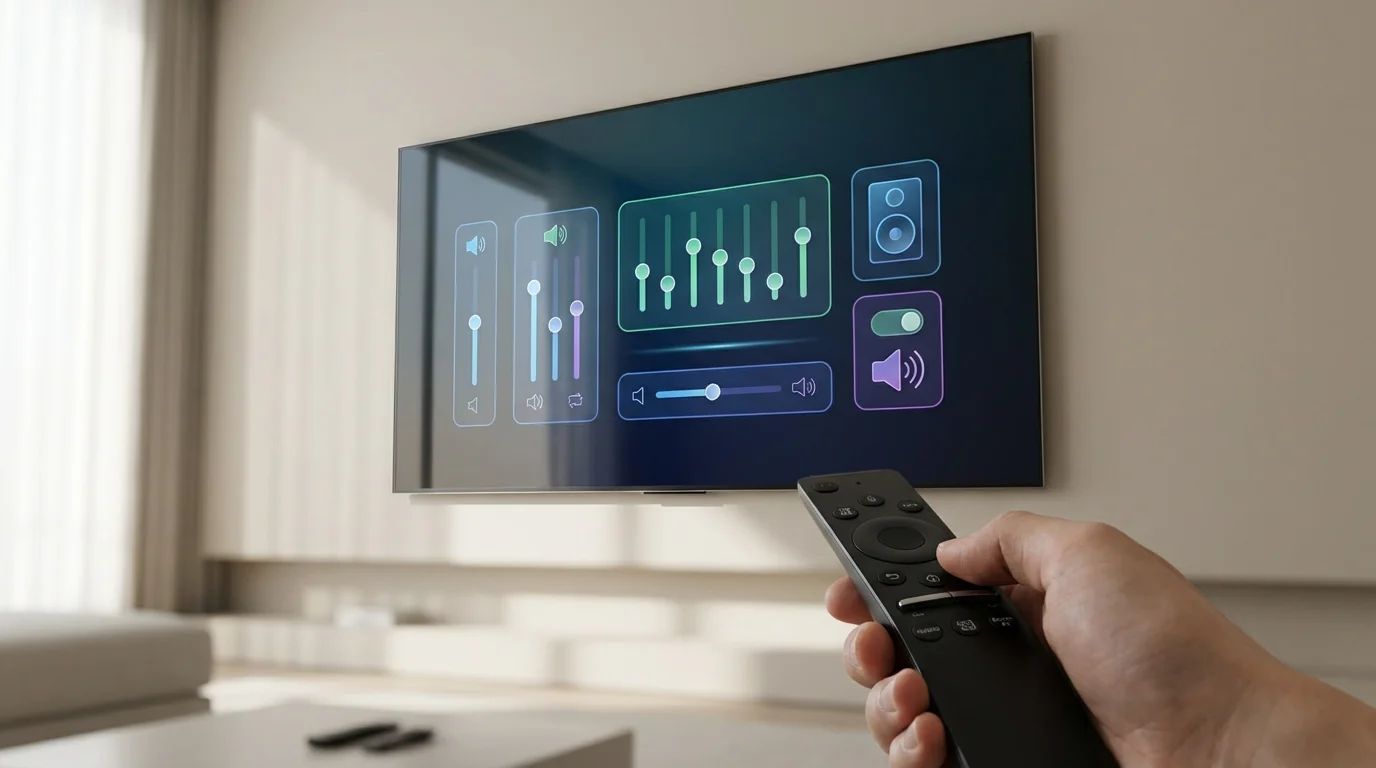
- Equalizer (EQ): If your TV offers an equalizer, you can manually adjust specific frequency bands.
- Boost mid-range frequencies (around 1kHz-4kHz) slightly to improve dialogue clarity.
- Avoid over-boosting bass or treble, which can lead to muddy sound or harsh highs.
- A common strategy involves slightly lowering extreme bass and treble and subtly raising the mid-range for a more balanced sound.
- Volume Leveling/Automatic Volume Control (AVL): This feature attempts to normalize volume levels across different channels or content. It prevents jarring shifts in volume, especially between quiet dialogue and loud action scenes, or during commercials on ad-supported tiers. Enabling this often creates a more consistent listening experience.
- Digital Audio Output Format: If you connect an external audio device, ensure this is set correctly. Options typically include PCM (Pulse Code Modulation), Bitstream (Dolby Digital, DTS), or Auto. For most setups with a soundbar or receiver, “Auto” or “Bitstream” allows your external device to decode the advanced formats. If you experience no sound, try “PCM.”
- Digital Audio Delay/Lip Sync: If the audio does not match the video, you can use this setting to add a slight delay to the audio. Experiment with small increments until the sound and picture align.
According to Consumer Reports, adjusting your TV’s native sound settings is one of the most cost-effective ways to improve audio quality, often yielding noticeable results without any additional purchases.
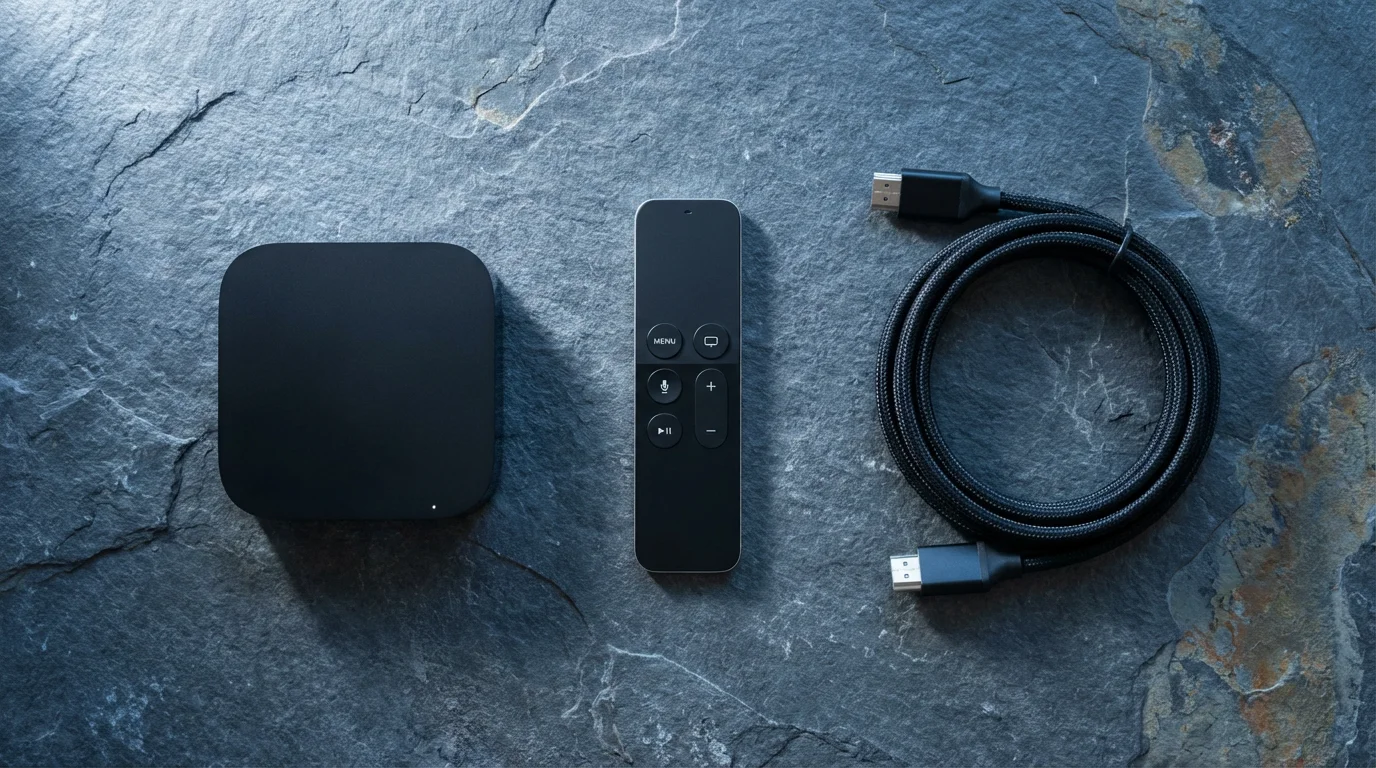
Configuring Your Streaming Device for Peak Audio Performance
Your streaming device—whether it is a Roku, Apple TV, Fire TV, Chromecast, or built-in smart TV app—also plays a crucial role in delivering quality audio. These devices process the audio signal from the streaming service before sending it to your TV or external sound system. Incorrect settings here can limit your sound quality, even if your TV or sound system is capable.
If you are accessing content from international regions, be sure to check our guide on how to use a VPN with streaming services to ensure a stable connection for high-quality audio.
Access your streaming device’s audio settings, typically found within the main settings menu under “Audio” or “Sound.”
Key settings to check:
- Audio Output/Sound Mode: This setting dictates how your device sends the audio signal.
- Auto/Best Available: This is often the recommended setting. Your device attempts to send the highest quality audio format that your connected TV or sound system supports.
- Dolby Digital/Dolby Digital Plus: These are common surround sound formats. If your soundbar or receiver supports them, enable these options.
- PCM/Stereo: If you only have stereo speakers (like your TV’s built-in speakers or a basic soundbar), selecting PCM or Stereo ensures compatibility and avoids potential issues.
- Passthrough: This option sends the raw audio signal directly to your external audio system, allowing the system to do the decoding. Use this with advanced soundbars or AV receivers that handle Dolby Atmos or DTS:X.
- Dynamic Range Control (DRC) / Night Mode: Similar to your TV’s volume leveling, this feature compresses the audio’s dynamic range. It makes loud sounds quieter and quiet sounds louder. This is ideal for late-night viewing when you want to hear dialogue clearly without waking others with sudden explosions. While it sacrifices some fidelity, it significantly improves listenability in quiet environments.
- Audio Sync/Delay: Some devices offer a fine-tuning option for audio sync. Use this if you experience lip sync issues that your TV’s settings cannot fully resolve.
Many streaming services also offer audio quality settings within their own apps. While these typically default to “Auto,” if you experience buffering or bandwidth issues, some services allow you to reduce audio quality to save data. However, for best sound, always aim for the highest available setting.

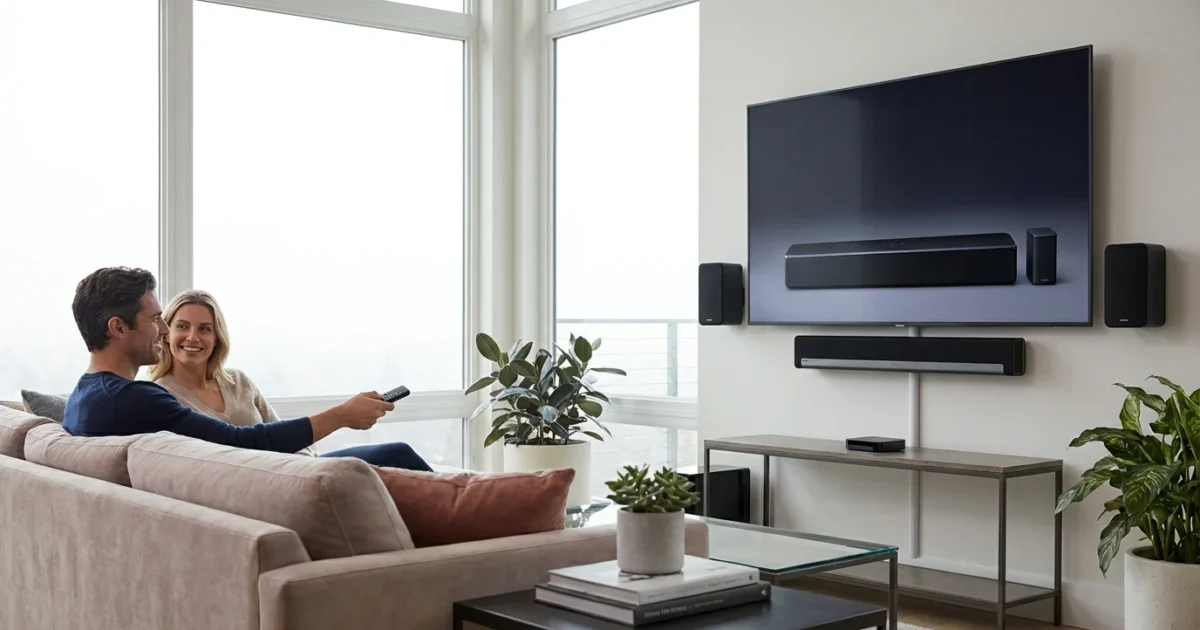
Connecting External Audio: The Power of Soundbars and Home Theater Systems
The most impactful upgrade for your streaming audio comes from moving beyond your TV’s internal speakers. External audio systems provide dedicated drivers, better amplification, and often support advanced surround sound formats. This category includes soundbars, AV receivers, and full home theater speaker systems.
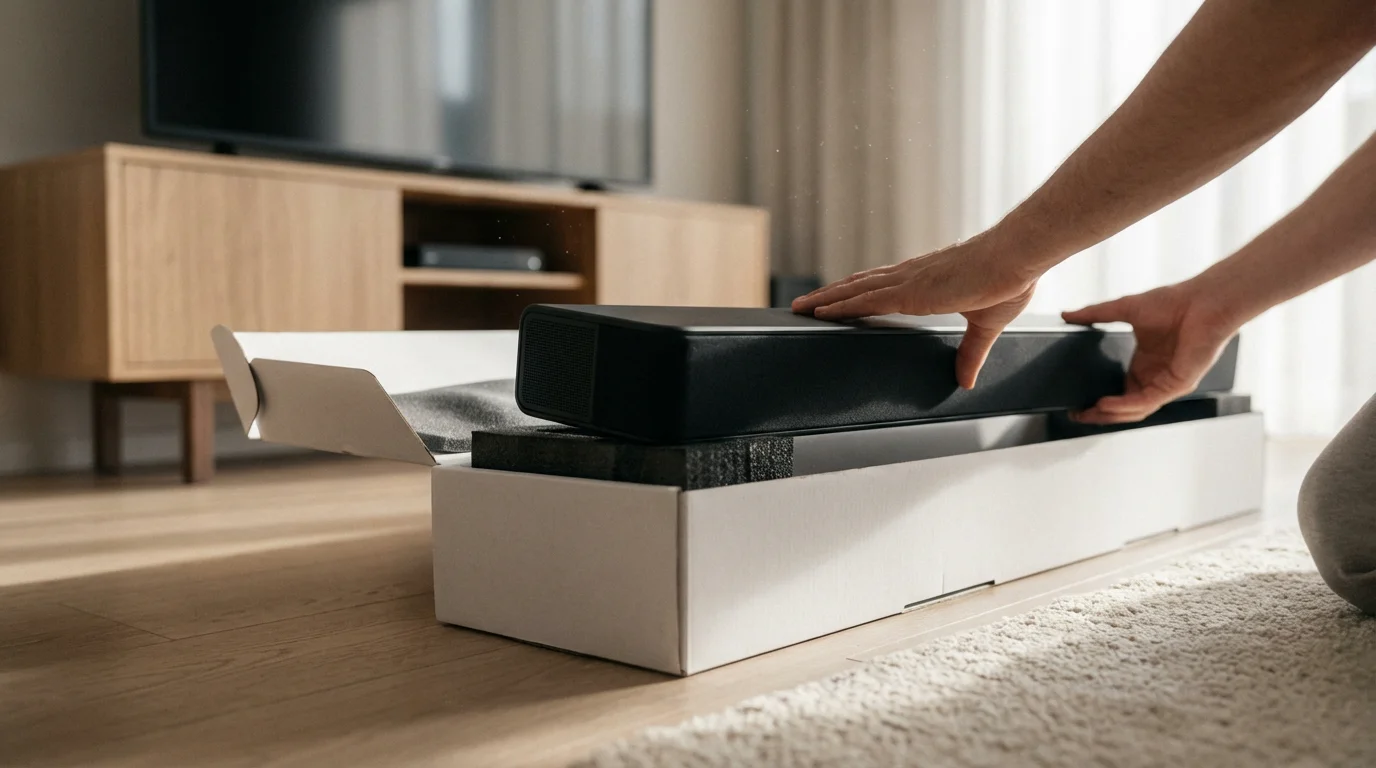
Soundbars: The Popular Choice
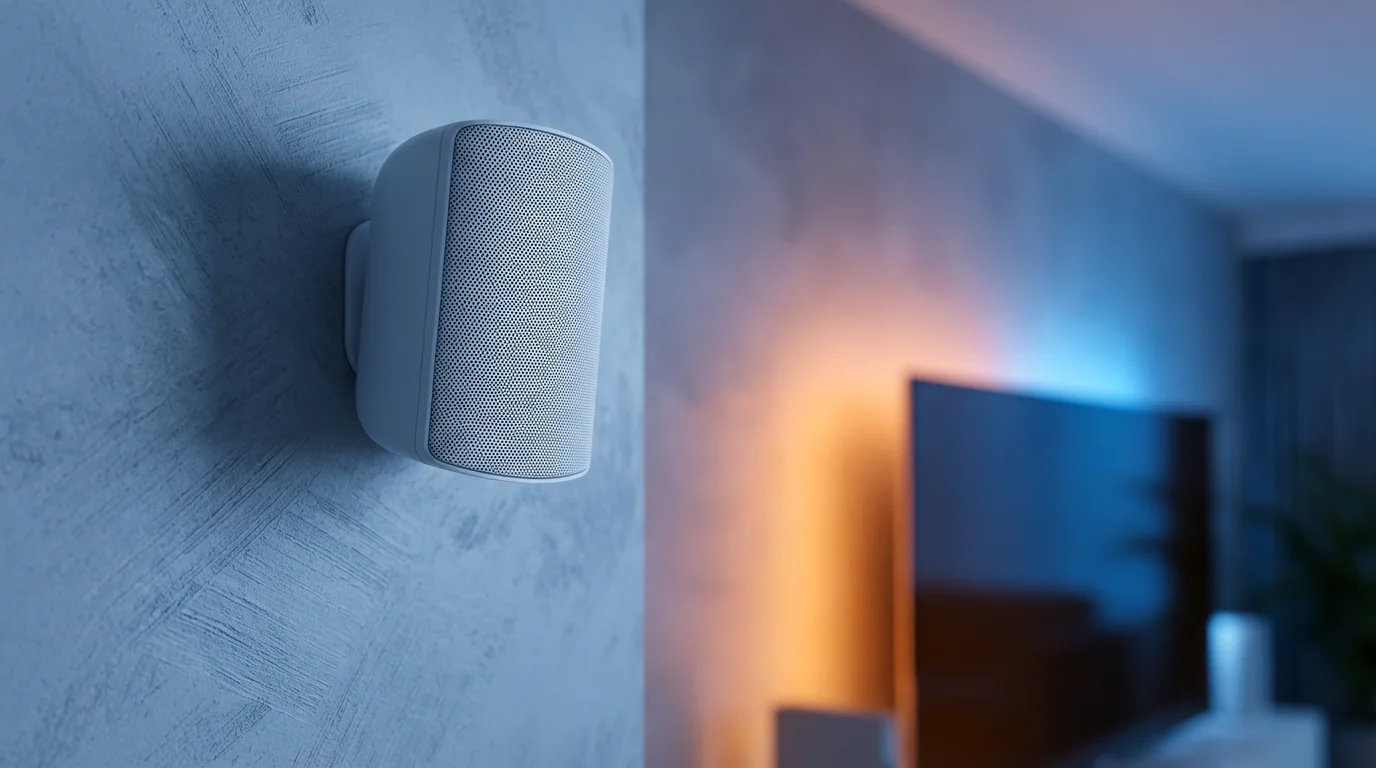
A soundbar is a long, slim speaker unit designed to sit below your TV. They offer a significant upgrade over TV speakers with minimal setup. Most soundbars connect via HDMI ARC/eARC or optical audio.
- HDMI ARC (Audio Return Channel): This is the preferred connection. A single HDMI cable from your soundbar’s ARC port to your TV’s ARC port sends audio from your TV (including from streaming apps on your smart TV or connected streaming devices) back to the soundbar. It also allows your TV remote to control the soundbar’s volume.
- HDMI eARC (Enhanced Audio Return Channel): Found on newer TVs and soundbars, eARC is an upgraded version of ARC. It supports higher bandwidth, enabling uncompressed audio formats like Dolby TrueHD, DTS-HD Master Audio, and immersive audio like Dolby Atmos and DTS:X. If your TV and soundbar both have eARC, use it to get the absolute best quality.
- Optical (Toslink): An older, but still common, digital audio connection. It handles stereo and compressed surround sound (like Dolby Digital) but does not support uncompressed or immersive audio formats. Use this if your TV or soundbar lacks HDMI ARC.
- Bluetooth: Some soundbars offer Bluetooth for connecting mobile devices, but it is not ideal for TV audio due to potential latency and lower fidelity compared to wired connections.
When selecting a soundbar, consider options with a dedicated center channel for dialogue clarity and a wireless subwoofer for deeper bass. Many soundbars also offer virtual surround sound or include satellite speakers for a more true surround experience.
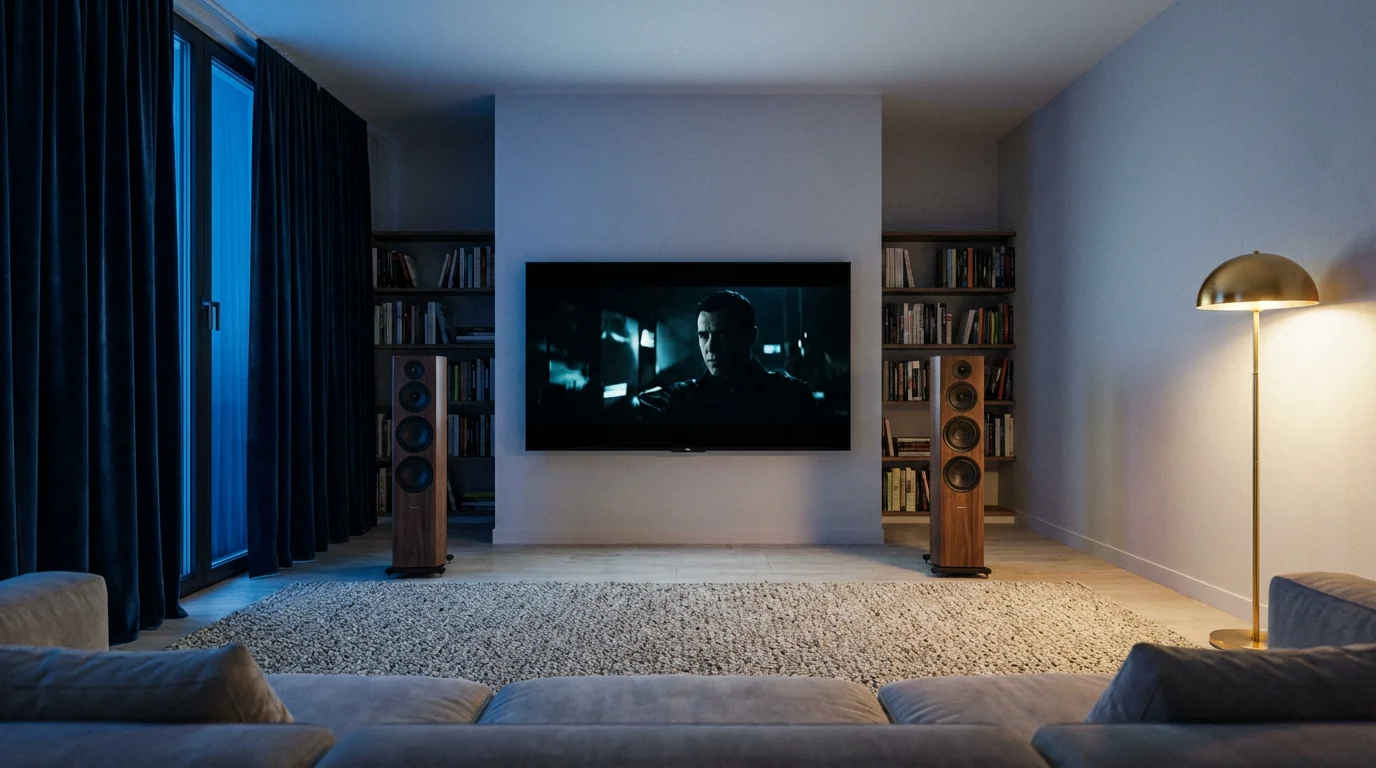
AV Receivers and Home Theater Systems: The Ultimate Experience
For the most immersive and powerful audio, an AV receiver paired with a separate speaker system is the gold standard. An AV receiver acts as the hub for all your audio and video sources. Your streaming device, Blu-ray player, and game console all connect to the receiver, which then sends video to your TV and audio to your speakers.
Benefits of an AV receiver setup:
- Superior Sound Quality: Dedicated amplification and processing for each speaker channel.
- True Surround Sound: Supports 5.1, 7.1, and even immersive setups like 5.1.2 (for Dolby Atmos, with height channels).
- Flexibility: You can choose individual speakers to match your preferences and room.
- Future-Proofing: Receivers often include the latest HDMI standards and audio codecs.
This option requires more setup and can be more expensive, but it offers unparalleled customization and audio fidelity for serious home theater enthusiasts.
When considering a soundbar or AV receiver, review product specifications carefully to ensure compatibility with audio formats like Dolby Atmos if that is important to you. A recent guide from Wirecutter highlights several soundbars that deliver excellent performance for their price, offering tangible improvements over TV speakers.
Decoding Audio Formats: Stereo, Surround Sound, and Immersive Audio
Understanding different audio formats helps you ensure your system correctly processes the sound your streaming service sends. Here is a breakdown of common formats:
Once you have the right audio format selected, you can focus on how to find what to watch across your various apps to find content that truly tests your surround sound system.
| Audio Format | Description | Channels | Common Use Cases | Requires (Minimum) |
|---|---|---|---|---|
| PCM (Pulse Code Modulation) | Uncompressed digital audio. “Lossless” quality, but uses more bandwidth. | 2.0 (Stereo) to 7.1 | Default for many devices, general stereo listening. | Any stereo speakers or basic soundbar. |
| Dolby Digital (AC-3) | Compressed multi-channel audio, widely adopted. Good quality for its compression. | 5.1 (Front L/R, Center, Surround L/R, Subwoofer) | Standard for DVDs, Blu-rays, and many streaming services. | Soundbar or AV receiver with Dolby Digital decoding. |
| Dolby Digital Plus (E-AC-3) | Enhanced version of Dolby Digital with higher bitrate and efficiency. Supports more channels. | Up to 7.1, foundation for streaming Dolby Atmos. | Common on streaming services (Netflix, Disney+). | Soundbar or AV receiver with Dolby Digital Plus decoding. |
| DTS (Digital Theater System) | Another compressed multi-channel audio format, similar to Dolby Digital. Less common on streaming. | 5.1 | Blu-ray discs, some older streaming content. | Soundbar or AV receiver with DTS decoding. |
| Dolby Atmos | Object-based immersive audio. Adds “height” channels for 3D sound. | 5.1.2, 7.1.4, etc. (with height speakers) | Premium streaming content, UHD Blu-rays. | eARC-enabled TV, Atmos-compatible soundbar or AV receiver, and height speakers. |
| DTS:X | Similar to Dolby Atmos, an object-based immersive audio format. | Variable (with height speakers) | UHD Blu-rays, some limited streaming. | eARC-enabled TV, DTS:X-compatible soundbar or AV receiver, and height speakers. |
When configuring your streaming device and external audio system, ensure they are set to pass through or decode the highest quality format your equipment supports. For instance, if you have a Dolby Atmos-compatible soundbar and TV, set your streaming device to “Passthrough” or “Auto” for audio output. This allows your soundbar to receive and decode the Atmos signal.

Addressing Common Audio Problems: Lip Sync, Dropouts, and Low Volume
Even with optimized settings, you might encounter frustrating audio issues. Here is how to tackle the most common ones:
Lip Sync Issues (Audio Lagging or Leading Video)
- Check TV Settings: Many TVs have an “Audio Delay” or “Lip Sync Adjustment” setting in their sound menu. Increase or decrease the delay in small increments until audio and video align.
- Check Streaming Device Settings: Some streaming devices, like Apple TV or Nvidia Shield, offer their own audio sync calibration tools.
- Restart All Devices: A simple power cycle of your TV, streaming device, and soundbar/receiver often resolves temporary glitches. Unplug everything for 30 seconds, then plug back in and power on.
- Bypass TV Audio Processing: If connecting a streaming device to your TV, and then sending audio to a soundbar via ARC, try connecting the streaming device directly to an HDMI input on your soundbar or AV receiver (if available). This removes your TV from the audio processing chain.
Audio Dropouts or Intermittent Sound
- Check Cables: Ensure all HDMI and optical cables are securely seated. Try swapping cables for new, high-quality ones, especially for HDMI. Faulty or loose cables are a common culprit.
- Power Cycle: Again, a full restart of all components can clear up intermittent connection issues.
- Update Firmware: Manufacturers regularly release firmware updates for TVs, streaming devices, and soundbars. These updates often fix bugs related to audio processing. Check your device’s settings for system updates.
- Interference: Wireless interference can affect wireless subwoofers or surround speakers. Ensure your WiFi router is not too close to your audio equipment.
- Bandwidth Issues: If your internet connection struggles, it can manifest as audio dropouts in addition to video buffering. Run a speed test. A minimum of 25 Mbps is generally recommended for reliable 4K streaming, but more is always better for households with multiple users.
Low Volume or Muffled Dialogue
- Adjust Sound Modes: As discussed, activate “Clear Voice” or “Dialogue Enhancement” on your TV or soundbar.
- Equalizer Adjustments: Manually boost mid-range frequencies using your TV’s or soundbar’s EQ settings.
- Center Channel Volume: If you have a multi-channel soundbar or AV receiver, ensure the center channel volume is adequately set. Dialogue primarily comes from the center channel.
- Source Volume: Check the volume setting within the streaming app itself. Sometimes, the app’s internal volume might be low.
- Dynamic Range Control: Enable “Volume Leveling” or “Night Mode” on your TV or streaming device to compress dynamic range and make quiet dialogue more audible.
- Speaker Placement: Ensure your soundbar is not obstructed and is pointing towards your listening area.
CNET often publishes troubleshooting guides for common home theater problems, emphasizing systematic checks to identify the root cause.
Speaker Placement and Room Acoustics: Enhancing Your Listening Environment
The best audio equipment can still sound poor in an unoptimized environment. Room acoustics significantly impact how sound reaches your ears. You can make simple adjustments to improve your soundstage.
- Soundbar Placement: Position your soundbar directly below your TV, centered, and as close to the front edge of your TV stand as possible. Avoid placing it inside an enclosed cabinet, as this can muffle the sound and cause undesirable reflections. Ensure no objects block the soundbar’s drivers.
- Subwoofer Placement: Experiment with subwoofer placement. While bass is less directional, moving your subwoofer a few feet can dramatically change its impact. Try placing it in a corner or near a wall to reinforce bass, but avoid putting it directly into a corner if it causes excessive booming. The “subwoofer crawl” method involves placing the subwoofer in your main listening position, then crawling around the room to find where the bass sounds best. Place the subwoofer there.
- Rear Speakers (if applicable): If you have wireless rear speakers, place them slightly behind and to the sides of your main listening position, ideally at ear level or slightly above. Aim them towards the listening area.
- Room Furnishings: Hard, reflective surfaces like bare walls, glass windows, and hard floors cause sound to bounce, leading to echoes and harshness. Soft furnishings like carpets, rugs, curtains, and upholstered furniture absorb sound, reducing reflections and creating a warmer, more controlled sound. Even adding some throw pillows or wall art can make a subtle difference.
- Avoid Obstructions: Ensure there are no large objects or furniture between your speakers and your listening position that could block or absorb sound waves.
You do not need to convert your living room into a recording studio. Even these small adjustments can make your streaming audio sound clearer and more engaging, effectively “tuning” your room for better audio delivery.
The Cost-Effectiveness of Sound Upgrades: Maximizing Your Budget
Improving your streaming audio does not necessarily mean spending thousands of dollars. You can achieve significant enhancements across various budget levels. The goal is to maximize the value of your investment for your specific needs.
To free up more of your budget for audio hardware, you can also practice the art of streaming rotation to reduce your monthly subscription costs.
Budget-Friendly Improvements (Under $100)
- Optimize Existing Settings: This costs you nothing but time. As detailed above, adjusting your TV’s sound modes, EQ, and volume leveling can dramatically improve clarity and balance. This is the first, most impactful step you can take.
- High-Quality Cables: While expensive “audiophile” cables offer diminishing returns, ensuring you use decent quality HDMI cables (especially for eARC) can prevent signal integrity issues that lead to dropouts or lower quality audio. A 6-foot high-speed HDMI cable costs around $10-20.
- Wired Headphones: For personal, immersive listening, a good pair of wired over-ear headphones (around $50-100) offers incredible audio quality for the price. Connect them to your TV’s headphone jack or your AV receiver.
Mid-Range Upgrades ($100-$500)
- Entry-Level Soundbars: A basic 2.0 or 2.1 channel soundbar (with a subwoofer) provides a substantial upgrade over TV speakers. Expect clearer dialogue, better bass, and a wider soundstage. Many reputable brands offer excellent options in the $150-$300 range.
- Advanced Soundbars with Virtual Surround: In the $300-$500 range, you can find soundbars that use psychoacoustic techniques to simulate surround sound or even offer basic Dolby Atmos capabilities (though without dedicated upward-firing speakers, it is a limited effect).
Premium Upgrades ($500+)
- High-End Soundbars with Dedicated Channels: Soundbars with true multi-channel setups, wireless rear speakers, and robust subwoofers, often with full Dolby Atmos/DTS:X support, fall into this category. These can rival simpler AV receiver setups.
- AV Receivers and Speaker Packages: A good entry-level 5.1 AV receiver bundle with satellite speakers starts around $600-$800. This provides true surround sound and ample upgrade paths for individual components later. For dedicated home theater enthusiasts, this represents the best long-term value.
Before making any purchase, assess your current pain points. Is dialogue clarity your main issue? A soundbar with a strong center channel might be enough. Do you crave immersive cinematic experiences? An AV receiver or a premium Atmos soundbar would be a better fit. You can often find soundbar deals bundled with new TVs or streaming devices, offering a cost-effective way to upgrade both picture and sound simultaneously. According to Tom’s Guide, choosing a soundbar that matches your room size and viewing habits delivers the best return on investment.
Frequently Asked Questions
Is an expensive HDMI cable necessary for better streaming audio?
No, an expensive HDMI cable is generally not necessary. For digital signals like audio and video, an HDMI cable either works or it does not. As long as the cable meets the necessary specification (e.g., High-Speed HDMI for 4K/HDR/eARC), a budget-friendly cable performs identically to a costly one. Focus on ensuring it is correctly certified for the bandwidth your system requires, typically a “High-Speed” or “Ultra High-Speed” cable for modern setups.
Can my WiFi speed affect audio quality?
Yes, indirectly. While audio files are typically much smaller than video files, an unstable or slow internet connection can cause buffering issues for the entire stream, including audio. If your connection cannot sustain the required bitrate for high-quality audio and video, the streaming service might automatically reduce quality to compensate, or you might experience dropouts. A stable internet connection of at least 25 Mbps for 4K streaming ensures consistent delivery of both high-quality audio and video.
Should I use my TV’s apps or a separate streaming device for better audio?
Using a separate, dedicated streaming device (like an Apple TV 4K, Roku Ultra, or Nvidia Shield TV Pro) often provides better audio performance. These devices typically have more powerful processors and better audio circuitry than built-in smart TV apps. They also tend to have more robust support for advanced audio formats and offer more granular audio settings, which can lead to a more consistent and higher-quality audio signal being sent to your sound system.
What is the best audio setting for streaming movies on Netflix or Disney+?
For services like Netflix or Disney+, the best setting is usually “Auto” or “Passthrough” on your streaming device and TV. This allows your equipment to automatically detect and use the highest quality audio format available, such as Dolby Digital Plus or Dolby Atmos, if your soundbar or AV receiver supports it. If you have an eARC-enabled TV and sound system, ensure eARC is active on both devices for the best immersive audio experience.
Disclaimer: Streaming service terms and pricing change frequently. Always review current terms of service before implementing any money-saving strategies. Some tips may not work with all services or in all regions.


Leave a Reply