Cutting the cord on cable does not mean giving up live television. In fact, for many households, the most popular content—local news, NFL games on Sundays, and primetime sitcoms—is floating through the air for free. You just need the right tool to catch it.
This is where Over-the-Air (OTA) TV comes in. By using a digital antenna, you can pull in major broadcast networks like ABC, CBS, NBC, FOX, PBS, and The CW in uncompressed high definition without paying a monthly subscription fee. However, the difference between a crystal-clear picture and a frustrating “No Signal” message often comes down to selecting the right hardware and installing it correctly.
Before you buy the first flat antenna you see online, you need to understand your geographic location, the frequencies used in your area, and the limitations of your home’s construction. This guide will walk you through the physics of reception, recommend the best equipment for different scenarios, and help you calculate exactly how much you will save by firing your cable company.
Understanding the Tech: UHF, VHF, and the Digital Cliff
To choose the right antenna, you first need to understand what you are trying to catch. Television signals travel on two primary frequency bands: UHF (Ultra High Frequency) and VHF (Very High Frequency). This distinction is critical because different antenna designs favor different frequencies.
Most modern “flat” or “leaf” style antennas are optimized for UHF channels. However, in many markets, one or two major stations (often ABC or PBS) still broadcast on VHF. If you buy a UHF-only antenna, you might get 30 channels but miss that one specific channel you really wanted.
Additionally, you must understand the “Digital Cliff.” In the old days of analog TV, a weak signal meant a snowy, fuzzy picture that was still watchable. With digital signals, it is all or nothing. If your signal strength drops below a certain threshold, the picture freezes, pixelates, or disappears entirely. This is why signal stability is often more important than raw range.
“The best antenna isn’t necessarily the most expensive one; it’s the one that matches the frequencies of your local broadcasters and overcomes the obstacles in your terrain.”
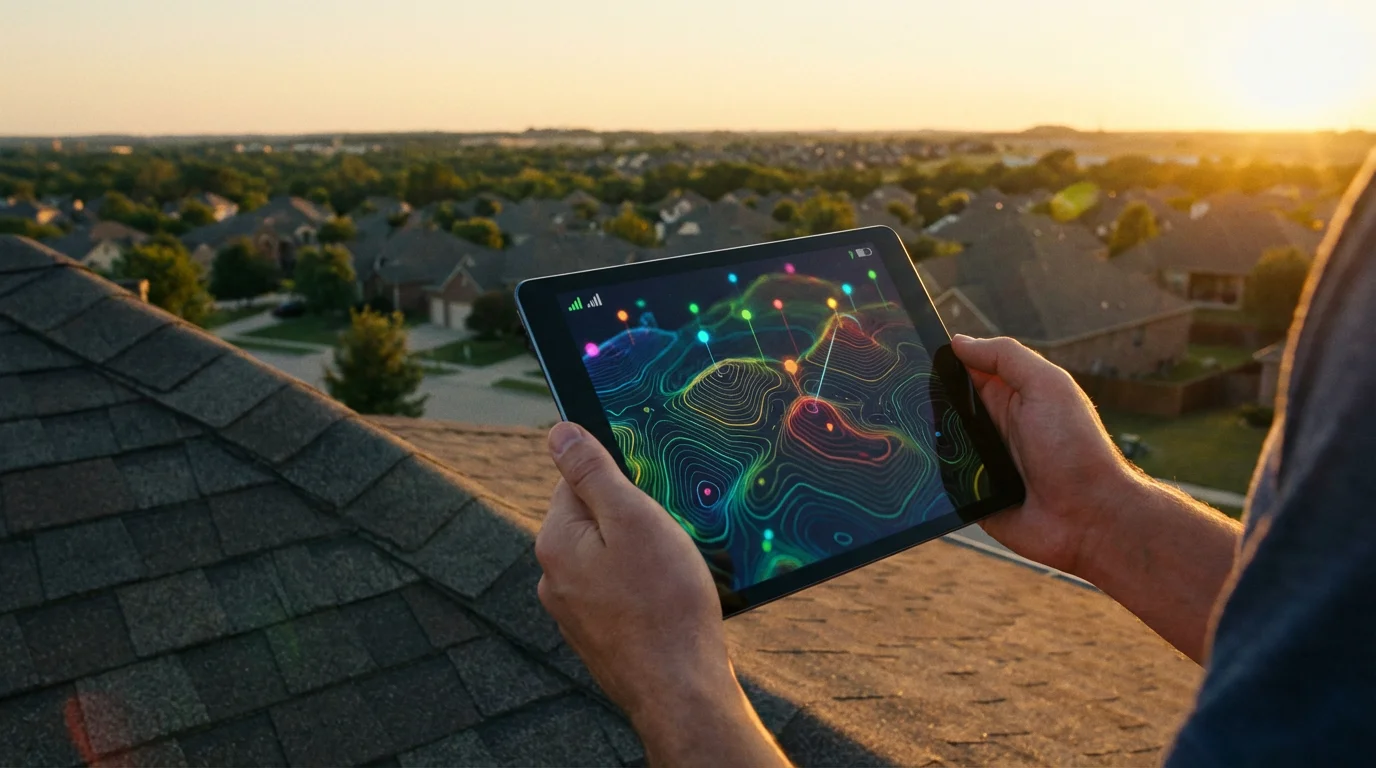
Step 1: Analyzing Your Signal Location
Before purchasing equipment, you must determine where the broadcast towers are located relative to your home. “Range” claims on antenna boxes (e.g., “100-mile range”) are often marketing hype. The curvature of the earth and local terrain effectively cap ground-based transmission range at about 60 to 70 miles for most setups.
You need hard data. The FCC Consumer Guide recommends using official signal mapping tools to assess your situation. Websites like RabbitEars.info or the FCC’s DTV Reception Maps provide the most accurate data.
How to interpret your signal report:
- Green/Strong: The tower is likely within 20 miles. An indoor antenna should work well.
- Yellow/Moderate: The tower is 30–50 miles away. You will likely need an attic or outdoor antenna.
- Red/Weak: The tower is 60+ miles away or blocked by mountains. You will need a high-gain outdoor antenna mounted as high as possible, likely with a pre-amplifier.
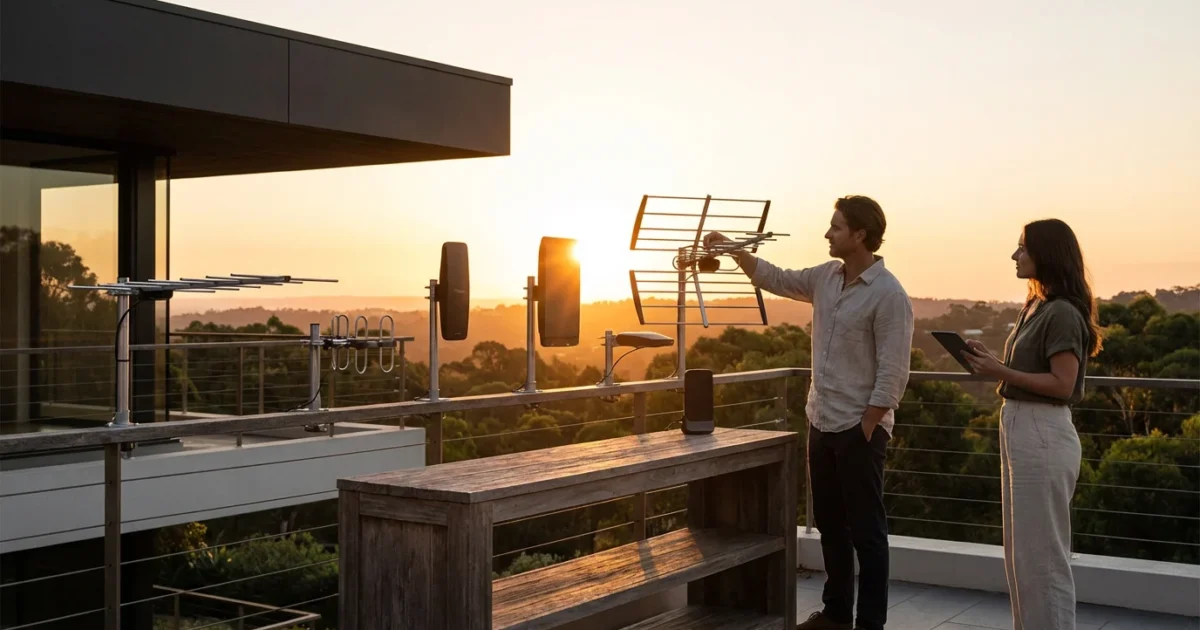
Indoor vs. Attic vs. Outdoor: Which Do You Need?
Antenna placement is the single biggest factor in your success. Building materials like brick, stucco (which often contains metal mesh), and radiant barrier insulation kill TV signals. Here is how to decide which form factor fits your life.
Indoor Antennas
Best for: Urban dwellers and those living within 20 miles of towers.
These are the easiest to install. You simply plug them into your TV and stick them to a window or wall. However, they suffer the most from interference caused by walls, furniture, and other electronics.
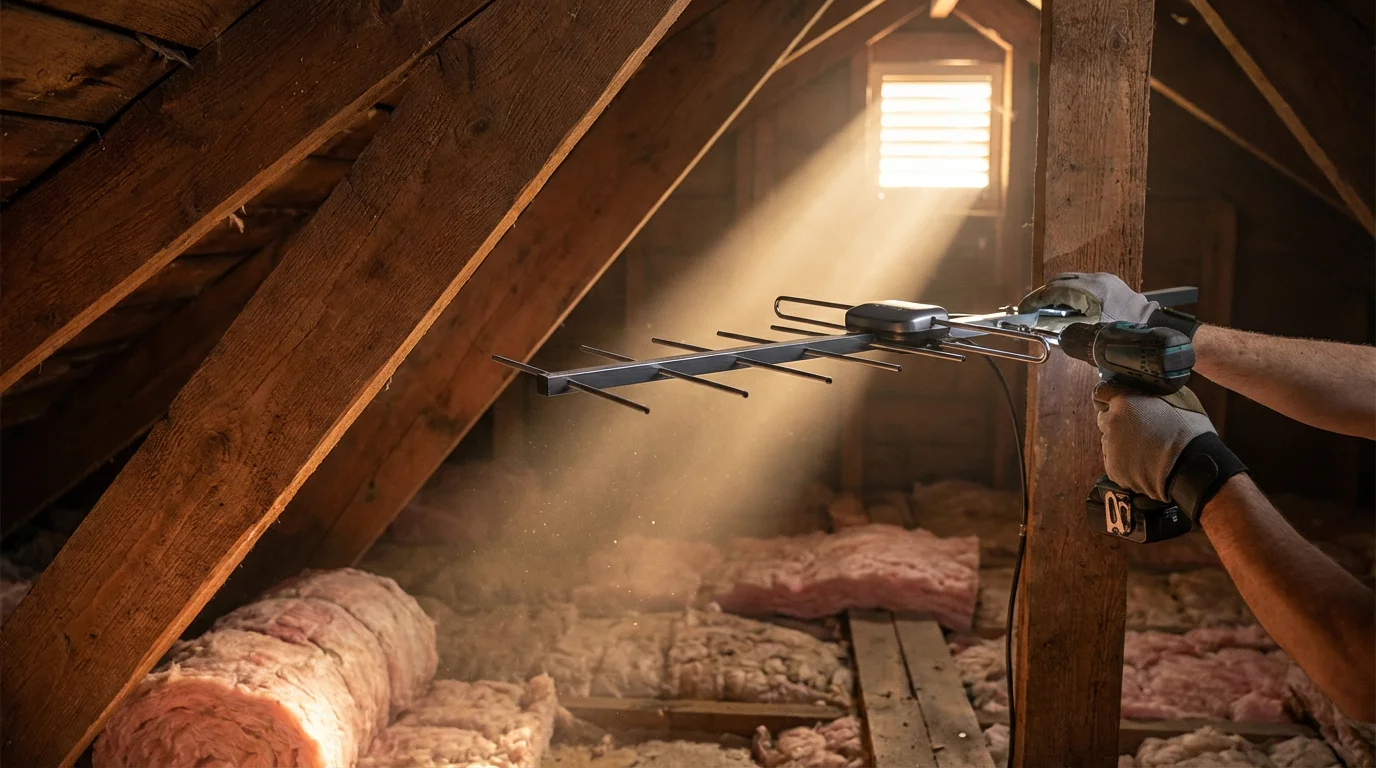
Attic Antennas
Best for: Suburban homes (30–45 miles from towers) or those with strict HOA rules against visible antennas.
Moving an antenna into the attic gets it higher off the ground and removes strictly “indoor” obstructions like refrigerators or people walking by. However, a roof cuts signal strength by about 40% to 50%. If you have a metal roof or foil-lined insulation, an attic setup will not work.
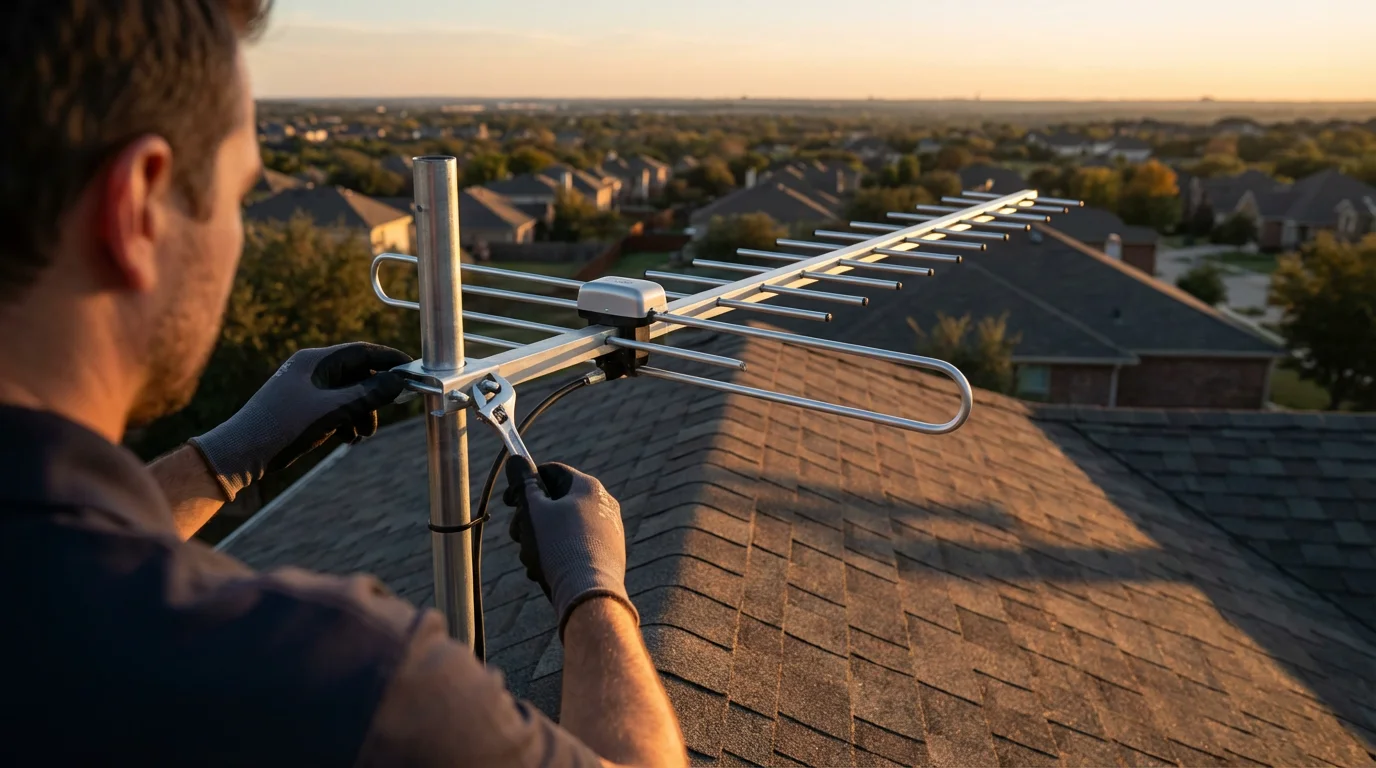
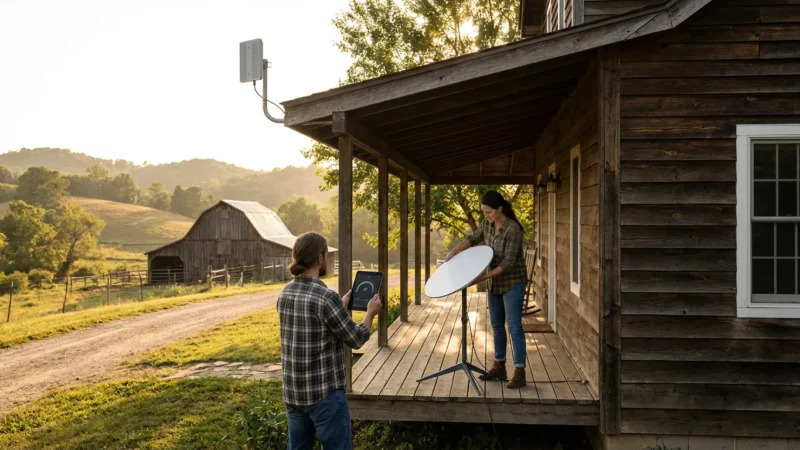
Outdoor Antennas
Best for: Rural areas, long distances (50+ miles), or areas with difficult terrain.
This is the gold standard. With a clear line of sight to the horizon, outdoor antennas maximize reception. They are larger, more durable, and require grounding for lightning safety, but they deliver the most reliable results.
Hardware Recommendations for Every Scenario
While specific models change, certain brands and designs consistently perform well in expert tests. Wirecutter and other hardware review sites frequently cite the following equipment as top-tier choices based on technical performance.
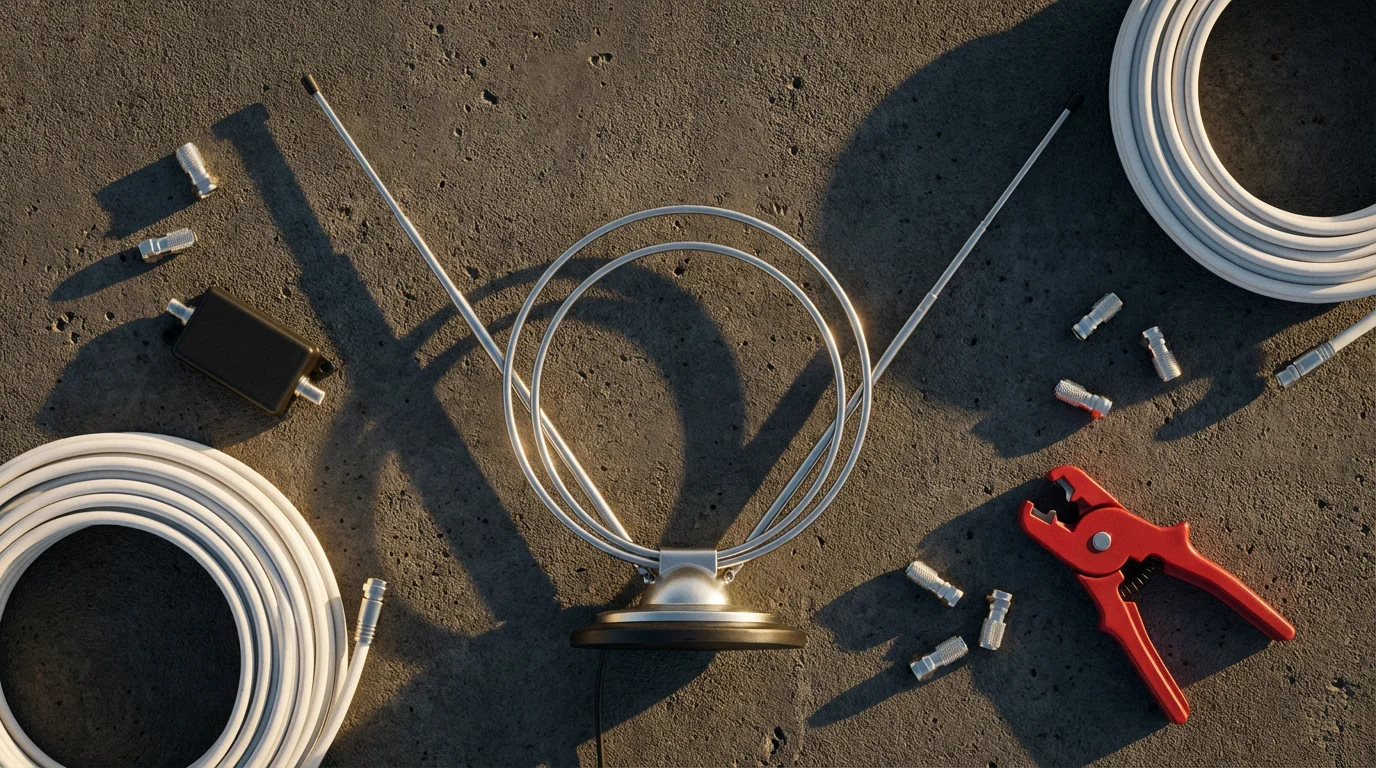
1. Best Indoor Option: The “Rabbit Ears” Revival
Don’t laugh—classic dipole “rabbit ears” are often better than modern flat antennas because the extendable rods are excellent for catching VHF signals, while the loop handles UHF. They are cheap, unamplified (which prevents noise), and effective.
- Top Pick: Generic Rabbit Ears or the Philips HD Passive Antenna.
- Pros: Very inexpensive, handles both VHF/UHF well.
- Cons: Bulky aesthetics compared to flat antennas.
2. Best Flat Antenna: Mohu Leaf Series
If you need something discreet, the Mohu Leaf is the standard for flat antennas. It is reversible (usually black on one side, white on the other) and easy to hide.
- Top Pick: Mohu Leaf Supreme Pro.
- Pros: Easy to mount, integrated signal indicator on some models.
- Cons: Generally weaker on VHF channels than rabbit ears.
3. Best Outdoor/Attic: ClearStream or Televes
For serious reception, you need geometric designs that capture signals from multiple angles or focus heavily on a single direction.
- Top Pick (Multidirectional): Antennas Direct ClearStream 4MAX. This figure-eight design is powerful, easy to assemble, and works well in attics or on roofs.
- Top Pick (Long Range/Directional): Televes Dat Boss LR Mix. This is a high-tech option with built-in LTE filtering (blocking cell phone signal interference) and automatic gain control.

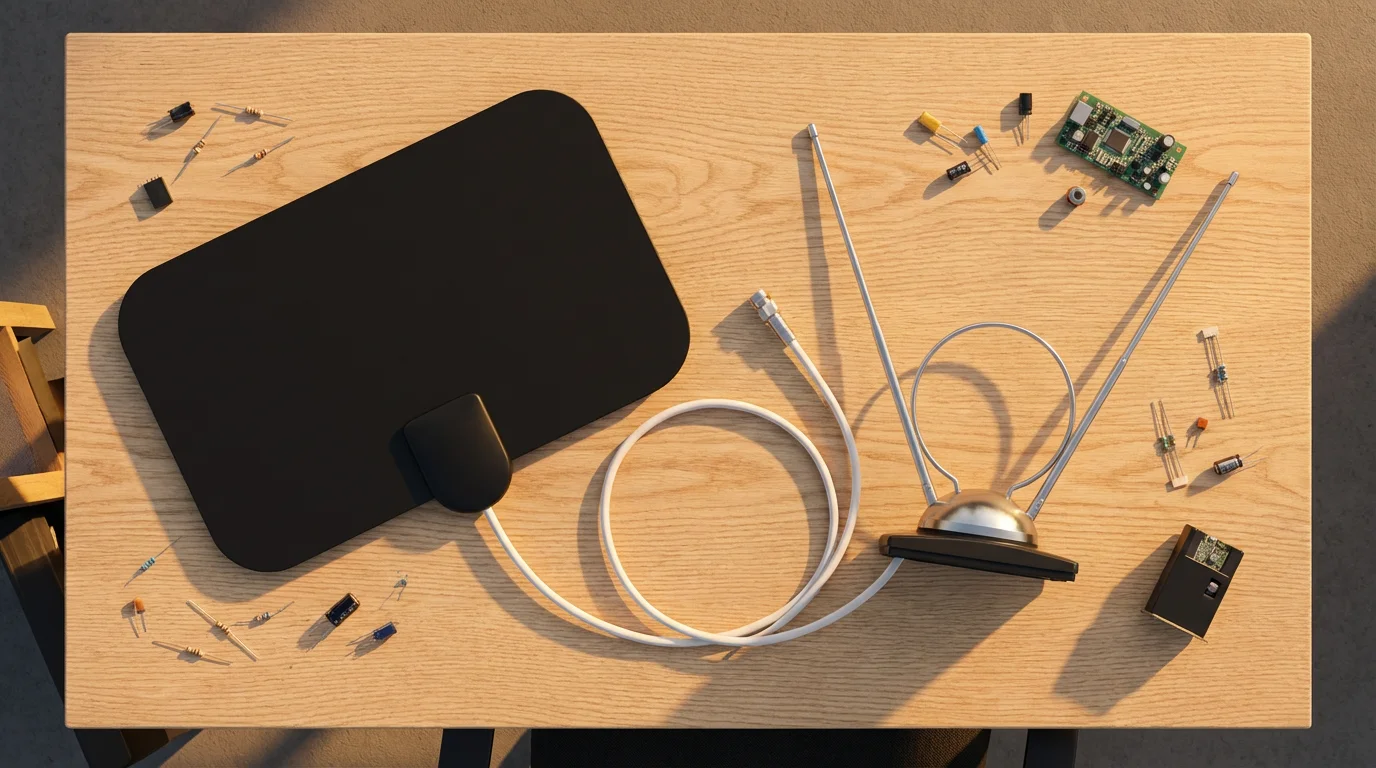
Essential Equipment Checklist
Buying the antenna is just step one. To ensure a smooth installation, verify you have the following components. Missing one small piece can halt your project.
- Coaxial Cable (RG6): Do not reuse old, thin RG59 cable. Buy high-quality, shielded RG6 cable to prevent signal loss over long runs.
- Mounting Hardware: If going outdoors, you need a “J-mount” (the curved pole) and lag bolts to secure it to your fascia or roof.
- Compass or Smartphone App: You need to know exactly where to aim.
- Grounding Block & Wire: Crucial for outdoor setups. This protects your home electronics from static buildup and nearby lightning strikes.
- Preamplifier (Optional): If your cable run is over 50 feet or you are splitting the signal to multiple TVs, you may need a preamp (mounted at the antenna) to boost the signal before it travels down the wire.
Installation Best Practices for Maximum Signal
Even the most expensive antenna will fail if installed poorly. Follow these active steps to optimize your channel scan.
1. Go High and Clear
Height is the most significant variable you can control. Increasing your antenna height by just a few feet can clear obstacles like fences or neighbor’s bushes. Ideally, the antenna should have a view of the horizon.
2. Aim Correctly
Using the data from RabbitEars.info, point the front of your antenna toward the cluster of broadcast towers. If your towers are in opposite directions (e.g., North and South), you may need a “multi-directional” antenna or two antennas combined with a joiner, though aiming halfway between them often works for strong signals.
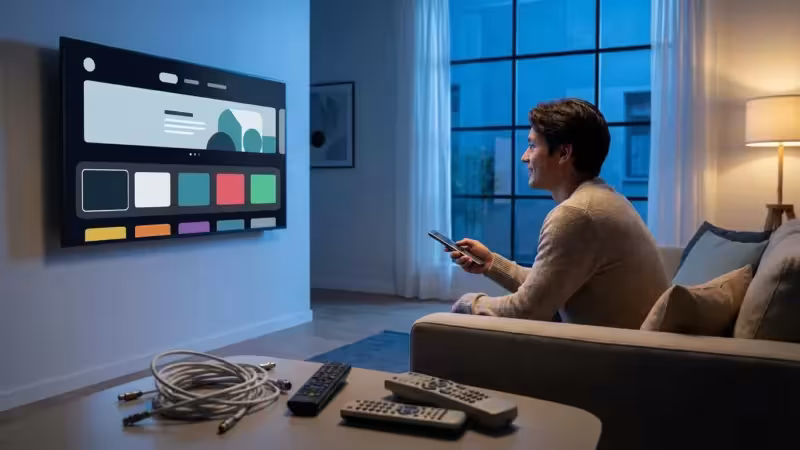
3. Scan and Re-Scan
After connecting the antenna to your TV’s “Antenna/Cable” input, go to your TV menu and select “Channel Scan” or “Auto-Program.” If you are missing channels, move the antenna, re-aim it, and scan again. Channel scanning is trial and error.
4. Avoid Interference
Keep your indoor antenna away from LED light bulbs, computers, and Wi-Fi routers. These devices generate “noise” that can scramble the OTA frequency. If your picture breaks up every time the blender runs, you have an electrical interference issue.

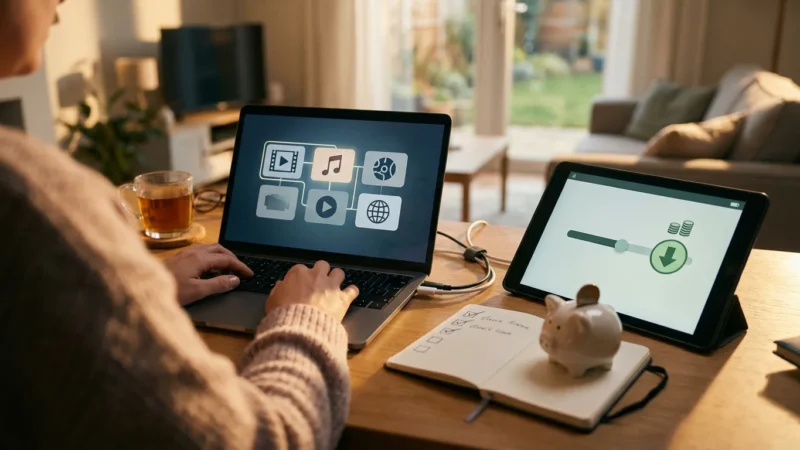
Cost Analysis: Antenna Setup vs. Cable Subscription
The financial argument for switching to an antenna is undeniable. While there is an upfront cost for hardware, the ongoing cost is zero. Let’s compare a typical scenario for a household keeping cable just for local news and sports versus switching to a high-end antenna setup.
| Expense Category | Traditional Cable (Basic Package) | High-End Antenna Setup (DIY) |
|---|---|---|
| Monthly Cost | $85.00 | $0.00 |
| Equipment Rental (Box/DVR) | $15.00/mo | $0.00 |
| Taxes & Broadcast Fees | $20.00/mo | $0.00 |
| One-Time Hardware Cost | $0.00 (Installation usually waived) | $200.00 (Antenna, Mount, Amp, Cabling) |
| Total Year 1 Cost | $1,440.00 | $200.00 |
| Total 5-Year Cost | $7,200.00 (assuming no price hikes) | $200.00 |
Even if you hire a professional to install a rooftop antenna (typically $150–$300 for labor), the system pays for itself in less than four months. After that, every dollar you would have sent to the cable company stays in your pocket.
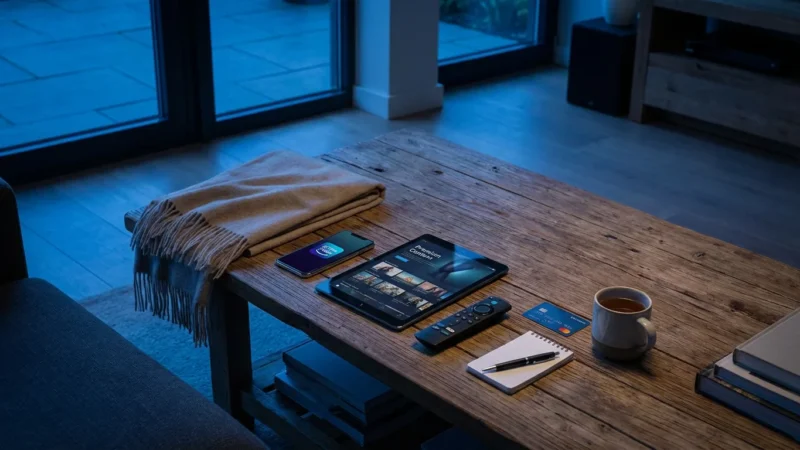
How to Record OTA TV (DVR Options)
One of the biggest fears potential cord-cutters face is losing their DVR. You want to watch the game or your favorite show on your schedule, not the broadcaster’s. Fortunately, modern OTA DVRs are sophisticated and user-friendly.
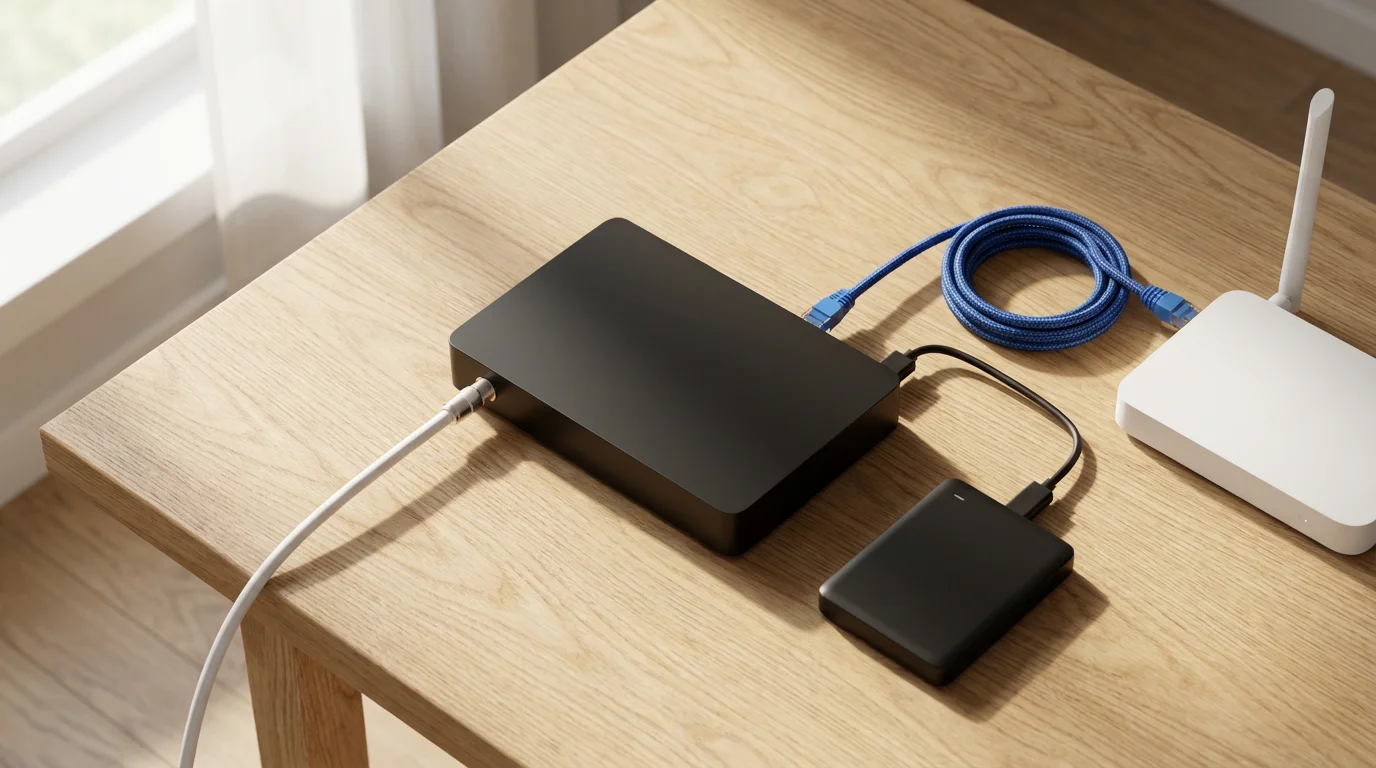
Network Tuners (The Smart Choice): Devices like the Tablo or SiliconDust HDHomeRun do not plug directly into your TV. Instead, you plug your antenna into these boxes, and they connect to your Wi-Fi router. They then stream the live TV signal to every smart TV, Roku, Fire TV, or tablet in your house.
Why this is a game-changer:
- You can place the antenna in the absolute best spot in the house (like an upstairs bedroom window) without running a cable all the way to the living room TV.
- You can watch live TV on your phone while in the backyard.
- They include program guides and DVR recording capabilities (sometimes requiring a small subscription or external hard drive).
According to Cord Cutters News, using a network DVR is one of the most effective ways to replicate the “cable experience” while maintaining the savings of an antenna setup.
Frequently Asked Questions
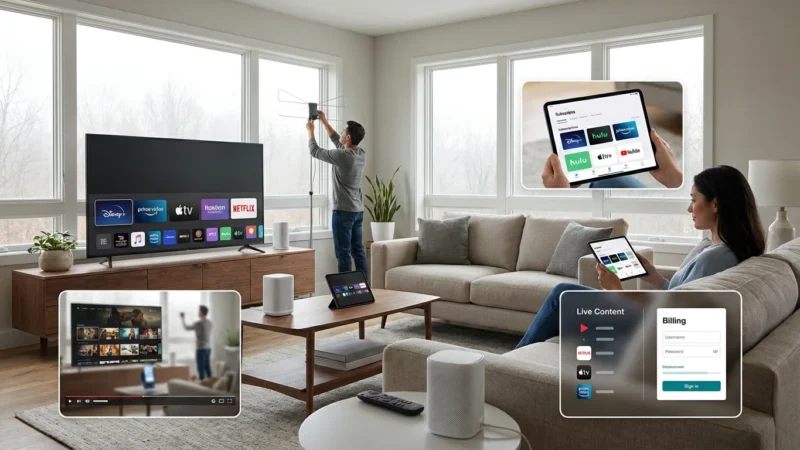
Can I get channels like ESPN, HGTV, or CNN with an antenna?
No. An antenna only receives broadcast network channels (ABC, CBS, NBC, FOX, PBS, CW) and local sub-channels (like MeTV, Grit, or local weather). Cable channels like ESPN and HGTV are not broadcast over the airwaves. To get those, you will need a live TV streaming service like Sling TV, YouTube TV, or Hulu + Live TV to supplement your antenna.
Do I need an internet connection to use an antenna?
No. The signal comes directly from local towers to your TV. It is completely separate from your internet connection. However, if you want to use a program guide on a smart TV or use a network DVR like a Tablo, you will need an internet connection for the device to download guide data.
What if I live in an apartment and cannot mount anything outside?
If you are in an apartment, your best option is a high-quality flat antenna placed in a window facing the direction of the broadcast towers. Avoid placing it behind metal window screens or burglar bars, as these block signals. If you have a balcony, you may be able to use a flat cable that passes under the door to mount a small outdoor antenna on the railing, provided your lease allows it.
Why do I get some channels during the day but lose them at night?
Atmospheric conditions affect signal propagation. Also, interference from solar activity or temperature inversions can alter reception range. However, the most common cause is simply being on the “digital cliff”—your signal is just barely strong enough, and slight atmospheric changes push it below the threshold. A better antenna or a preamplifier usually solves this.
Disclaimer: Cable and streaming prices vary by location and change frequently. The cost comparisons in this article are estimates based on typical pricing. Your actual savings will depend on your current cable package, internet costs, and which streaming services you choose.


Leave a Reply