
You settle in for movie night, popcorn in hand, ready to watch the latest blockbuster. Ten minutes in, the picture freezes. A spinning circle appears in the center of the screen. The audio cuts out, or the resolution drops until the image looks like a mosaic of blurry blocks. Your first instinct might be to blame Netflix, Hulu, or Disney+, but more often than not, the culprit is closer to home.
Buffering and low-quality video are the enemies of the modern cord-cutter. While streaming services do experience occasional outages, persistent issues usually point to bottlenecks in your home network. Before you cancel your subscription or spend hours on hold with customer support, you need to troubleshoot your own setup.
This guide will walk you through diagnosing and fixing streaming problems that originate from your internet connection. We will look at hardware placement, hidden settings, and bandwidth management to help you get the crisp, interruption-free experience you pay for.
Diagnosing the Problem: Is It the App or Your Connection?
Before you start unplugging router cables, you must determine where the failure is happening. Streaming problems generally manifest in two ways: buffering (the video pauses to load) or pixelation (the video plays but looks blurry). Both suggest that data isn’t arriving fast enough to keep up with playback.
Start with a simple process of elimination:
- Check other devices: Open the same streaming service on your phone or laptop while connected to the same Wi-Fi. If it works fine there, the issue is likely your specific streaming device (like your Smart TV or Roku) or its location.
- Check other services: If Netflix is lagging, switch to YouTube or Hulu. If those work perfectly, the problem might be with Netflix’s servers, not your internet.
- Run a speed test: Use a standard internet speed test on a device located right next to your TV. This gives you a baseline of what speeds are actually reaching your living room.
“The most expensive internet plan won’t fix a bad Wi-Fi signal. Diagnosis is half the cure.”
Speed Requirements: How Much Bandwidth Do You Actually Need?
Many consumers overpay for internet tiers they don’t need, while others unknowingly choke their connection with too many devices. Streaming requires a consistent flow of data. The speed you need depends entirely on the picture quality you desire.
Internet Service Providers (ISPs) measure speed in Megabits per second (Mbps). It is crucial to distinguish between the speed coming into your house and the speed your device actually receives. Furthermore, the numbers below refer to the speed required for a single stream. If three people in your house are watching different shows, you need to triple these numbers.
Here is a breakdown of the minimum consistent speeds recommended for different quality tiers:
| Resolution Quality | Typical Description | Minimum Speed Required | Recommended Speed (Buffer-free) |
|---|---|---|---|
| Standard Definition (SD) | 480p (DVD Quality) | 1.5 – 3 Mbps | 5 Mbps |
| High Definition (HD) | 720p or 1080p | 5 Mbps | 10 Mbps |
| 4K Ultra HD | 2160p (Sharpest detail) | 15 – 25 Mbps | 50 Mbps |
If you pay for a 100 Mbps plan but only get 10 Mbps at your television, 4K streaming will be impossible. According to Tom’s Guide, checking your actual throughput against the requirements of services like Netflix or Disney+ is the first step in ensuring a stutter-free experience.

The Wi-Fi Bottleneck: Router Placement and Interference
The single most common cause of streaming issues is poor router placement. Wi-Fi signals are radio waves; they degrade as they travel through physical obstacles. Metal, concrete, brick, and water (like fish tanks) are notorious signal blockers.
If your router is hidden inside a cabinet, behind a bookshelf, or in the basement while your TV is on the second floor, you are sabotaging your signal. The “modem” acts as the gateway to the internet, but the “router” broadcasts the signal. In many homes, these are combined into one unit provided by the ISP.
The 2.4GHz vs. 5GHz Dilemma
Modern routers broadcast on two frequencies: 2.4GHz and 5GHz.
- 2.4GHz: Travels through walls better and has a longer range, but it is slower and more crowded. Microwaves, baby monitors, and Bluetooth devices also use this frequency, causing interference.
- 5GHz: Faster and less crowded, capable of handling 4K streams easily. However, it has a shorter range and struggles to penetrate thick walls.
Actionable Tip: If your streaming device is close to the router, force it to connect to the 5GHz network. If it is far away and buffering, try the 2.4GHz network for a more stable (albeit potentially lower speed) connection.
Hardware Limitations: Old Modems and Aging Streaming Devices
Sometimes the internet pipe is fine, but the faucet is clogged. “Smart TVs” are convenient, but manufacturers often cut costs on the internal computer processors and Wi-Fi chips. A TV purchased five years ago likely has an outdated Wi-Fi standard that cannot handle modern bitrate demands.
Similarly, your modem matters. If you own your own modem to save on rental fees (a smart financial move), ensure it isn’t obsolete. Modems use a standard called DOCSIS. If you are still using a DOCSIS 3.0 modem but pay for Gigabit internet, you are physically unable to get the speeds you pay for. Upgrading to DOCSIS 3.1 is necessary for high-speed plans.
If your Smart TV interface feels sluggish and streams constantly buffer, consider bypassing the TV’s internal software. Experts at CNET frequently highlight that dedicated streaming devices—like the Roku Stick 4K, Amazon Fire TV Stick, or Apple TV—possess superior Wi-Fi antennas and faster processors than most built-in Smart TV interfaces.
The Golden Rule: Why Ethernet Trumps Wi-Fi
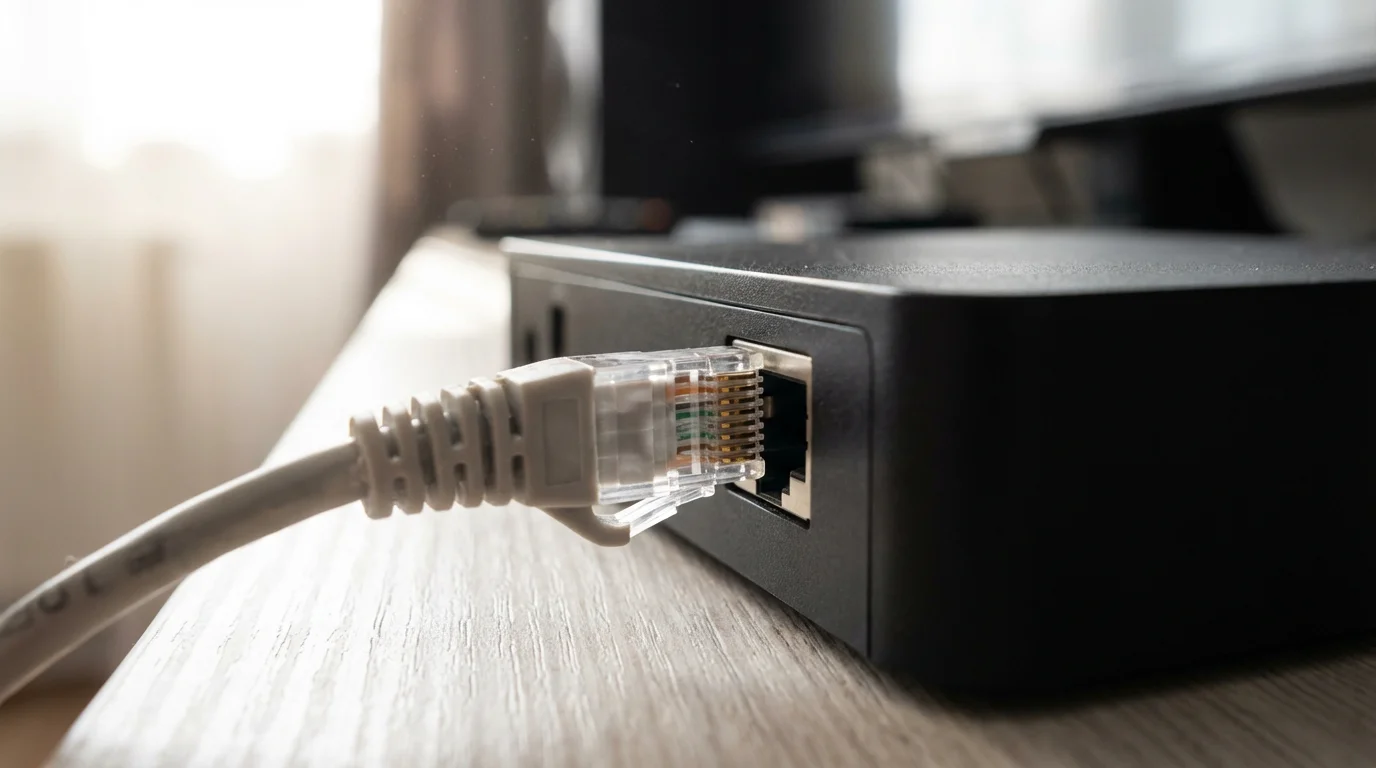
If you take only one piece of advice from this guide, let it be this: Wire your devices whenever possible.
Wi-Fi is convenient, but Ethernet is consistent. An Ethernet cable connects your streaming device directly to your router, eliminating interference, wall penetration issues, and distance problems. Even a long, flat Ethernet cable run under a rug can permanently solve buffering issues that years of Wi-Fi troubleshooting couldn’t fix.
If running a cable is physically impossible, consider a Powerline Adapter. These devices use your home’s existing electrical wiring to send internet signals from one room to another. While not as perfect as direct Ethernet, they are often more stable than Wi-Fi for distant rooms.
Managing Network Traffic: Who Hogs the Bandwidth?
Bandwidth is a finite resource. Think of your internet connection as a water pipe. If the shower, the dishwasher, and the garden hose are all running at once, the water pressure drops. The same applies to data.
Common bandwidth hogs include:
- Large Game Downloads: Video game consoles downloading 50GB updates will consume nearly all available bandwidth.
- Cloud Backups: Phones and laptops set to automatically back up photos to the cloud can saturate your “upload” speed, which indirectly kills your download performance by delaying request signals.
- Video Calls: Zoom or Teams calls require real-time data and can conflict with streaming entertainment.
Quality of Service (QoS)
Many modern routers have a feature called “Quality of Service” or QoS. This allows you to prioritize specific devices. You can log into your router’s admin panel and set your TV or streaming stick as “High Priority.” This tells your router: “If traffic is heavy, make sure the TV gets data first, and slow down the game download.”

Advanced Network Settings: DNS and Channel Switching
If you are tech-savvy, two settings changes can yield significant improvements without costing a dime.
1. Switch Wi-Fi Channels
If you live in an apartment complex or a dense neighborhood, your neighbors’ Wi-Fi signals are likely overlapping with yours. Most routers are set to “Auto” channel selection, but they don’t always pick the best one. You can use a free “Wi-Fi Analyzer” app on your smartphone to see which channels are crowded. Log into your router settings and manually switch your 2.4GHz Wi-Fi to channel 1, 6, or 11 (the only non-overlapping channels).
2. Change Your DNS Server
The Domain Name System (DNS) is the phonebook of the internet. It translates “Netflix.com” into a numerical IP address. Your ISP’s default DNS server is often slow. Changing the DNS settings on your router or streaming device to a faster public directory can speed up load times.
- Google Public DNS: Primary 8.8.8.8, Secondary 8.8.4.4
- Cloudflare DNS: Primary 1.1.1.1, Secondary 1.0.0.1
Changing this setting won’t increase your raw download speed, but it often reduces the time it takes for a video to start playing (latency).
When to Call Your ISP: Spotting Throttling and Outages
Sometimes, despite your best efforts, the problem lies with your Internet Service Provider. ISP throttling occurs when your provider intentionally slows down your internet speed based on what you are doing. They might detect high-bandwidth activity like streaming and throttle your connection to manage network congestion.
To test this, run a speed test normally. Then, turn on a VPN (Virtual Private Network) if you have one, and run the test again. A VPN hides your traffic type from the ISP. If your speed significantly improves with the VPN on, your ISP might be throttling specific types of traffic.
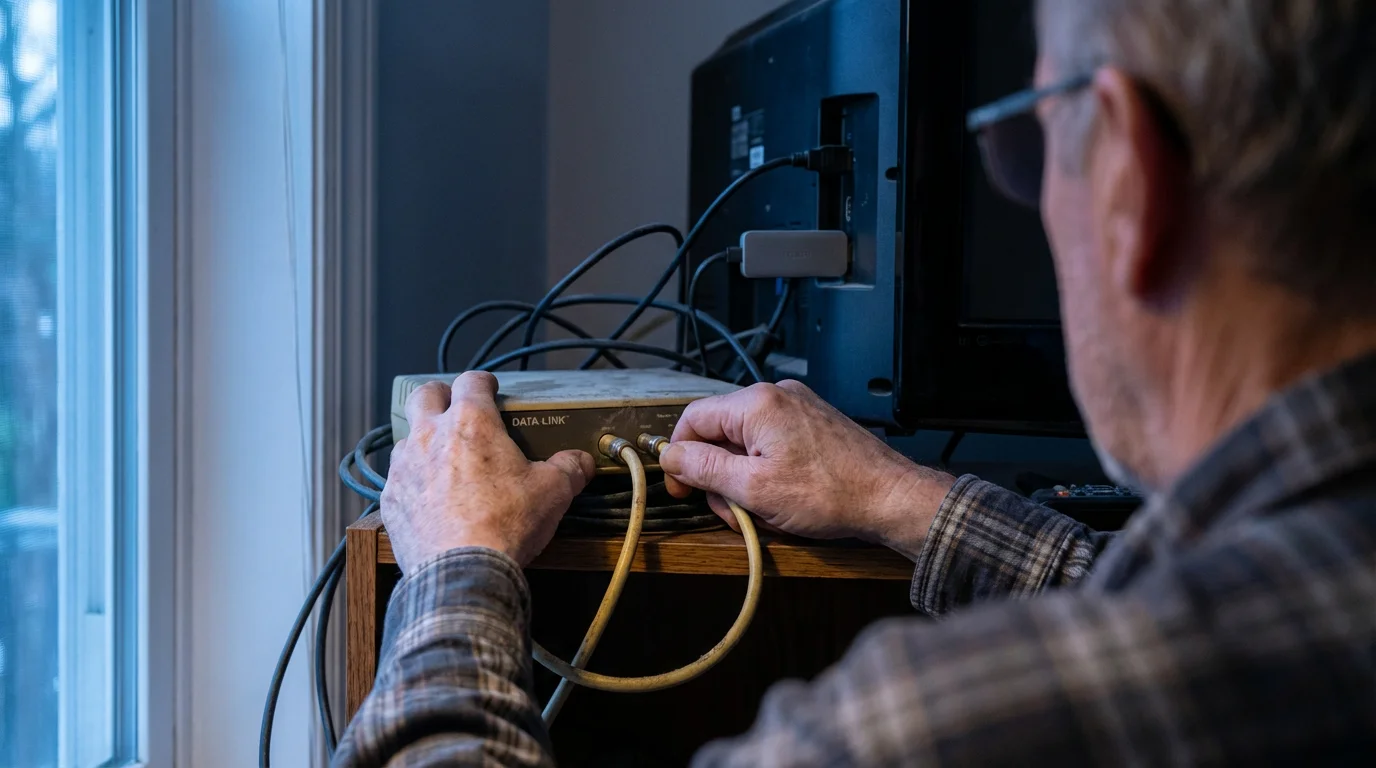
Furthermore, outdated equipment provided by the ISP can be a bottleneck. If you rent a gateway from your provider and haven’t swapped it in three years, call them. Request a newer model. It usually costs nothing to swap out rented equipment, and newer gateways support better Wi-Fi standards like Wi-Fi 6.

Optimizing Streaming Quality Settings to Save Data
If your internet is simply too slow (under 5 Mbps) or you have a data cap, you must manage your consumption manually. Most apps default to “Auto” quality, which tries to pull the highest definition possible until it crashes.
- Netflix: Go to your Account page in a web browser. Under “Profile & Parental Controls,” change playback settings from “Auto” to “Medium” or “Low.” This stops the app from trying to force HD on a slow connection.
- YouTube: Click the gear icon on the video player and manually select 480p or 720p.
- Amazon Prime Video: In the settings menu, you can select “Good,” “Better,” or “Best” streaming quality. “Good” uses significantly less data and bandwidth.
By voluntarily lowering the quality, you eliminate the constant stopping and starting. A smooth standard-definition movie is always a better experience than a 4K movie that buffers every thirty seconds.
Frequently Asked Questions
Does clearing the cache on my streaming device help with buffering?
Yes, it can. Over time, streaming apps store temporary data that can become corrupted or take up too much storage space. Restarting your device usually clears some system cache, but you can also go into the settings menu of your Fire TV or Android TV, find the specific app, and select “Clear Cache.” This forces the app to reload fresh data.
Why does my streaming only buffer in the evenings?
This is known as “internet rush hour.” Between 7:00 PM and 11:00 PM, network usage in residential areas spikes as everyone returns home to stream video, game, or browse social media. Cable internet connections are shared with neighbors at a local node; if everyone is online, speeds drop. If this happens nightly, you may need to upgrade to a higher bandwidth plan or switch to Fiber internet, which is less susceptible to node congestion.
Is a Wi-Fi Extender worth buying for streaming?
Wi-Fi extenders are a mixed bag. While they push the signal further, they often cut the speed in half and increase latency, which causes buffering. For streaming, a “Mesh Wi-Fi” system is a superior investment. Mesh systems use multiple nodes to create a blanket of fast, seamless coverage throughout the home without the speed penalty of cheap extenders.
Disclaimer: Streaming service terms and pricing change frequently. Always review current terms of service before implementing any money-saving strategies. Some tips may not work with all services or in all regions.


Leave a Reply