
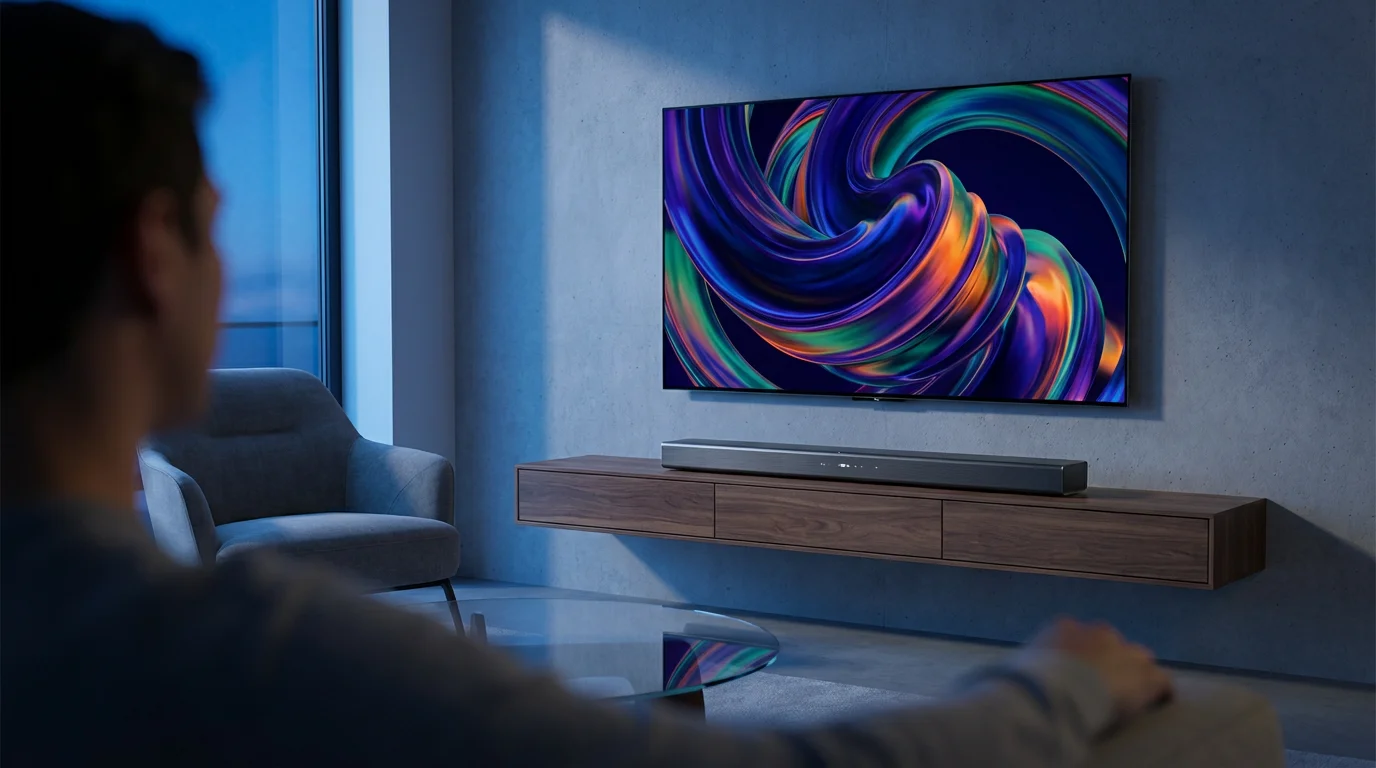
Connecting your streaming device to a sound bar significantly elevates your home entertainment experience. While a modern smart TV offers crisp visuals, its built-in speakers often fall short, delivering thin audio without depth or clarity. A sound bar, on the other hand, provides richer sound, clearer dialogue, and often simulates surround sound, making movies, TV shows, and sports much more immersive. This guide walks you through the essential steps and considerations for a seamless streaming audio setup, ensuring you get the best sound possible from your Roku, Fire TV, Apple TV, Chromecast, or smart TV apps. You will learn about the different connection types, optimize your settings, and troubleshoot common issues, transforming your viewing into an auditory delight.

Why Upgrade Your Audio? The Soundbar Advantage
Modern televisions prioritize sleek design and visual fidelity, often at the expense of audio quality. Their thin panels leave little room for robust speakers, leading to weak bass, muffled dialogue, and an overall flat sound profile. This compromises your streaming audio setup, especially when you watch movies with dynamic soundtracks or sports with roaring crowds. The impact of high-definition video lessens without accompanying rich audio.
A sound bar offers a compact and effective solution to this problem. It houses multiple speakers within a single enclosure, often incorporating subwoofers for impactful bass and dedicated tweeters for clear highs. Many sound bars use advanced digital signal processing to create a wider soundstage or even simulate a surround sound experience, pulling you deeper into the content. The upgrade provides immediate, noticeable benefits: dialogue becomes crisp and intelligible, explosions feel more impactful, and music gains greater depth. For cost-conscious viewers focused on cutting the cord, maximizing your existing streaming device with a quality sound bar enhances your enjoyment without committing to a complex, expensive home theater system.
Understanding Your Audio Connection Options
Selecting the correct soundbar connection method is crucial for optimal performance. Your choice depends on your television’s age, your sound bar’s features, and the audio formats you want to support. You will primarily encounter three main types of TV audio connections: HDMI ARC/eARC, Optical Digital, and Bluetooth. Each method offers different capabilities in terms of bandwidth, audio format support, and ease of use. Understanding these distinctions helps you make an informed decision for your streaming audio setup.
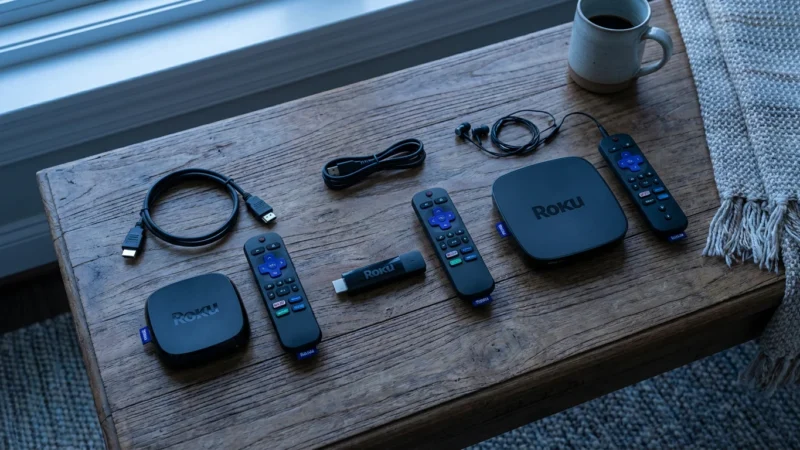
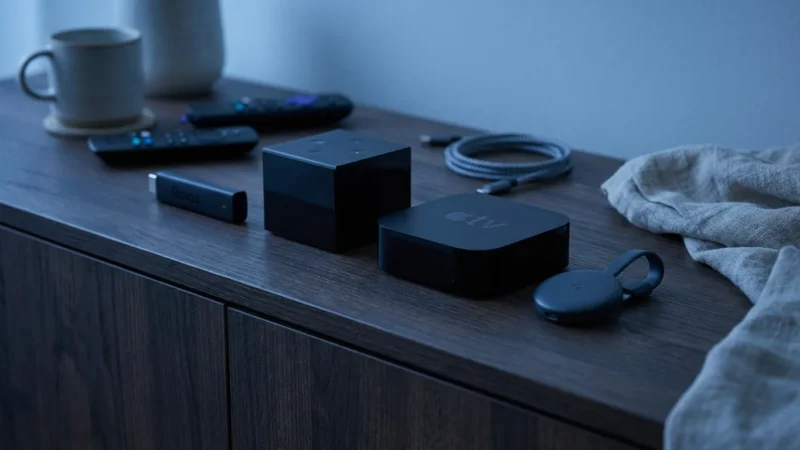
Choosing the right hardware is essential; if you are still deciding on a player, compare the features of Roku vs Fire TV vs Apple TV vs Chromecast to see which fits your needs.
According to Tom’s Guide’s recommendations on streaming devices, an optimal setup involves ensuring your audio components can handle the high-quality sound that today’s streaming content delivers, which often means prioritizing connections like HDMI eARC.
The Best Method: HDMI ARC and eARC Explained
HDMI ARC (Audio Return Channel) represents the gold standard for connecting a sound bar to your TV. It simplifies your streaming audio setup significantly by allowing audio to travel both ways through a single HDMI cable. This means your TV can send audio from any connected source, including your streaming device or smart TV apps, directly to your sound bar. You avoid the need for multiple cables, reducing clutter and simplifying control. When you use HDMI ARC, your TV remote often controls the sound bar’s volume, offering a seamless user experience.
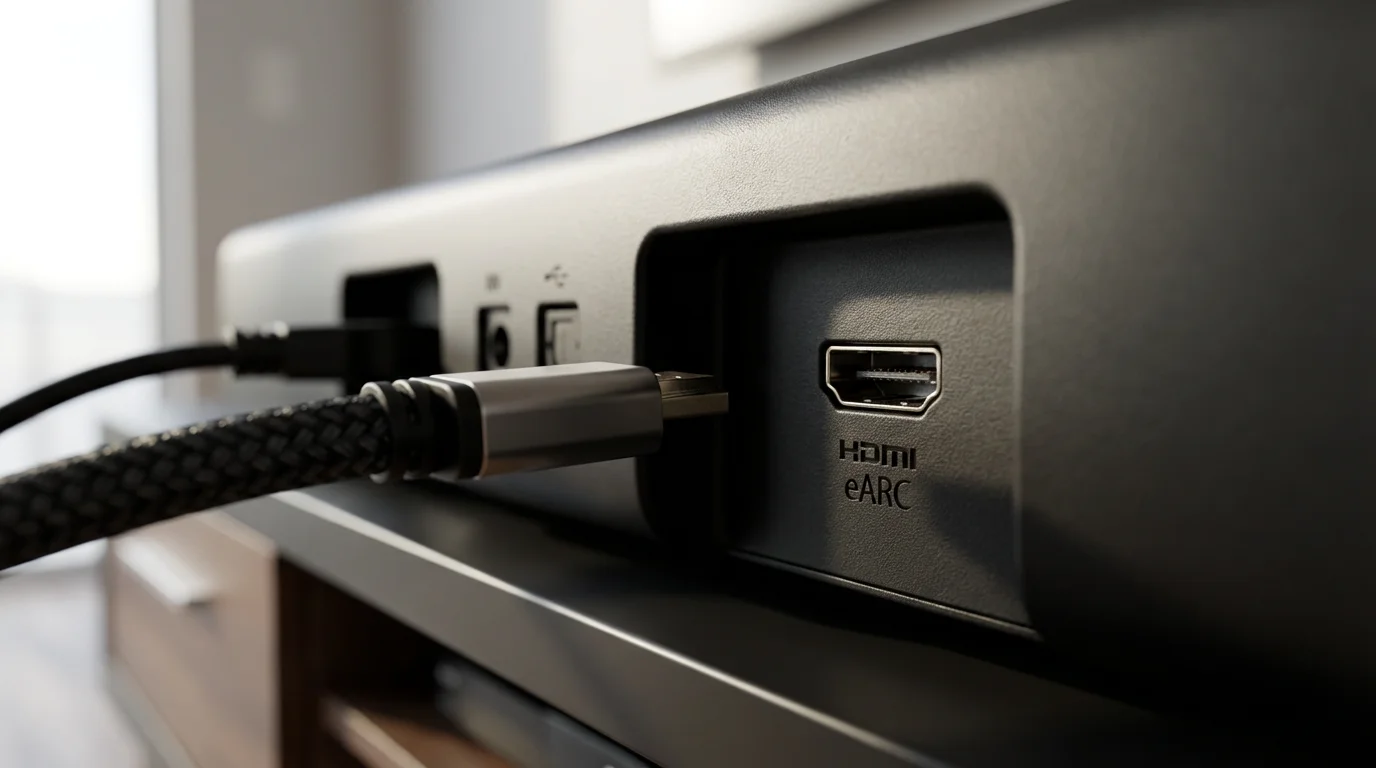
eARC (Enhanced Audio Return Channel) takes this capability even further. While ARC supports compressed 5.1-channel surround sound like Dolby Digital and DTS, eARC handles uncompressed, higher-bandwidth audio formats. This includes advanced object-based formats like Dolby Atmos and DTS:X, which deliver a truly immersive, three-dimensional streaming surround sound setup. Dolby Atmos, for instance, adds height channels, making it sound as if rain falls from above or a helicopter flies overhead. DTS:X offers similar spatial audio experiences. For you to experience these premium formats, your TV, sound bar, and streaming device must all support eARC. Most newer 4K TVs and high-end sound bars include eARC ports. Look for HDMI ports labeled “ARC” or “eARC” on both your TV and sound bar.
Step-by-Step: Connecting with HDMI ARC/eARC
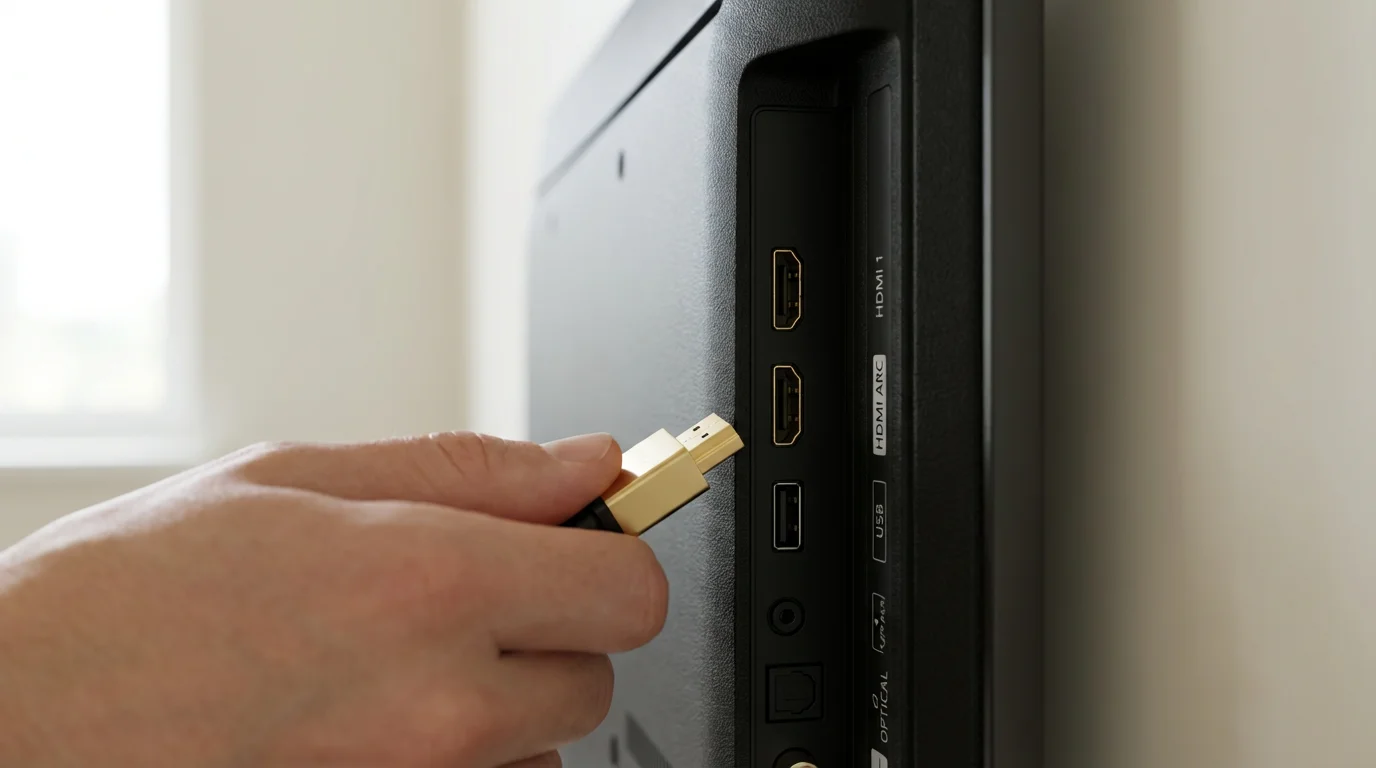
- Identify the Ports: Locate the HDMI port labeled “ARC” or “eARC” on your TV. It is usually one specific HDMI port, not all of them. Do the same on your sound bar.
- Connect the Cable: Use a high-speed HDMI cable (HDMI 2.0 or newer for ARC, HDMI 2.1 for eARC) to connect the ARC/eARC port on your TV to the ARC/eARC port on your sound bar.
- Power On Devices: Turn on your TV and sound bar.
- Adjust TV Settings: Navigate to your TV’s audio settings menu. Look for options like “Audio Output,” “Sound Output,” or “External Speakers.” Select “HDMI ARC” or “eARC” as the output. You might also need to enable “HDMI-CEC” (Consumer Electronics Control), which is often branded differently by manufacturers, for example, “Anynet+” (Samsung), “Bravia Sync” (Sony), or “Simplink” (LG). This allows your TV remote to control the sound bar.
- Verify Audio: Play content from your streaming device. You should hear the audio through your sound bar. Adjust the volume using your TV remote.
“For the ultimate streaming audio setup, prioritize HDMI eARC. It’s the only connection that fully supports the spatial audio formats like Dolby Atmos that transform your living room into a cinematic experience.”
Connecting Via Optical Audio (TOSLINK)
Optical digital audio, also known as TOSLINK, offers a reliable alternative when HDMI ARC/eARC is unavailable on your TV or sound bar. This connection transmits audio signals using pulses of light through a fiber optic cable. It provides a significant improvement over analog stereo connections, delivering clear, digital multi-channel audio. For many years, optical was the standard for home theater sound, and it still works perfectly for many common streaming audio setups.
However, optical audio has limitations. Its bandwidth is lower than HDMI ARC/eARC. This means it supports compressed surround sound formats like Dolby Digital 5.1 and DTS 5.1 but cannot handle uncompressed multi-channel PCM or advanced object-based audio formats such as Dolby Atmos or DTS:X. If your goal is to experience the latest immersive sound technologies, optical audio will not meet those requirements. It is best suited for older TVs, basic sound bars, or situations where you simply want better sound than your TV’s built-in speakers provide without needing cutting-edge surround sound.
Step-by-Step: Connecting with Optical Audio
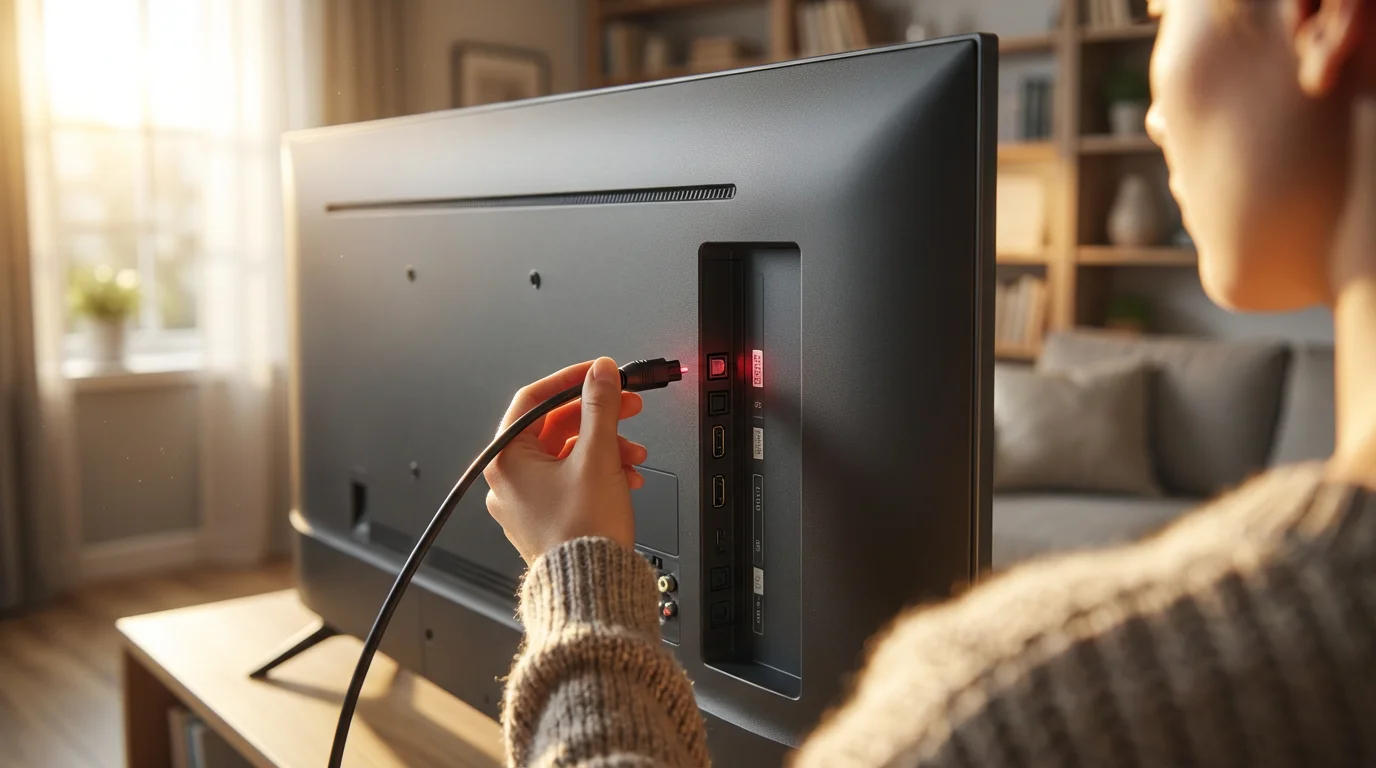
- Identify the Ports: Locate the “Optical Digital Audio Out” port on your TV. It is typically a small, square port with a hinged flap or cover. Find the “Optical In” port on your sound bar.
- Remove Caps and Connect: Carefully remove the protective plastic caps from both ends of your optical cable. Connect one end to your TV’s optical output and the other end to your sound bar’s optical input. You should hear a subtle click when the cable is properly seated.
- Power On Devices: Turn on your TV and sound bar.
- Adjust TV Settings: Go to your TV’s audio settings. Look for “Audio Output” or “Sound Output” and select “Optical,” “Digital Audio Out,” or “External Speakers.” You might also need to choose the digital audio format, typically “Bitstream” or “Dolby Digital” for multi-channel audio. Avoid “PCM” if you want surround sound from the optical connection.
- Select Sound Bar Input: On your sound bar, use its remote control or onboard buttons to select the “Optical” input.
- Verify Audio: Play content from your streaming device. You should hear audio through the sound bar.

Bluetooth and Other Connection Methods
While HDMI ARC/eARC and optical digital are the primary wired connections for a soundbar connection, other methods exist, each with specific use cases and limitations. Bluetooth offers wireless convenience, while 3.5mm AUX caters to more basic setups.
Bluetooth Connection
Bluetooth provides the easiest and most wire-free way to connect some sound bars, particularly for casual listening or if you prioritize convenience over the highest fidelity. Many modern TVs and sound bars include Bluetooth capabilities. You can typically pair your sound bar directly with your TV, or in some cases, directly with your streaming device if it supports audio output via Bluetooth (like some Apple TV models).
The main drawback of Bluetooth is audio quality. It uses compression, which can result in a loss of detail and dynamic range compared to wired connections. Bluetooth also introduces a slight audio delay, sometimes noticeable as lip-sync issues. It generally supports only stereo audio, making it unsuitable for a true streaming surround sound setup. However, for background music or improving dialogue clarity without dealing with cables, Bluetooth is a viable option.
Step-by-Step: Connecting via Bluetooth
- Enable Pairing Mode on Sound Bar: Refer to your sound bar’s manual to put it into Bluetooth pairing mode. An indicator light often flashes.
- Access TV Bluetooth Settings: Go to your TV’s settings menu, look for “Bluetooth,” “Sound Output,” or “Audio Devices.”
- Pair Devices: Select your sound bar from the list of available Bluetooth devices on your TV. Confirm the pairing.
- Verify Audio: Play content to confirm audio through the sound bar.
3.5mm AUX (Analog)
The 3.5mm auxiliary input is an analog connection, primarily found on older sound bars or very basic models. It transmits stereo audio using a standard headphone-style jack. This method is generally the lowest quality option, as it converts digital audio to analog before sending it to the sound bar, potentially introducing noise and signal degradation. You would use a 3.5mm cable if your TV and sound bar lack any digital audio outputs or inputs, which is rare for streaming audio setups today. It only supports two-channel stereo, offering no surround sound capabilities.
Dedicated Wireless Systems
Some streaming device manufacturers also offer their own wireless speaker systems designed to integrate seamlessly. For example, Roku sells Roku Wireless Speakers and sound bars that communicate wirelessly with Roku streaming devices or Roku TVs. These proprietary systems often provide higher fidelity and lower latency than generic Bluetooth, making them a specialized option for a cleaner streaming surround sound setup within a specific ecosystem. You typically connect a Roku streaming device to a Roku TV, and the wireless speakers pair directly with the TV or sound bar.
Optimizing Your Settings for Superior Streaming Audio
Connecting your sound bar is only the first step. To unlock its full potential and enjoy the best possible streaming audio setup, you must configure the audio settings on your TV, streaming device, and sound bar. Incorrect settings can lead to distorted sound, missing channels, or a complete lack of audio.
Television Audio Settings
Your TV acts as the hub for all audio signals. Adjust its settings to ensure it correctly outputs sound to your sound bar.
- Sound Output: First, ensure your TV’s sound output is set to “External Speakers” or “Audio System,” not “TV Speakers.”
- Digital Audio Output Format: This is critical. You typically have options like “PCM” (Pulse-Code Modulation) or “Bitstream” (sometimes labeled “Auto” or “Dolby Digital”).
- PCM: This is an uncompressed stereo or multi-channel format. If your sound bar supports it, PCM offers excellent quality, but it requires more bandwidth. Optical connections typically do not support multi-channel PCM.
- Bitstream (Dolby Digital, DTS): This sends a compressed audio signal to your sound bar, which then decodes it. For optical connections, you must select Bitstream (Dolby Digital or DTS) to get surround sound. For HDMI ARC, it is often best to let your sound bar do the decoding, so choose Bitstream.
- Pass-through: If your TV has an eARC port and your sound bar supports Dolby Atmos or DTS:X, look for a “Pass-through” or “Passthrough” option. This ensures the TV sends the raw, unaltered audio signal directly to the sound bar for decoding, preserving the highest quality object-based audio.
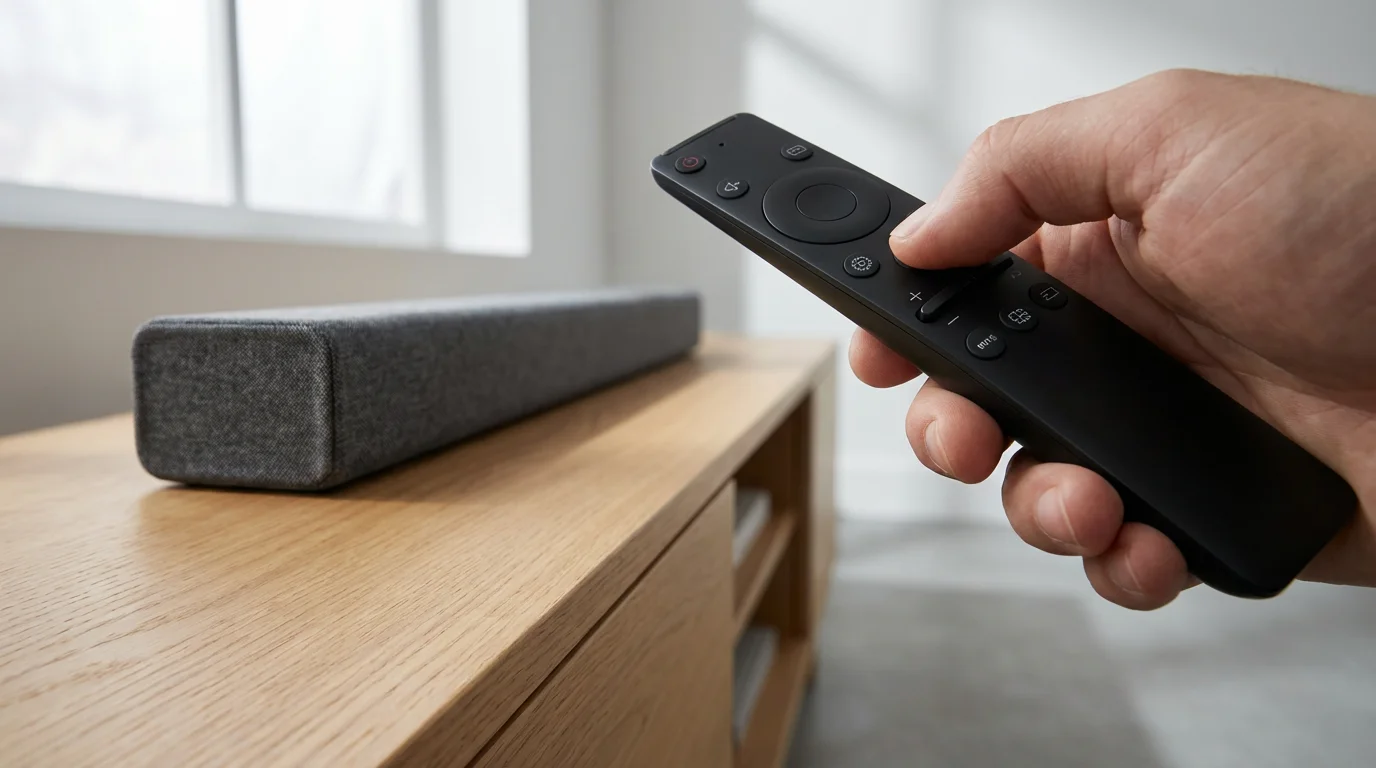
- HDMI-CEC: As mentioned, enable HDMI-CEC (e.g., Anynet+, Bravia Sync) if you connect via HDMI ARC/eARC. This allows your TV remote to control the sound bar’s power and volume, simplifying your daily use.
Streaming Device Audio Settings
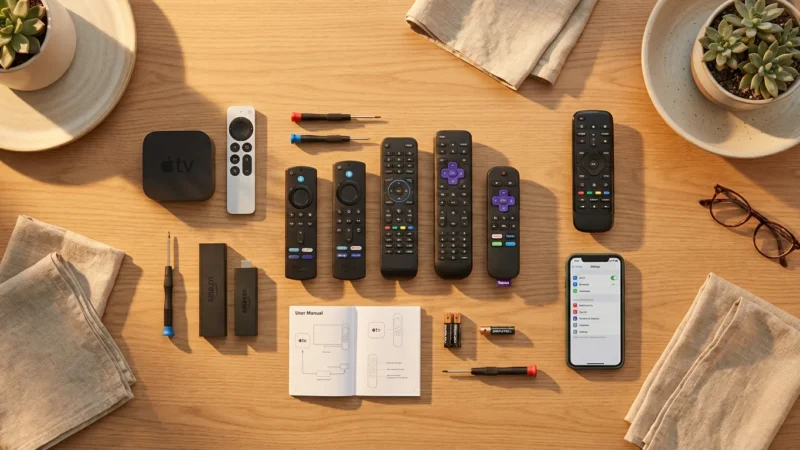
Your streaming device (Roku, Fire TV, Apple TV, Chromecast) also has audio settings that influence what your sound bar receives.
- Audio Mode/Format: Most streaming devices offer an “Auto” setting for audio, which allows the device to detect the best supported format by your TV and sound bar. This is often the safest choice.
- Specific Formats: If you experience issues or want to manually optimize, you might see options like “Dolby Digital,” “Dolby Digital Plus,” “Dolby Atmos,” or “DTS.”
- If your setup supports Dolby Atmos via eARC, ensure you select the “Dolby Atmos” or “Best Quality” option on your streaming device.
- If you use an optical connection or an older ARC setup, choose “Dolby Digital” or “Dolby Digital Plus.” Avoid “Dolby Atmos” if your system cannot support it, as it might lead to no sound or incorrect audio.
- Dynamic Range Control: Some devices offer “Dynamic Range Control” or “Night Mode.” This compresses the audio, making loud sounds quieter and quiet sounds louder, ideal for late-night viewing to avoid disturbing others. For the full experience, keep this off.
Sound Bar Settings
Your sound bar itself often has additional settings to fine-tune your audio.
- Input Selection: Always ensure your sound bar is on the correct input (e.g., “HDMI ARC,” “Optical,” “Bluetooth”).
- Sound Modes: Many sound bars offer preset sound modes like “Movie,” “Music,” “Sports,” or “Dialogue Enhance.” Experiment with these to find what sounds best for different types of content.
- Bass/Treble Adjustment: Fine-tune the low and high frequencies to suit your preferences and room acoustics.
- Subwoofer Level: If you have a separate subwoofer, adjust its volume to blend seamlessly with the main sound bar speakers.
By carefully configuring these settings, you ensure your streaming audio setup delivers its optimal performance, providing clear dialogue, impactful bass, and immersive surround sound whenever you stream.

Troubleshooting Common Soundbar Connection Issues
Even with the correct connections, you might encounter issues with your soundbar connection. Do not get frustrated; many common problems have straightforward solutions. This table outlines frequent issues and practical steps to resolve them, helping you maintain a smooth streaming audio setup.
| Issue | Possible Cause(s) | Actionable Solution(s) |
|---|---|---|
| No Sound from Sound Bar | Incorrect input selected, loose cables, TV audio output misconfigured, sound bar not powered on, volume too low. |
|
| Poor Sound Quality / Static | Damaged cable, incorrect audio format, loose connection, interference. |
|
| Audio Delay (Lip Sync Issue) | TV processing delay, sound bar processing delay, Bluetooth latency. |
|
| No Surround Sound / Only Stereo | Incorrect audio format, unsupported connection, streaming content is stereo. |
|
| HDMI-CEC Issues (Sound Bar Not Responding to TV Remote) | CEC disabled, conflicting devices, brand incompatibility. |
|
When to Prioritize a Soundbar Over Built-in TV Speakers
Deciding when to invest in a sound bar comes down to your priorities, budget, and the type of content you consume most frequently. While a sound bar undeniably enhances any streaming audio setup, it is not always a strictly necessary purchase for every viewer. Many budget-conscious viewers, especially those new to cord-cutting, weigh the value of every entertainment dollar.
You should strongly consider a sound bar if:
- You love movies and TV shows with dynamic soundtracks: Action films, dramas, and sci-fi epics truly benefit from clearer dialogue, impactful bass, and immersive surround sound that TV speakers simply cannot provide. You experience dialogue without constantly adjusting volume during loud scenes.
- You are a sports fan: The roar of the crowd, the crack of a bat, or the commentator’s call become much more engaging and clear. A sound bar makes you feel more present in the game.
- You use your TV for music: If you stream music often through your streaming device, a sound bar offers vastly superior audio fidelity compared to TV speakers, transforming your living room into a more enjoyable listening space.
- Dialogue clarity is important to you: Many people struggle to hear dialogue clearly, especially with background music or effects. Sound bars, particularly those with a dedicated center channel or dialogue enhancement modes, significantly improve vocal intelligibility.
- Your current TV has particularly poor audio: Some budget smart TVs or older models have notoriously weak speakers. In these cases, even an entry-level sound bar provides a dramatic upgrade.
- You want a cleaner setup than a full home theater system: A sound bar offers a significant audio upgrade without the complexity, expense, or numerous wires of a multi-speaker surround sound system. It is a perfect middle-ground for many.
As CNET often highlights in its streaming device reviews, a great streaming experience extends beyond just video quality, making audio upgrades like a sound bar a worthwhile investment for many users.
Conversely, relying on your smart TV’s built-in apps and speakers might be “good enough” if:
- You primarily watch news, talk shows, or casual content: For content where audio fidelity is less critical, your TV’s speakers might suffice.
- Budget is your absolute top priority: If every dollar counts and an additional purchase is truly outside your comfort zone, you can still enjoy streaming, albeit with compromised audio.
- You have limited space: While sound bars are compact, they still require a spot in front of or below your TV. If space is extremely tight, it might not be practical.
- You are not particular about audio quality: If you simply do not notice or care much about nuanced sound, the TV speakers might be perfectly acceptable for your needs.
Ultimately, a sound bar is a key component for maximizing your streaming device’s potential, delivering an audio experience that complements high-definition video and makes your entertainment truly come alive.
Frequently Asked Questions
Can I connect my streaming device directly to my sound bar?
Most streaming devices (Roku, Fire TV, Apple TV, Chromecast) do not have audio-only output ports like HDMI Out that can directly connect to a sound bar. They connect to your TV via HDMI, and then your TV sends the audio to the sound bar using an HDMI ARC/eARC port or an optical audio cable. The TV acts as the central hub for the audio signal from your streaming device to the sound bar.
Do I need special cables for Dolby Atmos?
Yes, for Dolby Atmos via HDMI, you need an HDMI 2.1 cable if you use an eARC connection. While some older HDMI 2.0 cables might pass Atmos with ARC if it is in a compressed format (Dolby Digital Plus with Atmos), a certified Ultra High Speed HDMI 2.1 cable ensures full bandwidth for uncompressed Atmos signals through eARC. Optical cables cannot support Dolby Atmos at all.
My TV has multiple HDMI ports. Which one should I use for ARC?
Your TV will have one specific HDMI port labeled “ARC” or “eARC.” It is crucial to use this particular port for your sound bar connection to enable the Audio Return Channel functionality. Other HDMI ports are standard inputs and will not send audio back to the sound bar.
Can I use my sound bar as a Bluetooth speaker for my phone?
Yes, most modern sound bars include Bluetooth functionality. You can typically pair your smartphone, tablet, or laptop directly with your sound bar via Bluetooth to stream music or other audio content, bypassing your TV entirely. Refer to your sound bar’s manual for instructions on how to activate Bluetooth pairing mode.
What is HDMI-CEC and why is it important for a sound bar?
HDMI-CEC (Consumer Electronics Control) is a feature that allows devices connected via HDMI to communicate and control each other. When enabled on your TV and sound bar (and streaming device), it allows you to control the sound bar’s power and volume using your TV remote. This simplifies your streaming audio setup, as you do not need to juggle multiple remotes for basic functions. Manufacturers often brand CEC differently, such as Anynet+ (Samsung), Bravia Sync (Sony), or Simplink (LG).
Disclaimer: Device prices and features may change. New models are released regularly, so check for the latest versions before purchasing. The “best” device depends on your specific needs, existing ecosystem (Apple, Google, Amazon), and budget.


Leave a Reply