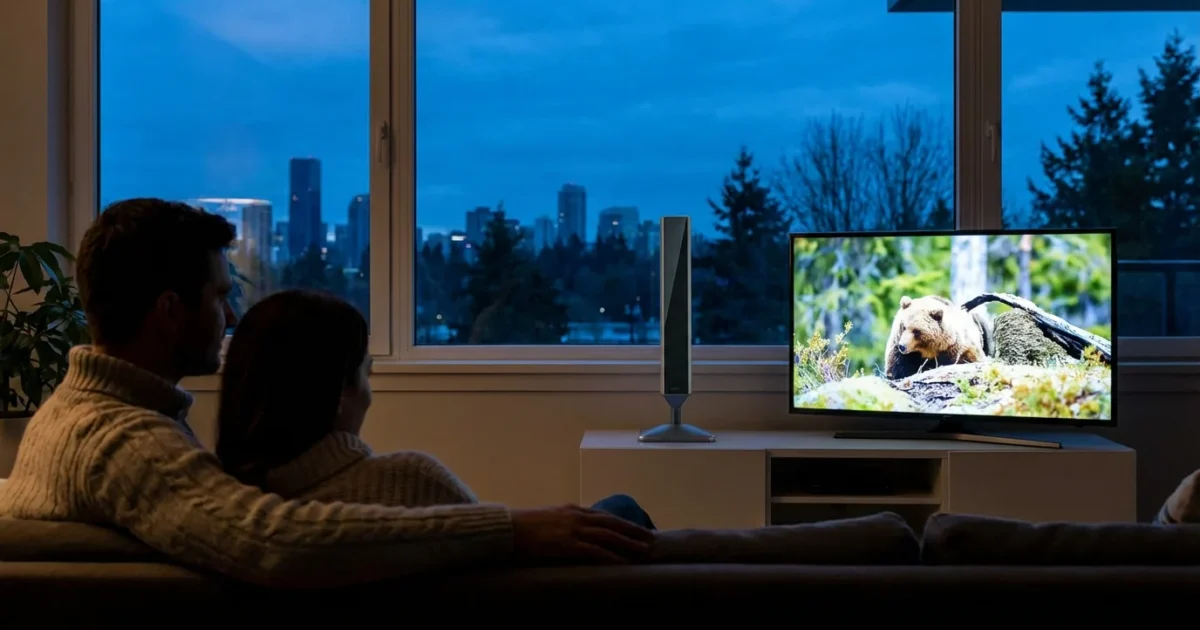
The rising cost of cable and even some streaming services leaves many searching for truly budget-friendly entertainment options. You want to save money without sacrificing access to your favorite local news, sports, and prime-time shows. Free over-the-air (OTA) TV with an antenna provides a robust solution, delivering high-definition content directly to your television without monthly bills.
This guide demystifies the process of accessing free TV channels. You will learn exactly what equipment you need, how to choose the right antenna, and a step-by-step approach to setting it up for optimal reception. Discover how to effectively cut the cord while ensuring you keep the essential programming you value.
Why Free Over-the-Air TV is a Smart Choice
In a world of ever-increasing subscription fees, free over-the-air (OTA) TV stands out as a powerful money-saving tool. Many households pay $80 to $150 or more each month for cable TV. A significant portion of that bill goes towards local channels like ABC, CBS, Fox, NBC, and PBS, which are freely broadcast in high definition across the airwaves.
To see a detailed breakdown of potential savings, check out our real cost analysis of cord cutting.
Cutting the cord from traditional cable or satellite TV, a process known as cord-cutting, means canceling these services in favor of alternative entertainment sources. Incorporating a TV antenna into your entertainment strategy allows you to retain access to these crucial local broadcasts without a recurring fee. For instance, if your cable bill includes a $20 regional sports fee and a $10 broadcast TV fee, an antenna instantly eliminates those costs. This adds up to substantial annual savings, often hundreds of dollars, making the initial, one-time investment in an antenna worthwhile.
Furthermore, OTA TV offers a reliable signal. It does not depend on your internet connection. While you need a robust internet connection for streaming, which is watching video content over the internet, your antenna provides a direct signal that remains unaffected by internet outages or bandwidth throttling. This provides a valuable backup for news and emergency broadcasts during severe weather or other disruptions.
Understanding Over-the-Air (OTA) TV
Over-the-air TV refers to broadcast television signals transmitted from local stations directly through the air to antennas. This is how television worked before cable and satellite became prevalent. Today, these signals are primarily digital, known as DTV (Digital Television), which offers superior picture quality, often in high definition, and more channels than the older analog broadcasts.
When you set up a TV antenna, you are capturing these digital signals. Your television, if it is a modern smart TV (a television with built-in internet connection and apps) or has a digital tuner, then decodes these signals into watchable programming. The quality of free TV channels received over the air is often comparable to, or even better than, the compressed signals you receive from cable or satellite providers for local channels.
The key difference is the delivery method. Cable and satellite providers receive these signals and then re-transmit them to your home via wires or satellite dishes, adding their own fees for this distribution. An antenna bypasses this middleman entirely, giving you direct access to the source.
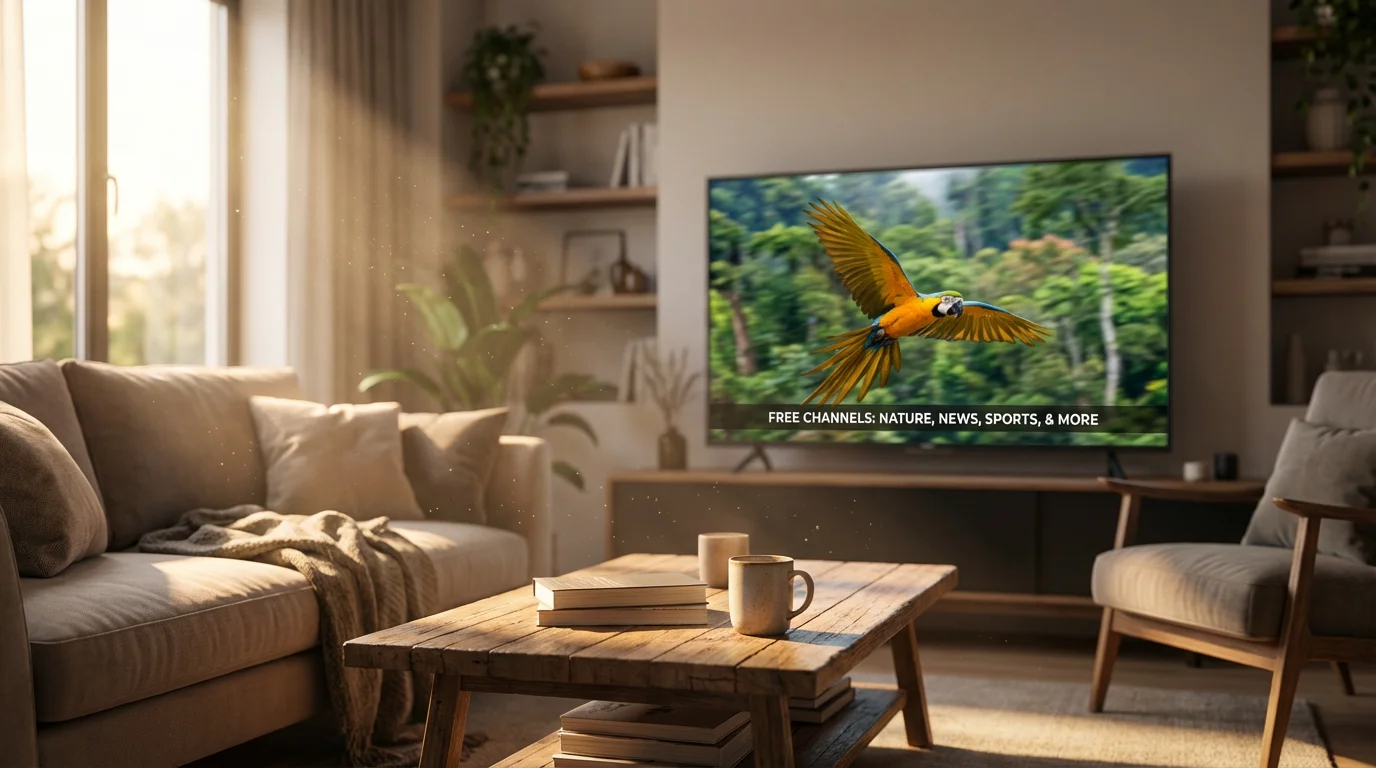
What Channels Can You Get with an Antenna?
The specific over the air channels you receive depend heavily on your geographic location, proximity to broadcast towers, and the quality of your antenna. However, in most populated areas of the USA, you can expect to receive major network affiliates. These typically include:
- ABC (American Broadcasting Company)
- CBS (Columbia Broadcasting System)
- Fox (Fox Broadcasting Company)
- NBC (National Broadcasting Company)
- PBS (Public Broadcasting Service)
- The CW
- MyNetworkTV
- Telemundo and Univision (Spanish-language networks)
Beyond these main networks, modern digital broadcasting allows stations to transmit multiple subchannels. These offer a wide array of content, including classic movies, old TV series, news, weather, and niche programming, often categorized by genres such as “Decades,” “Movies,” or “Retro TV.” For example, you might find channels like MeTV, Antenna TV, Comet, or Bounce TV, all available for free.
To find out exactly which channels are available in your area, visit the FCC Consumer Guide DTV Reception Map. You enter your zip code, and the tool provides a comprehensive list of channels, their signal strength, and the direction of their broadcast towers. This information proves invaluable when choosing and positioning your antenna.
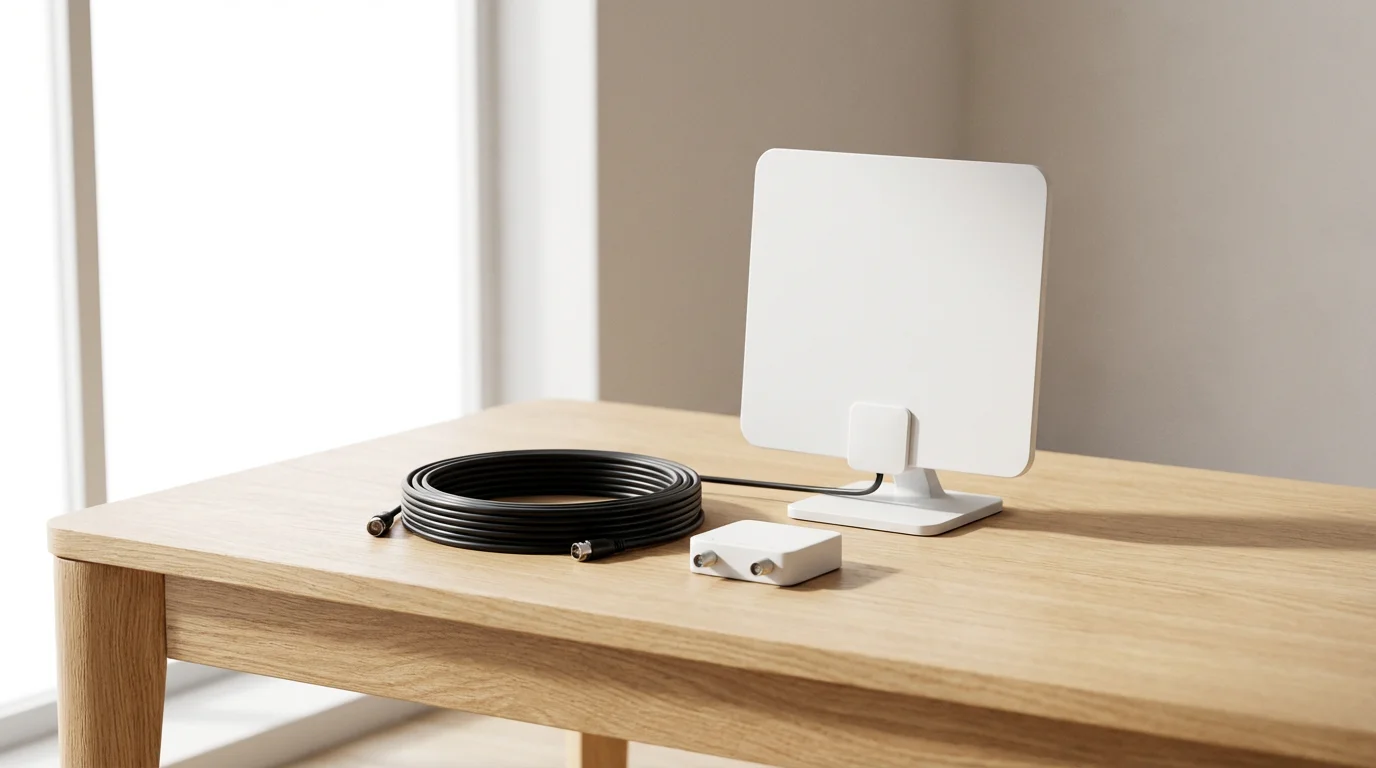
Essential Equipment for Free OTA TV
Setting up free over-the-air TV requires only a few key components. Here is a checklist of what you need:
1. The TV Antenna
This is the core component. Antennas vary significantly in design, range, and installation requirements. We will explore antenna types in detail in the next section.
2. A Digital TV Tuner
Most televisions manufactured after 2007 include a built-in ATSC (Advanced Television Systems Committee) digital tuner. If you have an older TV, you might need an external converter box with an ATSC tuner. Check your TV’s specifications or look for a “Digital Tuner” or “ATSC” label.
3. Coaxial Cable
You need a coaxial cable to connect your antenna to your TV or converter box. RG6 coaxial cable is recommended for its shielding and signal integrity, especially for longer runs. The length you need depends on your antenna’s location and your TV’s position.
4. Optional: Signal Amplifier
If you live far from broadcast towers (generally 30 miles or more) or have multiple TVs connected to one antenna, a signal amplifier can boost weak signals. This improves reception and reduces signal loss. However, avoid using an amplifier if your signal is already strong, as it can over-amplify and cause distortion.
5. Optional: DVR (Digital Video Recorder)
A DVR, a digital video recorder, lets you record and watch shows later. While many cable boxes include DVR functionality, you need a separate OTA DVR for free TV. Devices like the Tablo or Channel Master DVR+ connect to your antenna and offer recording, pausing live TV, and often remote streaming of your local channels to other devices.
“An antenna is a one-time purchase, unlike streaming subscriptions that add up monthly. For many, it pays for itself in just a few months of cancelled cable bills.”
Choosing the Right TV Antenna for Your Home
Selecting the best antenna for free TV channels involves considering several factors: your location, distance from broadcast towers, and environmental obstructions. Antennas fall into broad categories:
If you live in a multi-unit building, check out our tips for cord cutting for apartment dwellers to find the best indoor solutions.
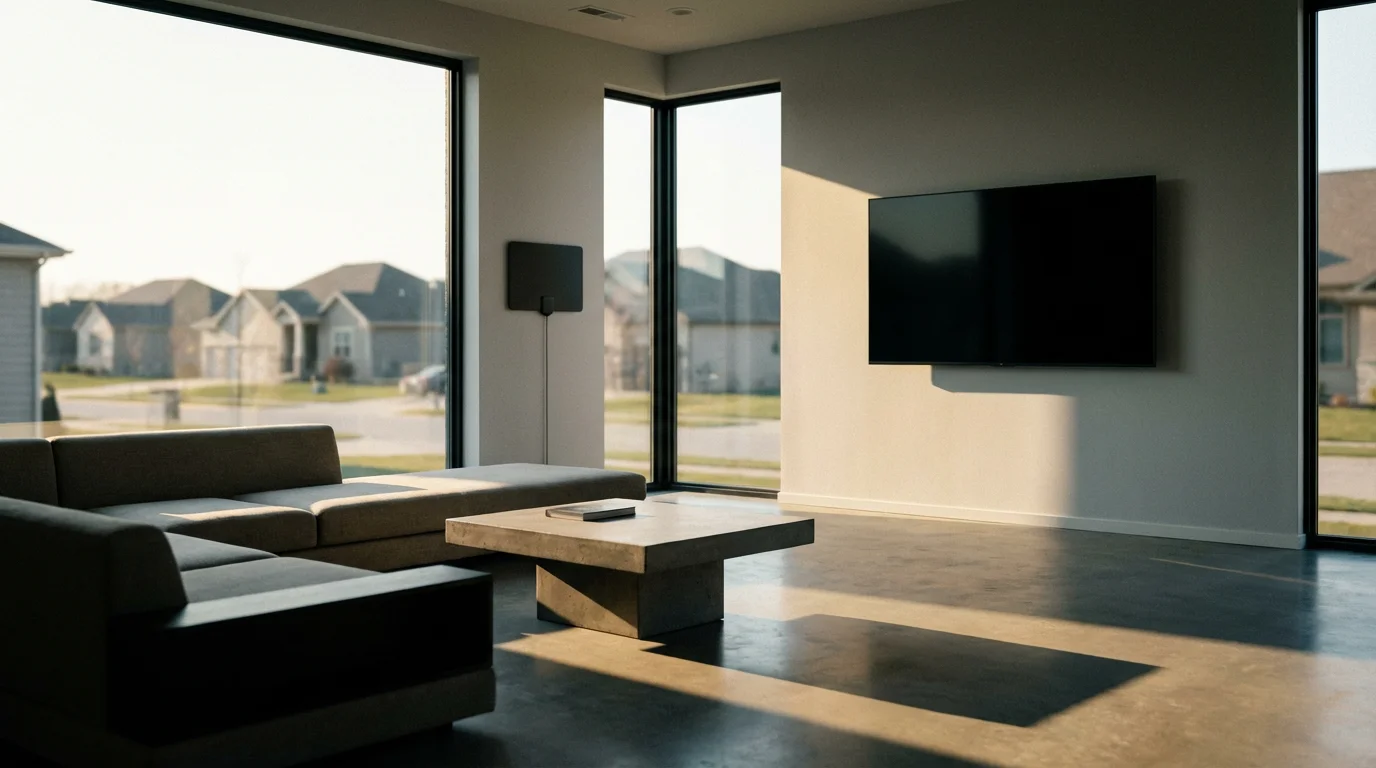
Indoor Antennas
These are typically small, flat, or bar-shaped antennas designed for placement near your TV, often on a wall or window. They are best for urban and suburban areas within 20-35 miles of broadcast towers. They are easy to install but can be sensitive to interference from household electronics or building materials. Costs range from $20 to $60.
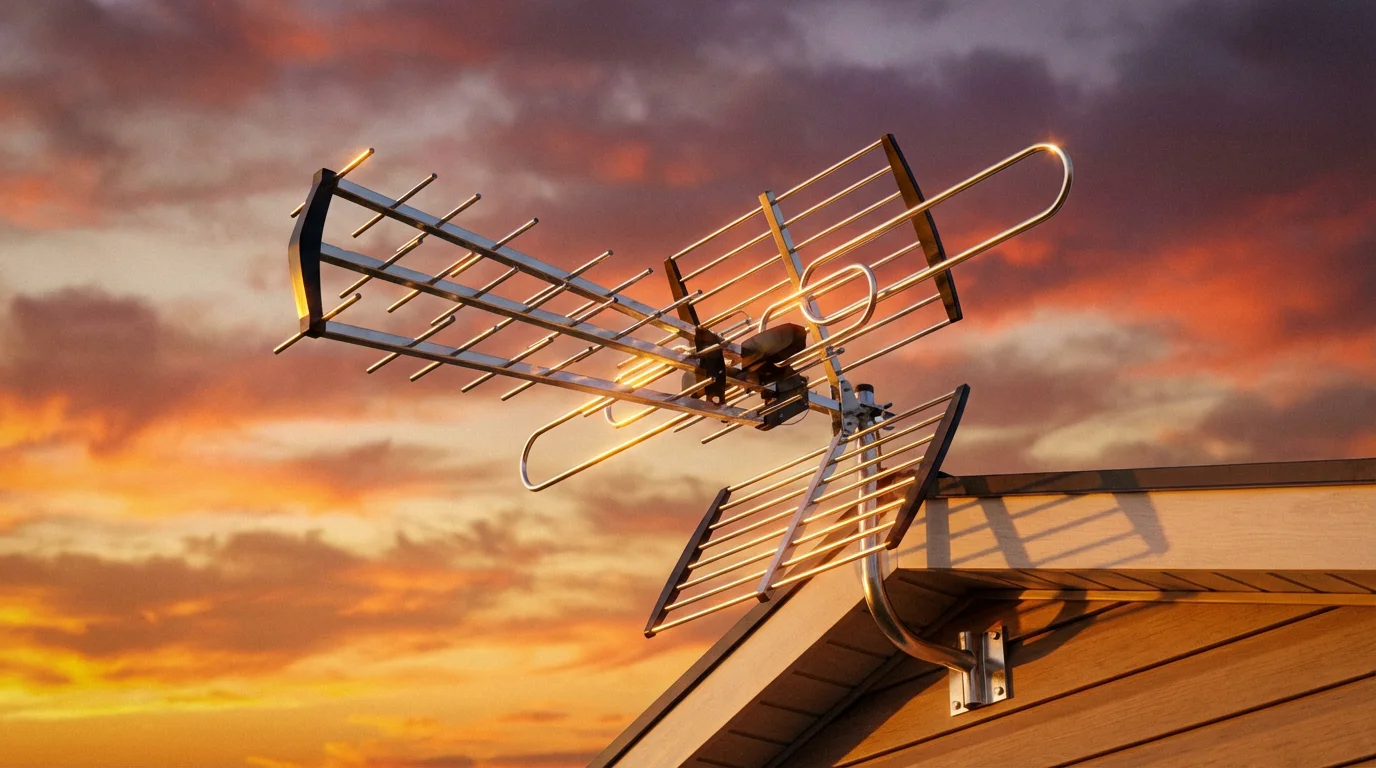
Outdoor Antennas
Mounted on a roof, mast, or attic, outdoor antennas offer the best reception, especially for rural areas or those far from broadcast towers (up to 70+ miles). They face fewer obstructions and capture a stronger signal. Installation can be more complex, often requiring professional help, and costs range from $50 to $200 or more, plus potential installation fees.
Attic Antennas
A compromise between indoor and outdoor, attic antennas are less exposed to weather and easier to install than roof mounts. They generally perform better than indoor models but still experience some signal degradation due to roofing materials. They suit homes within 30-50 miles of broadcast towers.
You also encounter directional and omni-directional antennas:
- Directional Antennas: These need to point directly at broadcast towers. They offer excellent reception for channels coming from a single direction, ideal if all your desired stations are in one general area.
- Omni-directional Antennas: These receive signals from all directions. They are convenient if towers are scattered around you but might not pull in weaker signals as effectively as a directional antenna.
Use the FCC’s DTV Reception Map to identify tower locations and determine if a directional or omni-directional antenna suits your situation. For instance, if all your major networks broadcast from the same cluster of towers 40 miles to your north, a high-gain directional outdoor antenna makes the most sense. If you have towers 20 miles north and 15 miles east, an omni-directional or even a good indoor antenna might suffice.
| Antenna Type | Typical Range | Pros | Cons | Approximate Cost |
|---|---|---|---|---|
| Indoor (Flat/Bar) | 0-35 miles | Easy setup, discreet, low cost | Sensitive to interference, limited range | $20 – $60 |
| Attic | 30-50 miles | Better reception than indoor, weather-protected | Moderate installation, signal loss from roof | $40 – $100 |
| Outdoor (Directional) | 50-70+ miles | Best reception, pulls in distant signals | Complex installation, visible, weather-exposed | $50 – $200+ |
When shopping, look for antennas labeled “HDTV” or “Digital.” Most modern antennas are designed for digital signals. Consider also whether you need a UHF/VHF combination antenna, as some local channels still broadcast on VHF frequencies, even though most digital channels now use UHF.
Step-by-Step Guide: How to Set Up Your TV Antenna
Setting up your TV antenna is a straightforward process. Follow these steps for the best chance of clear, consistent reception:
Step 1: Determine Broadcast Tower Locations
Before you even unbox your antenna, use the FCC DTV Reception Map. Enter your address to see which channels are available, their strength, and the compass direction of their broadcast towers. This information is critical for antenna placement and orientation.
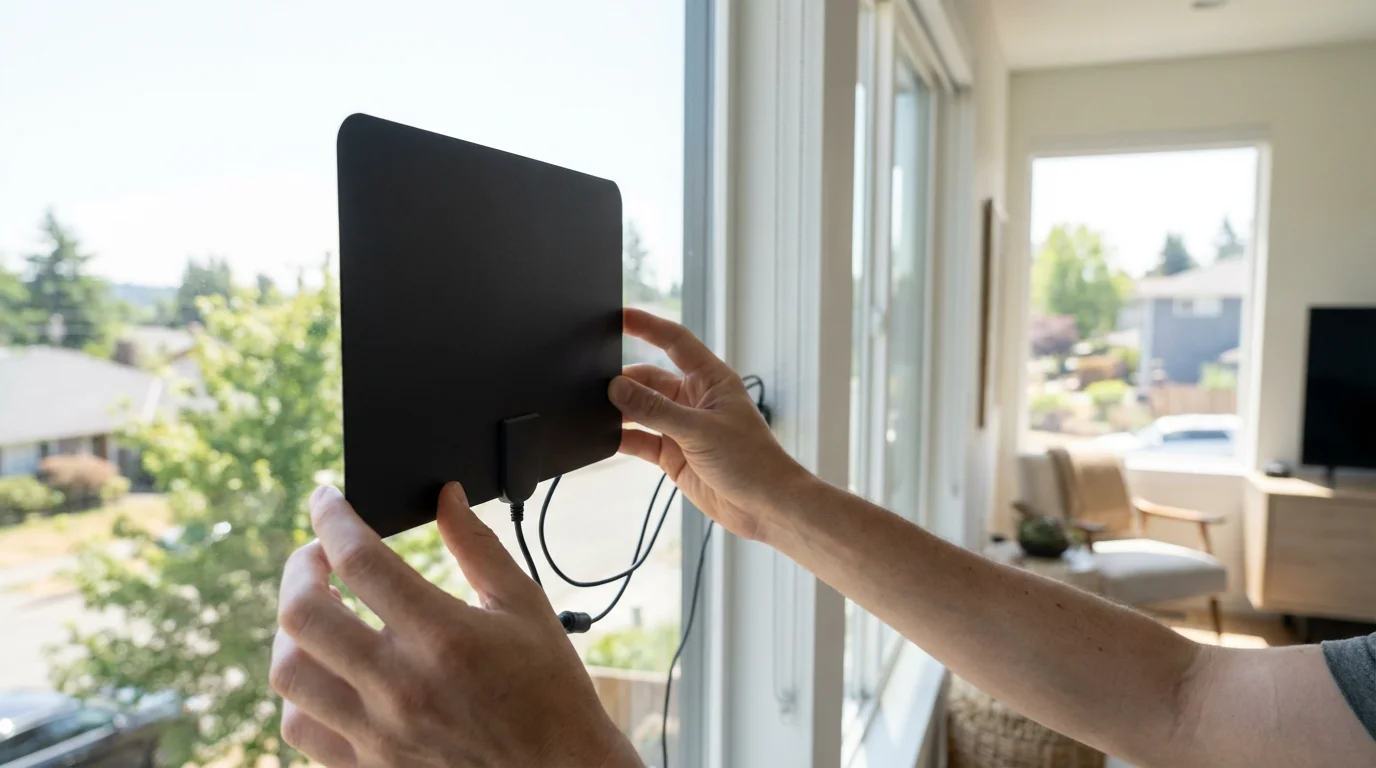
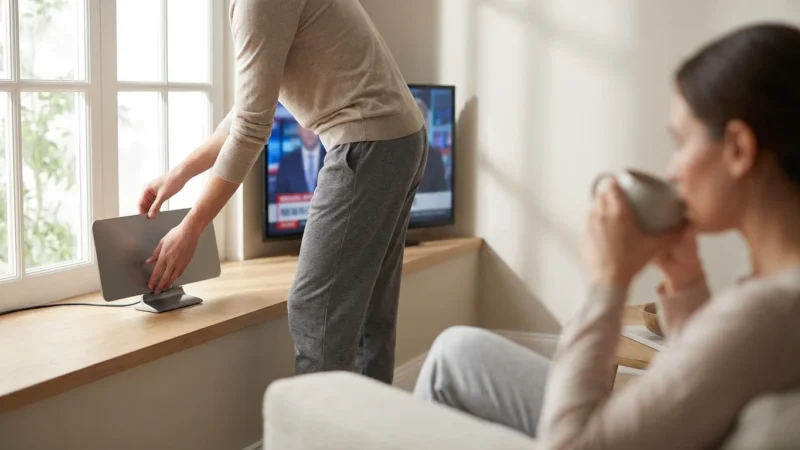
Step 2: Choose the Best Placement for Your Antenna
Higher is generally better. For indoor antennas, try placing it on a window or wall facing the broadcast towers. Experiment with different locations in the room. For outdoor or attic antennas, install it as high as safely possible, away from obstructions like large trees, hills, or other buildings. The more direct the line of sight to the towers, the better your reception will be.
Step 3: Connect the Antenna to Your TV
Use a coaxial cable to connect the antenna’s output to the “Antenna In” or “RF In” port on your television. If you are using a digital converter box for an older TV, connect the antenna to the converter box, then connect the converter box to your TV via HDMI, RCA, or coaxial cable.
Step 4: Power the Antenna (If Applicable)
Some amplified indoor antennas or outdoor antennas with preamplifiers require power. Plug in the antenna’s power adapter if it has one. Without power, an amplified antenna will not work correctly.
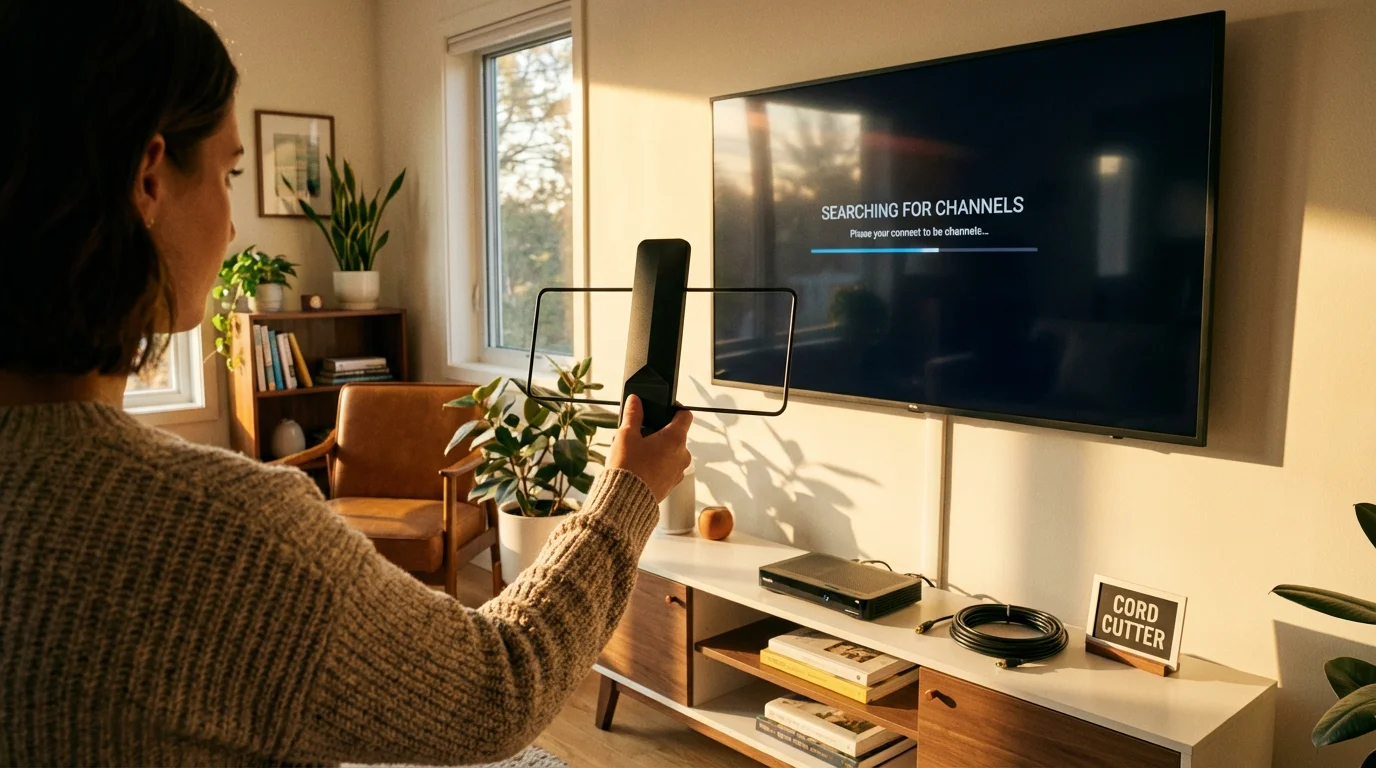
Step 5: Scan for Channels
- Turn on your TV and select the correct input (e.g., “TV” or “Antenna”).
- Access your TV’s menu. Look for options like “Channel Scan,” “Auto Program,” or “Set Up.”
- Select “Antenna” or “Air” as your signal source, not “Cable.”
- Start the channel scan. This process can take several minutes. Your TV will search for available digital channels and store them.
Do not be discouraged if your initial scan yields few channels. This is part of the optimization process.
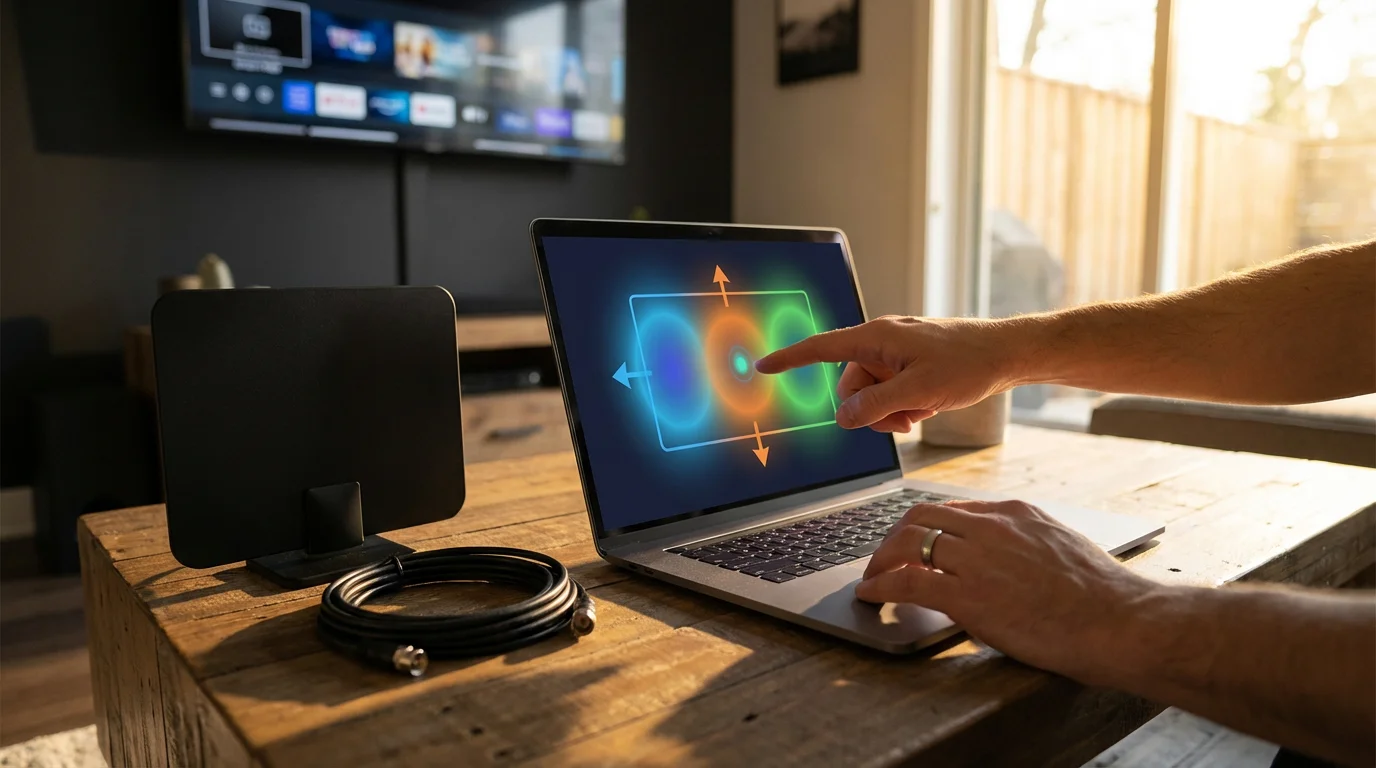
Optimizing Your Antenna Reception for the Best Picture
A successful channel scan does not always guarantee perfect reception. You might encounter pixelation, freezing, or missing channels. Fine-tuning your antenna placement and orientation improves signal quality.
- Experiment with Placement: Even a few inches can make a difference. Try moving your indoor antenna to different windows, walls, or higher points in the room. For outdoor antennas, small adjustments in direction can significantly impact signal strength.
- Check for Obstructions: Are there large metal objects, appliances, or concrete walls between your antenna and the broadcast towers? These can block or weaken signals.
- Rescan for Channels: After every significant adjustment to your antenna’s position or orientation, perform a new channel scan on your TV. The TV needs to “learn” the new signal conditions.
- Consider an Amplifier: If you are more than 30 miles from towers and struggle with weak signals across multiple channels, a signal amplifier might help. Attach it between your antenna and your TV or splitter.
- Inspect Cabling: Ensure your coaxial cables are securely connected and not damaged. Frayed or loose connections cause signal loss. Avoid excessively long cable runs if possible.
- Evaluate Antenna Type: If you consistently receive poor signals with an indoor antenna, despite optimization, upgrading to an attic or outdoor antenna is likely your best solution.
According to Wirecutter, “The most important factor in antenna performance is placement. No matter how good your antenna is, if it’s not positioned well, you won’t get good reception.” Patiently adjusting and rescanning pays off with a clear picture.
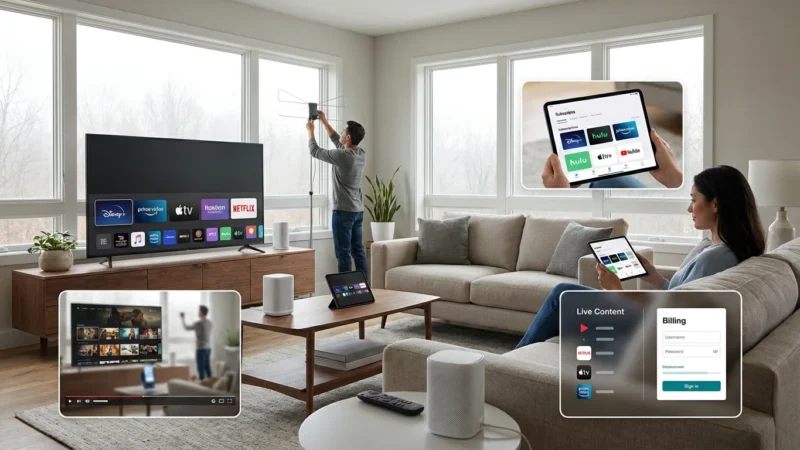
Integrating Free OTA TV with Your Streaming Setup
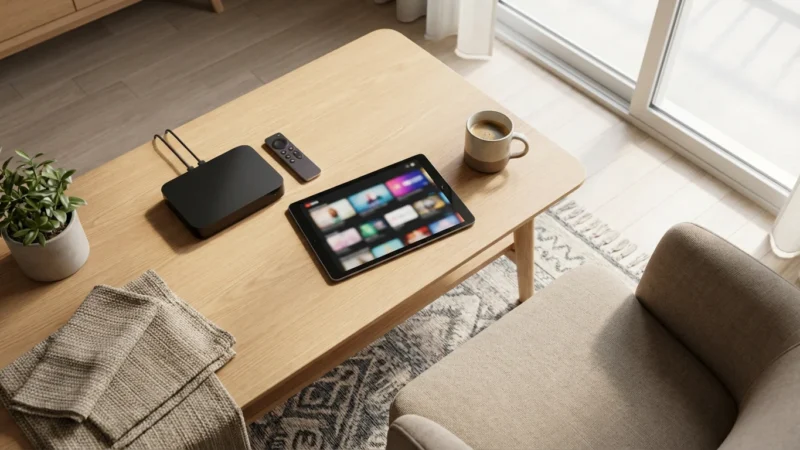
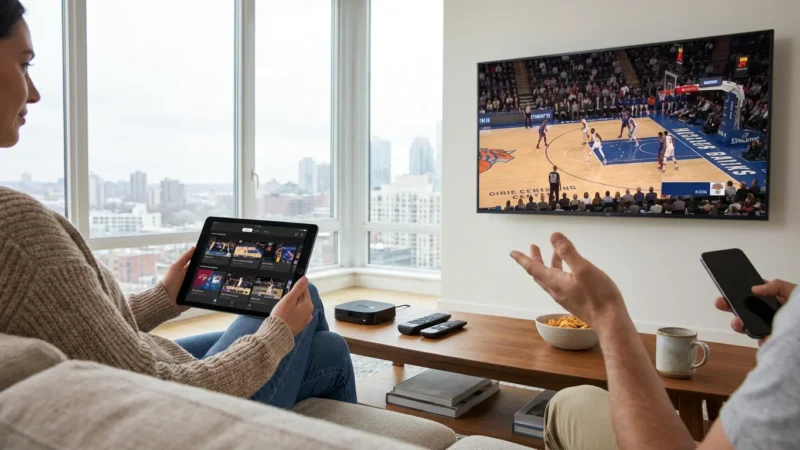
Free OTA TV and streaming services complement each other perfectly. An antenna covers your local live TV needs, while streaming devices like Roku, Amazon Fire TV, or Apple TV, provide access to a vast library of on-demand content, movies, and shows from subscription services.
Many streaming platforms offer both ad-supported (free or cheaper plans that show commercials) and ad-free (plans that cost more but do not show commercials) options. For instance, you might use a TV antenna for live news and sports, and then subscribe to a service like Netflix or Hulu for movies and past seasons of shows. This combination ensures you have access to both live broadcasts and a wide range of on-demand content, all while keeping costs significantly lower than a traditional cable package.
Some smart TVs and streaming devices integrate OTA channels directly into their program guides, creating a seamless viewing experience. For example, Google TV devices can combine antenna channels and streaming app content in one unified interface. This eliminates the need to switch inputs constantly, providing a more user-friendly experience.

Calculating Your Potential Savings with Free OTA TV
The financial benefits of switching to free over-the-air TV are substantial. Let’s compare a typical cable bill to a cord-cutting setup:
Typical Cable Bill Example
- Base TV Package: $80.00
- Broadcast TV Fee: $10.00 (for local channels)
- Regional Sports Fee: $15.00
- Cable Box Rental: $10.00
- DVR Service Fee: $15.00
- Total Estimated Cable Bill: $130.00 per month
- Annual Cable Cost: $1,560.00
Cord-Cutting Setup with OTA TV Example
- High-Speed Internet: $70.00 (This is a necessity for most households, regardless of TV choice. Many cable companies offer internet-only plans that are cheaper.)
- Streaming Service 1 (e.g., Netflix Standard): $15.49
- Streaming Service 2 (e.g., Hulu with Ads): $7.99
- Optional OTA DVR (one-time purchase, e.g., Tablo DUAL LITE): ~$150.00 (spread over a few years, this averages to about $5/month)
- Outdoor TV Antenna (one-time purchase): ~$100.00 (averages to about $3/month over a few years)
- Monthly Recurring Cost (Internet + Streaming): $93.48
- Annual Recurring Cost (Internet + Streaming): $1,121.76
In this example, your monthly recurring costs drop from $130.00 to $93.48, saving you $36.52 per month, or $438.24 per year. The initial investment in an antenna and optional DVR is quickly recouped. After the initial equipment purchases, your savings grow even larger. This comparison does not even account for premium cable channels you might add, which further inflate a cable bill.
Remember, your savings depend on your current cable package and the streaming services you choose. By combining free OTA TV with strategic streaming choices, you maintain access to a vast amount of content at a fraction of the cost.

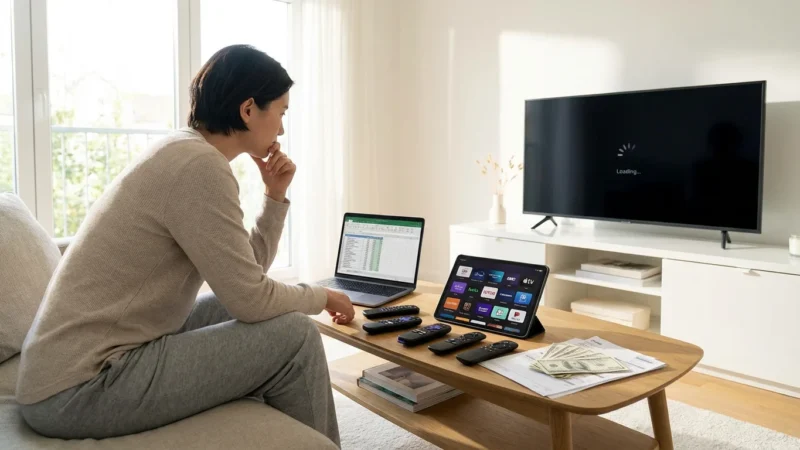
Common Mistakes to Avoid When Using a TV Antenna
While cutting the cord with an antenna is straightforward, some common pitfalls lead to frustration. Avoid these mistakes to ensure a smooth transition:
- Buying the Wrong Antenna: Do not just grab the cheapest or most visually appealing antenna. Research your local broadcast tower locations and distances first. A small indoor antenna will not work if you live 60 miles from the nearest towers.
- Ignoring Antenna Placement: The biggest factor in reception is often placement. Do not hide your indoor antenna behind your TV or in a cabinet. Experiment with positions, especially near windows and high points, and always rescan after moving it.
- Not Rescanning for Channels: Your TV needs to re-learn available signals after any antenna adjustment. Failure to rescan will mean your TV uses outdated signal information.
- Using an Amplifier When Not Needed: If you live very close to broadcast towers, an amplifier can actually over-saturate your tuner, causing worse reception. Only use an amplifier if you are experiencing consistently weak signals from distant towers.
- Forgetting About VHF Channels: Many people assume all digital TV is UHF. However, some major networks (like ABC or CBS in certain markets) still broadcast on VHF frequencies. Ensure your antenna supports both UHF and VHF if you want those channels.
- Long, Poor-Quality Coaxial Cables: Using excessively long or cheap, unshielded coaxial cables causes significant signal degradation. Invest in good quality RG6 coaxial cable and keep cable runs as short as practical.
- Expecting Every Channel: While OTA offers many channels, it is not a replacement for a 500-channel cable package. You get local broadcast channels and their subchannels. Manage your expectations for what free TV provides.
Taking a thoughtful approach to antenna selection and setup minimizes these issues and maximizes your free TV viewing experience. According to Cord Cutters News, “Patience and experimentation are key when setting up an antenna. Don’t be afraid to try different locations and orientations.”
Frequently Asked Questions
Can I get regional sports networks with a TV antenna?
No, generally you cannot. Regional Sports Networks (RSNs) like Bally Sports or AT&T SportsNet are typically premium cable channels that require a paid subscription. A TV antenna provides access to local broadcast channels like Fox, CBS, and NBC, which carry some national sporting events and often local team games for NFL, NHL, and NBA.
Do I need an internet connection for over-the-air TV?
No, you do not need an internet connection for basic over-the-air TV. An antenna receives broadcast signals directly from the airwaves. An internet connection is only necessary if you want to integrate an OTA DVR that offers remote streaming features, or if you use other streaming services in conjunction with your antenna.
Will my picture quality be as good as cable?
For local channels, your picture quality with an antenna can often be superior to cable. Cable and satellite providers frequently compress local channels, which can reduce picture fidelity. An antenna receives the uncompressed, high-definition digital signal directly, providing a clearer and sharper image.
Can I connect one antenna to multiple TVs?
Yes, you can connect one antenna to multiple TVs using a coaxial splitter. Be aware that splitting the signal can weaken it, especially if you have a weaker initial signal. You might need a signal amplifier before the splitter to ensure adequate signal strength for all connected televisions.
Disclaimer: Cable and streaming prices vary by location and change frequently. The cost comparisons in this article are estimates based on typical pricing. Your actual savings will depend on your current cable package, internet costs, and which streaming services you choose.


Leave a Reply